The beauty of dual booting and how to dual boot!
Here is a complete guide to setting up a dual boot system on your pc.
Choosing between the streamlined workflow of Windows and the open source power of Linux is a common puzzle. But why choose yet you can have both? Dual booting allows you to keep the best of both worlds Windows for your gaming and professional suites (like Adobe or Office) and Ubuntu for your coding, server management, and privacy.
Here is a complete guide to setting up a dual boot system on your pc.
Before You Begin!
Dual booting involves modifying your hard drive partitions, which carries a small risk of data loss.
Backup Your Data: Use an external drive or cloud storage to save your critical Windows files.
System Requirements: Ensure you have quite a large amount of space on your disk e.g. at least 64 GB of free disk space although 100 GB+ is recommended for a comfortable experience.
Tools Needed: A USB flash drive (minimum 8 GB) and an internet connection.
Step 1: Prepare Your Windows Environment
Windows likes to lock the hard drive to boot faster, which can interfere with Linux installations.
Disable Fast Startup: Go to Control Panel, Power Options, Choose what the power buttons do. Click Change settings that are currently unavailable and uncheck Turn on fast startup.
Shrink Your Partition: Right click the Start button and select Disk Management(windows+ x).
. Right click your main drive(usually labeled (c:) ) and select Shrink Volume.
. Enter the amount of space to shrink (e.g., 50,000 MB for 50 GB) and click Shrink. This creates Unallocated Space.
Step 2: Create the Ubuntu Installation Media
Download Ubuntu: Go to the official Ubuntu website and download the latest LTS (Long Term Support) ISO file (e.g. Ubuntu 24.04 or 26.04).
Flash the USB: Use a tool like Rufus or ventoy.
. Select your USB drive.
. Select the downloaded Ubuntu ISO.
. Click Start. (Warning: This will erase everything on the USB!) that’s what will pop up and your screen so just accept and finish.
Step 3: Boot from the USB
Restart your computer.
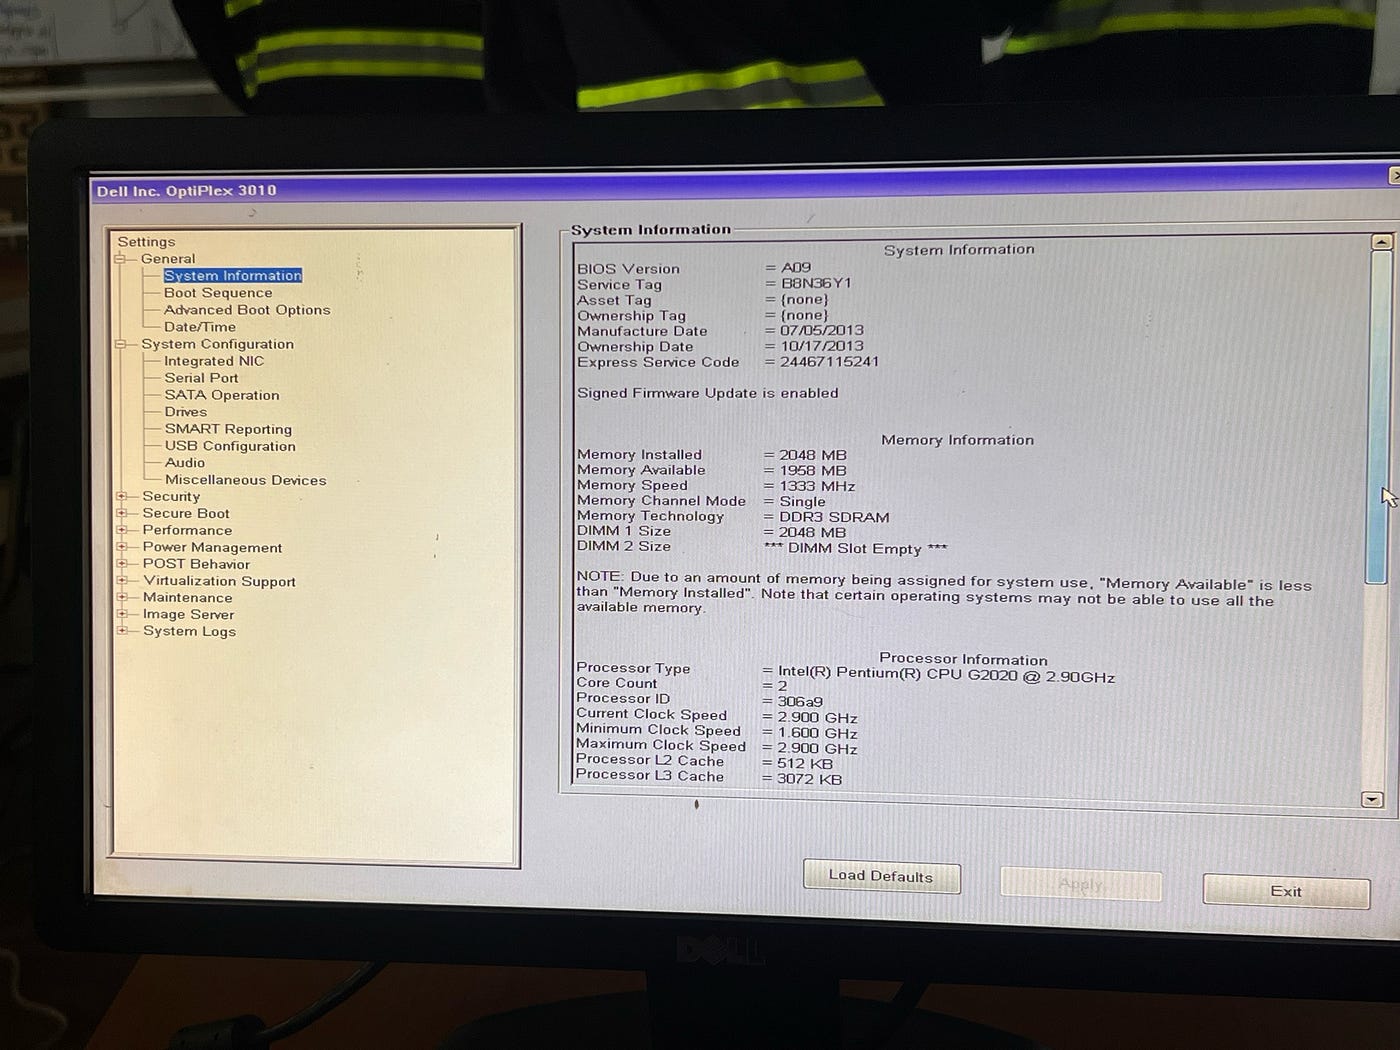
As it turns on, repeatedly tap the Boot Menu Key (usually F12 or F2 depending on your motherboard).
Select your USB Flash Drive (often labeled UEFI: [USB Name] ) from the list.
Step 4: The Ubuntu Installation Process
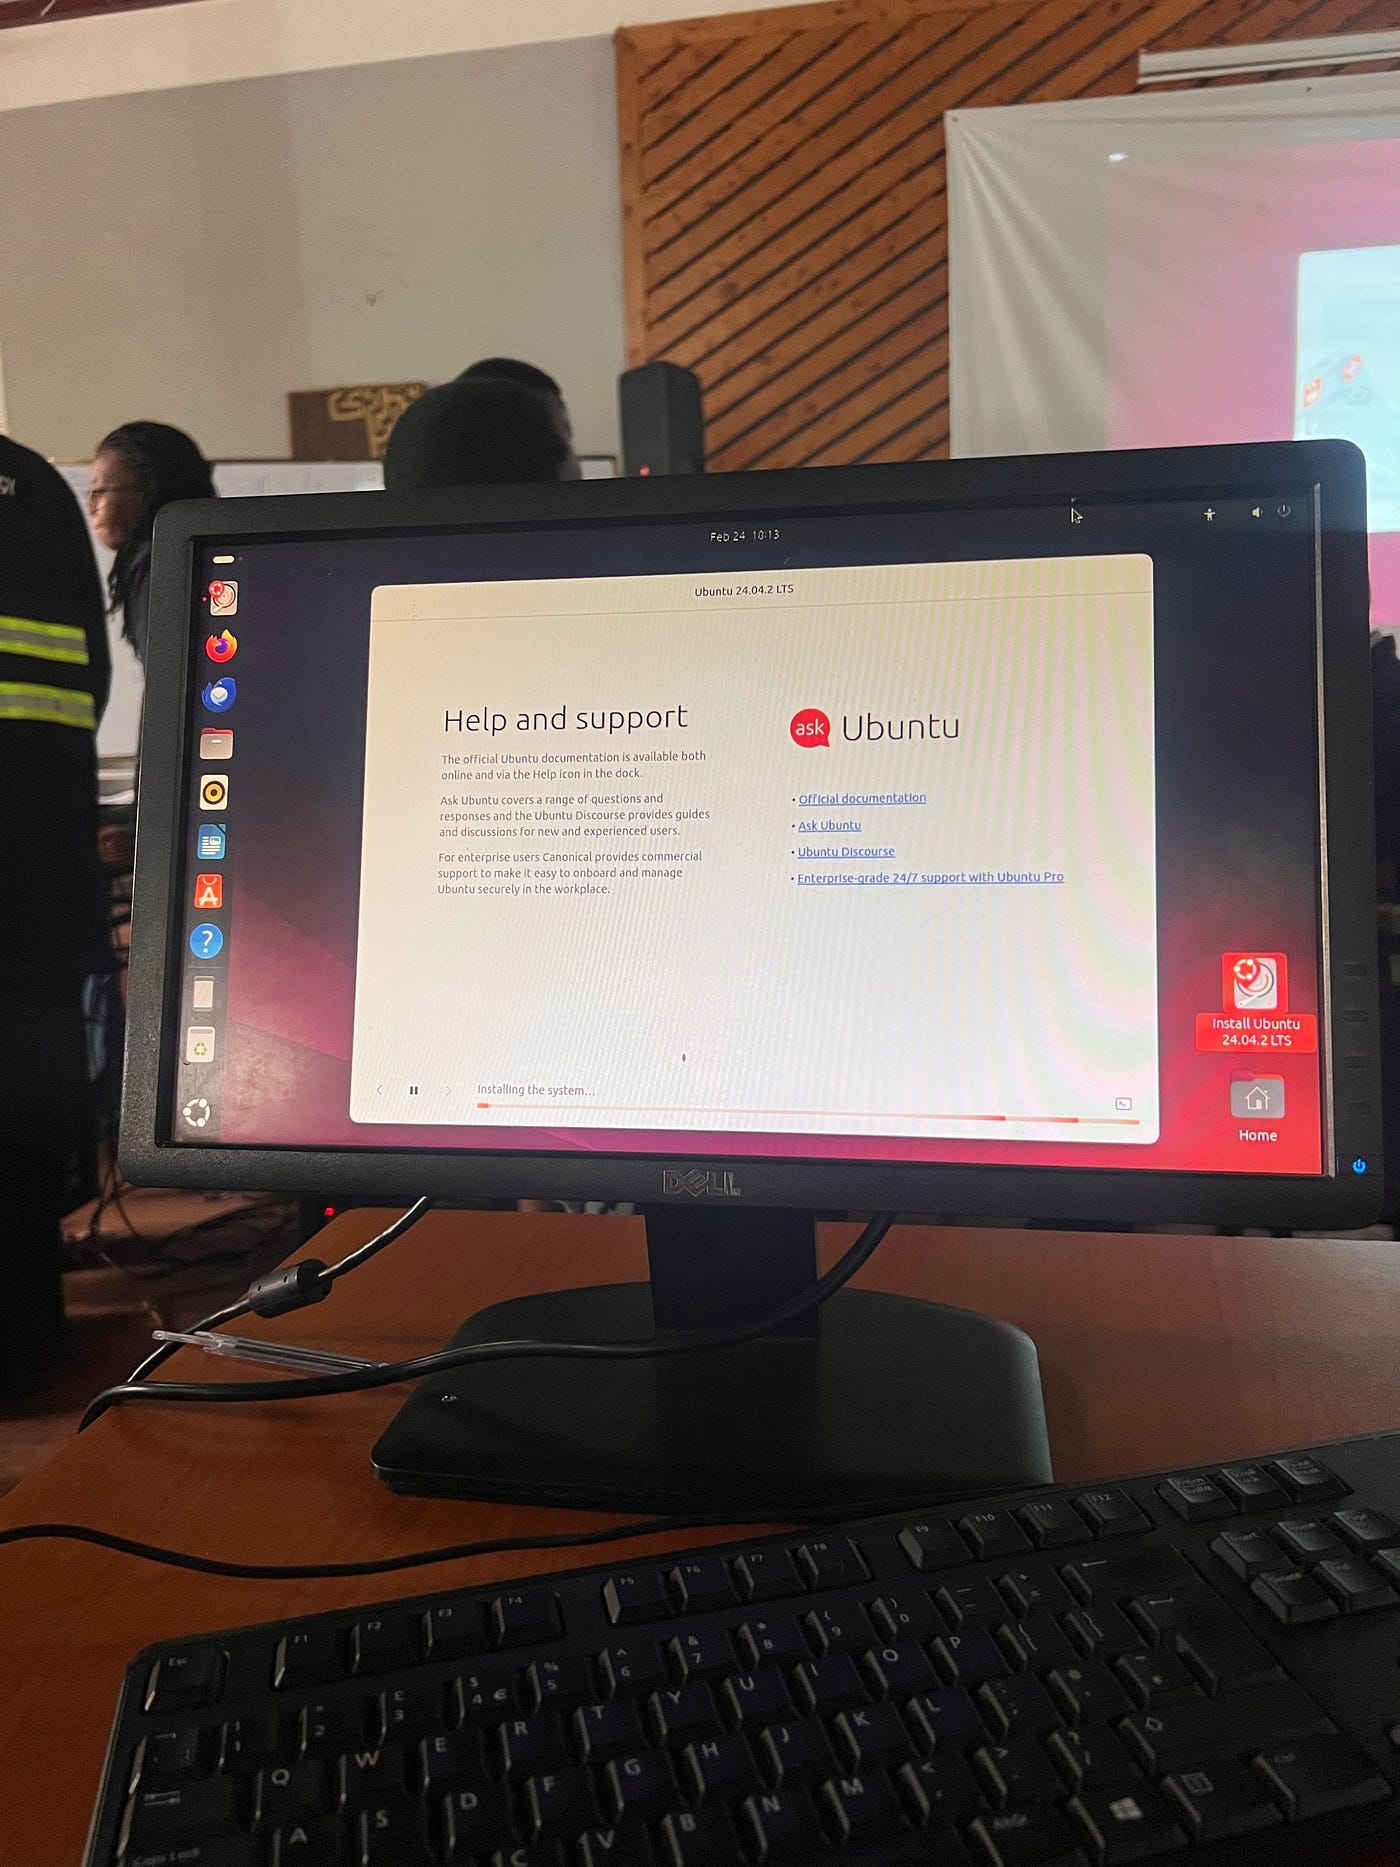
Once the Ubuntu installer loads, choose your language and select “Install Ubuntu.”
Keyboard & Updates: Select your layout and choose Normal Installation. Check the box for Install third party software for graphics and Wi-Fi (this saves you a lot of headache with drivers later).
Installation Type: This is the most important step. Select “Install Ubuntu alongside Windows Boot Manager.” Carefully Note that If you don’t see this option, select “Something else” to manually assign the unallocated space you created in Step 1.
Finalize: Follow the prompts to set your timezone and create your user account/password.
Step 5: The GRUB Bootloader
Once the installation finishes, remove the USB and restart. You will be greeted by the GRUB Menu. This is a black screen that appears every time you turn on your PC, giving you about 10 seconds to choose between Ubuntu and Windows Boot Manager
A simple highlight: If your computer boots straight into Windows without showing the menu, you may need to enter your BIOS/UEFI settings and move ‘Ubuntu’ to the top of the Boot Priority list.



메타데이터
- post_id
- fb098cf48d11
- slug
- the-beauty-of-dual-booting-and-how-to-dual-boot-fb098cf48d11
- url
- https://medium.com/@isaackayemba669/the-beauty-of-dual-booting-and-how-to-dual-boot-fb098cf48d11
- canonical_url
- https://medium.com/@isaackayemba669/the-beauty-of-dual-booting-and-how-to-dual-boot-fb098cf48d11
- author_url
- https://medium.com/@isaackayemba669
- status
- ok
- fetched_at
- 2026-08-04 21:03:15