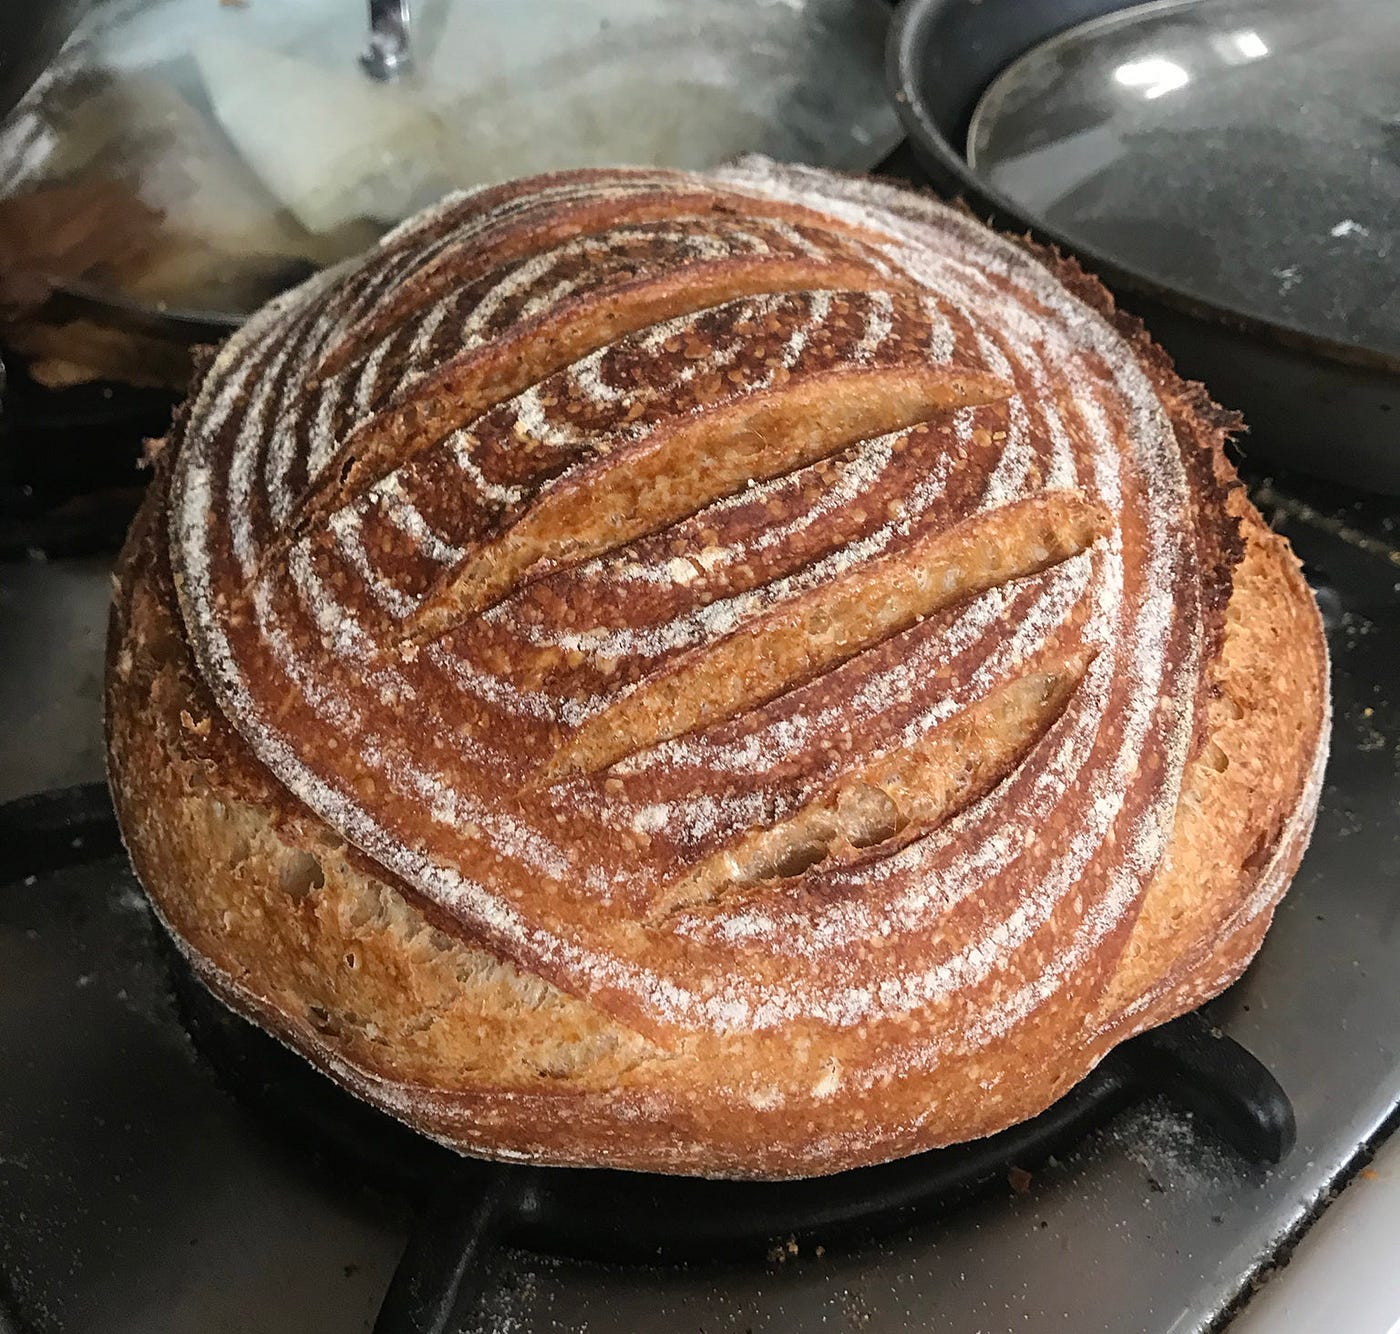
7 years of Sourdough: Updating the Santa Cruz Mountains Sourdough
About Dave: I am a technologist, company founder, optimist, maker, neighbor, parent, surfer, baker, and avid cloud photographer.
7 years of Sourdough: Updating the Santa Cruz Mountains Sourdough
About Dave: I am a technologist, company founder, optimist, maker, neighbor, parent, surfer, baker, and avid cloud photographer.
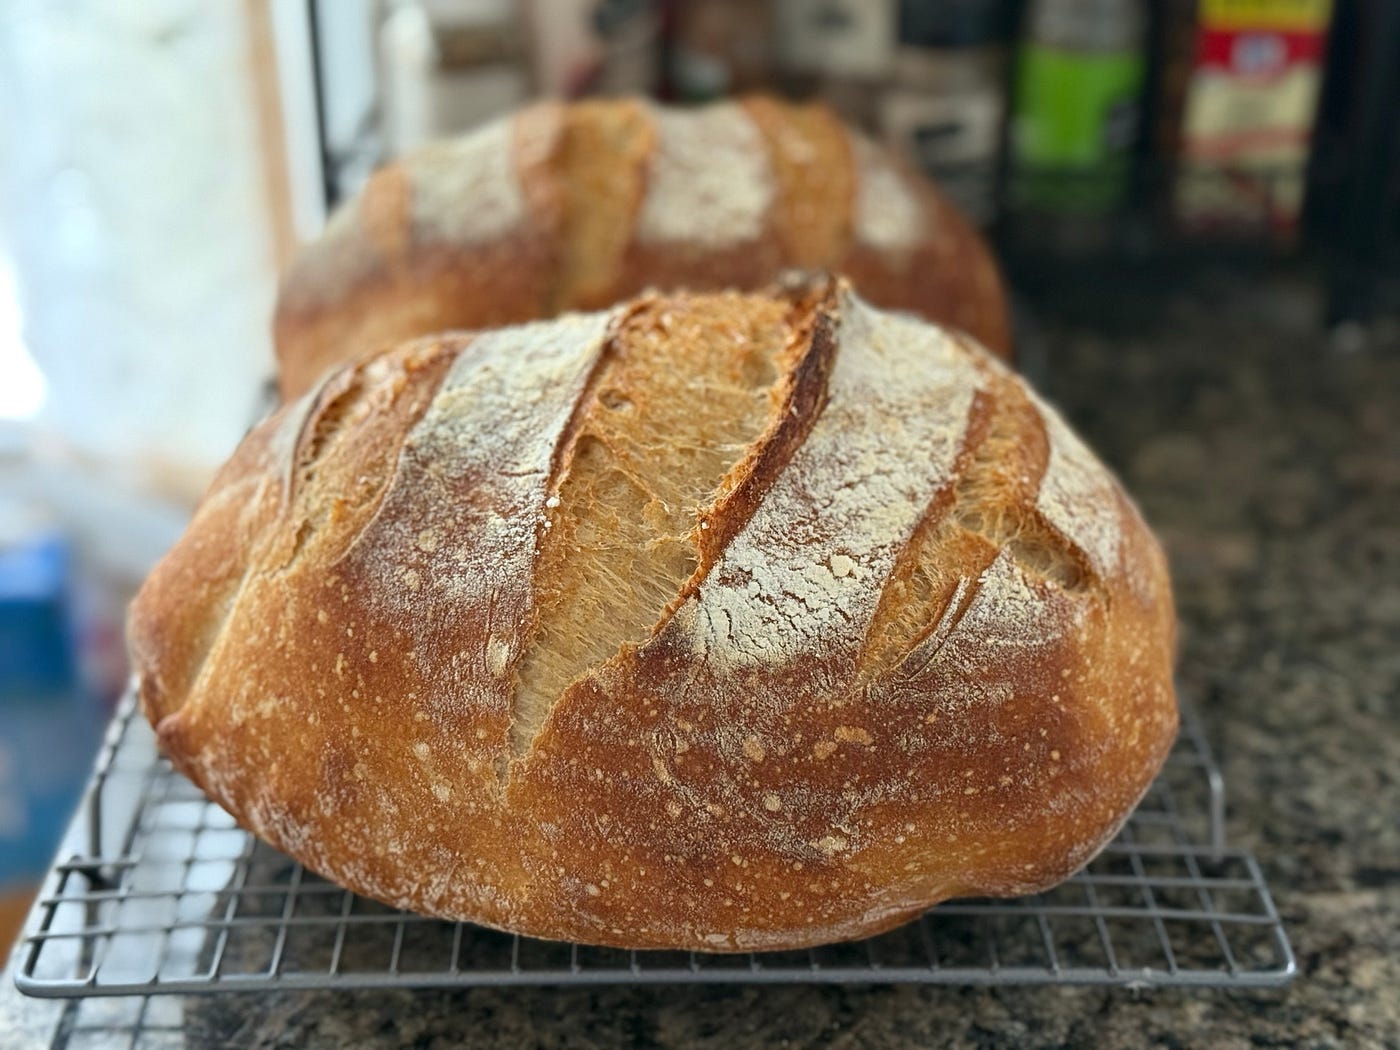
Fresh Santa Cruz Mountains Sourdough loaves in early 2026
Seven years ago I wrote a post about how to make sourdough bread. I was stoked to learn — and to share — a new skill. This was before the pandemic, before baking sourdough became quite so popular and mainstream. The post was well-received — I’d share it whenever anyone asked me for my sourdough bread recipe, and over the years I heard from friends and strangers that it helped them bake their first loaves.
Since I baked my first loaf in 2019, I’ve continued to learn — evolving my recipe and technique, and now I’m checking back in with an update to describe my current sourdough bread making process.
If you’re reading this for instruction or inspiration, keep this in mind: Making great sourdough bread is a craft that is relatively easy to learn but difficult to master. Your skill will get honed over a long period of time ane experience. Chad Robertson, the co-founder of Tartine Bakery, wrote that he spent more than 10 years mastering it!
For those who read my earlier post, a quick preview of what I’ve learned:
— folding: I control temperature better now
— shaping: I found a technique that I like, after trying different things
— flour mix: a slight adjustment vs previous recipe
— hydration: now baking with more hydration
— bake time and temps: slightly updated
Ok! Here’s how I bake Santa Cruz Mountains Sourdough now:
First, starter maintenance
I feed my starter once per day when I’m actively using it, as follows:
- Discard 2/3 to 3/4 of the starter (use 40–60g to make a levain, see below)
- Replenish equal parts flour and water into the jar (I use about 50g/ea)
- Mix thoroughly, and set the jar somewhere at room temperature
If I won’t be baking for a week or I’ll be traveling and won’t be able to maintain my starter, I stick the jar in the refrigerator after a feeding (can be right away, or within a few hours after feeding). The starter can last a couple weeks in the refrigerator, no problem.
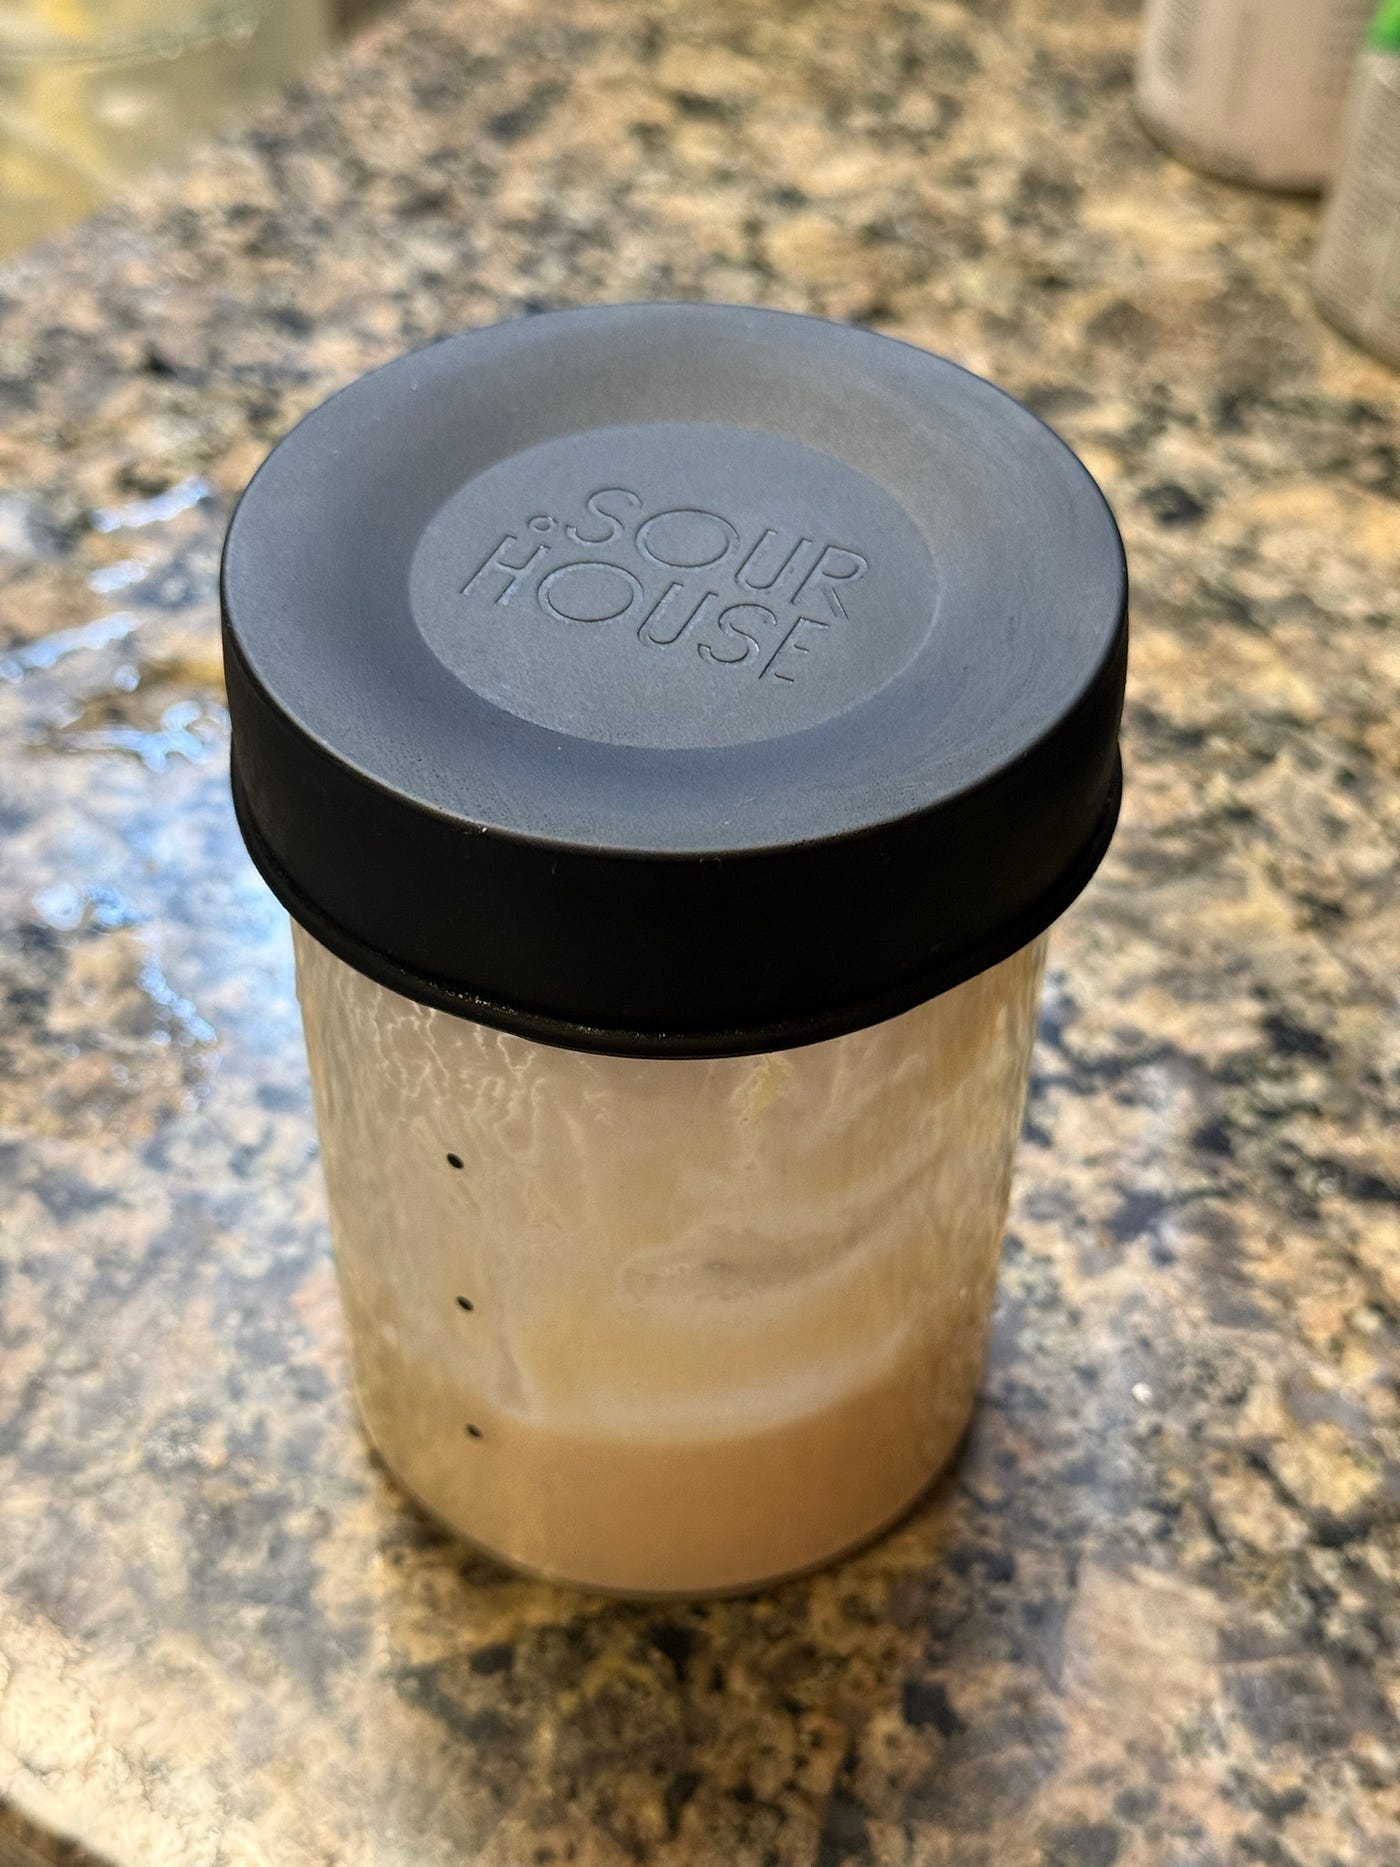
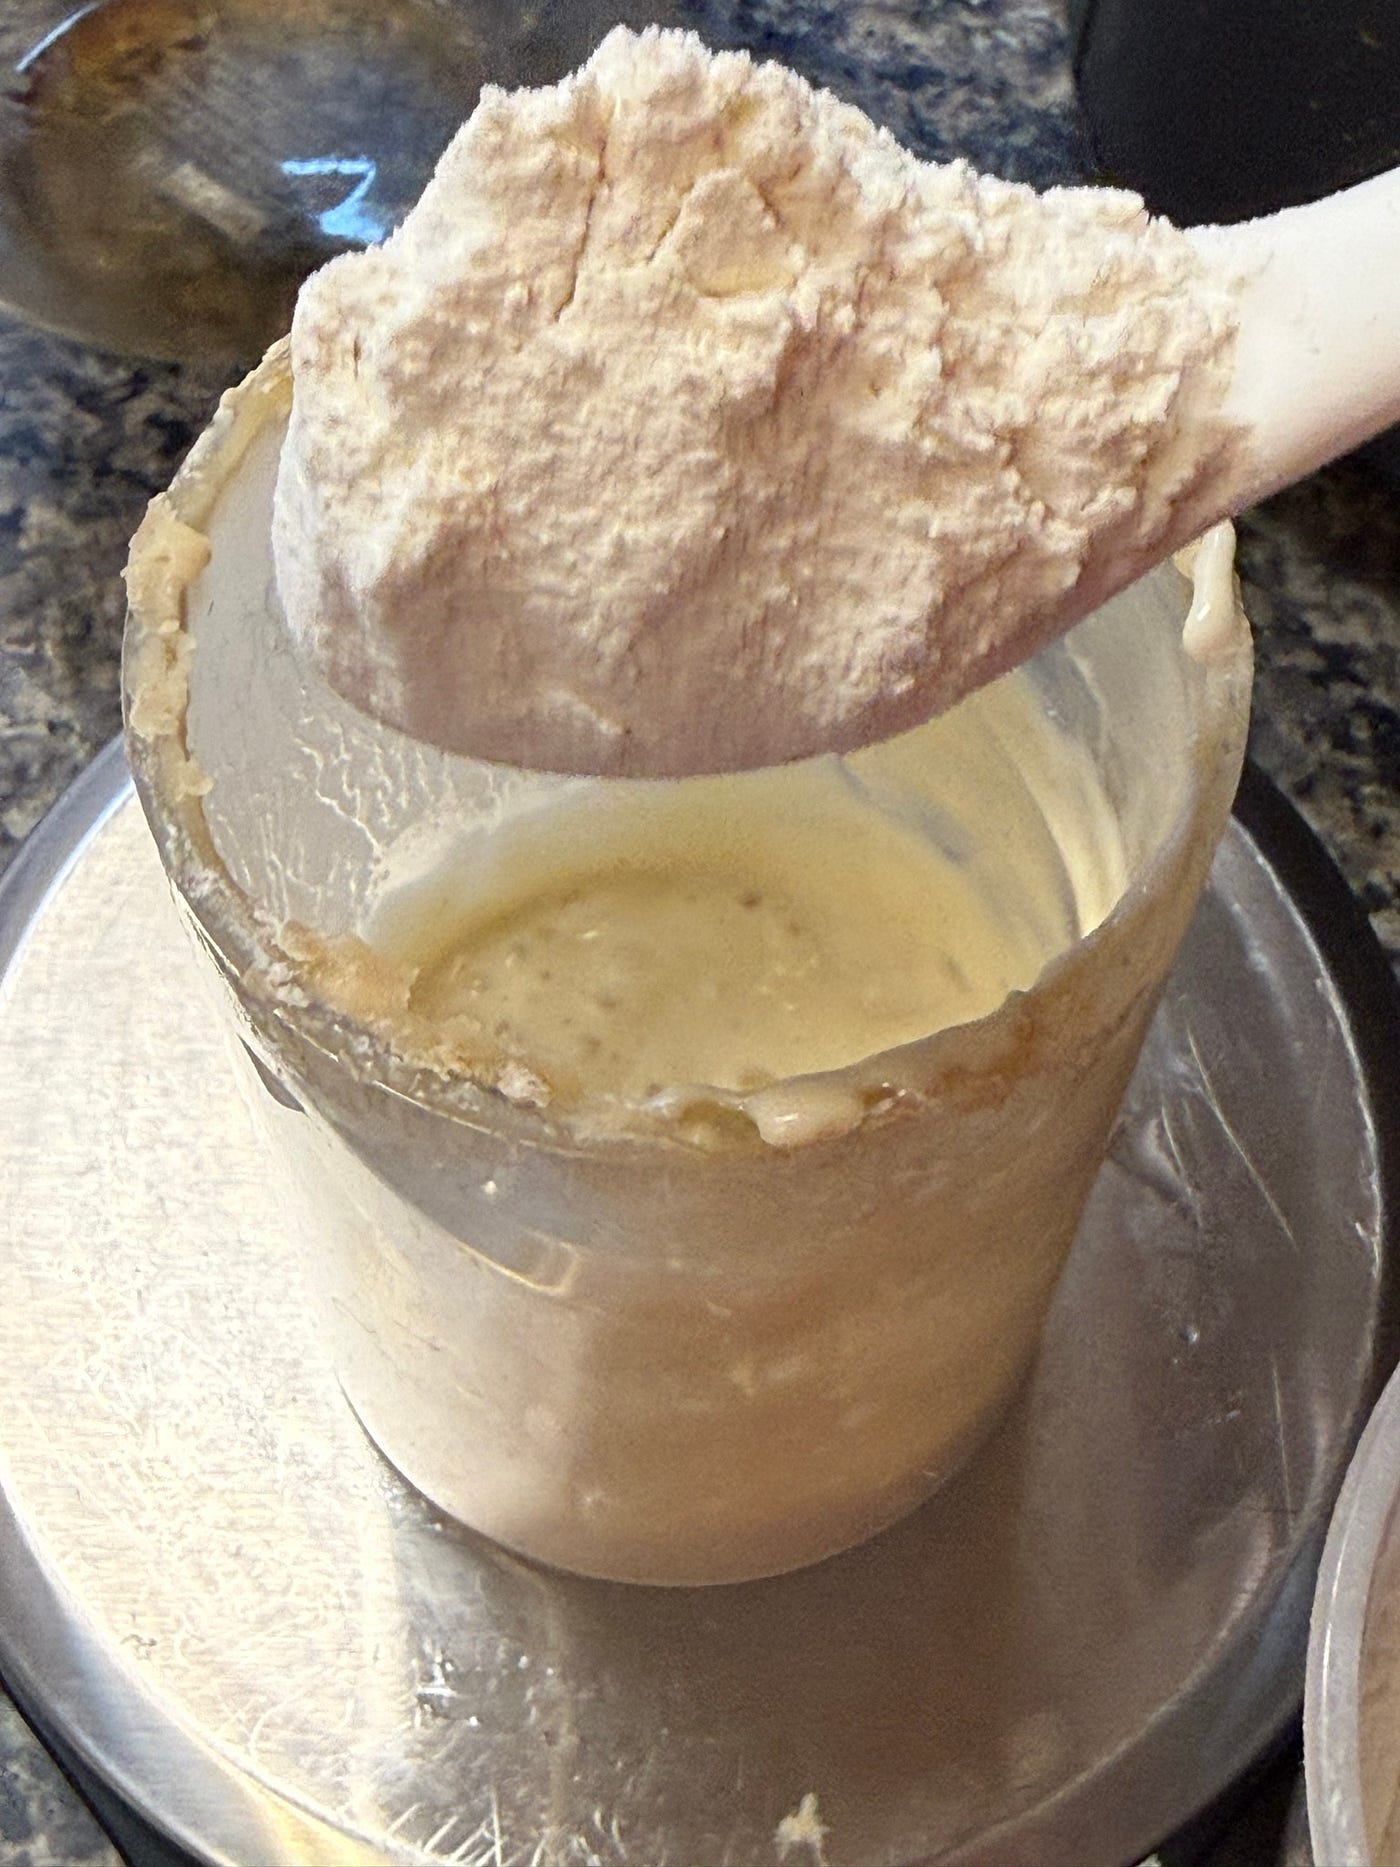
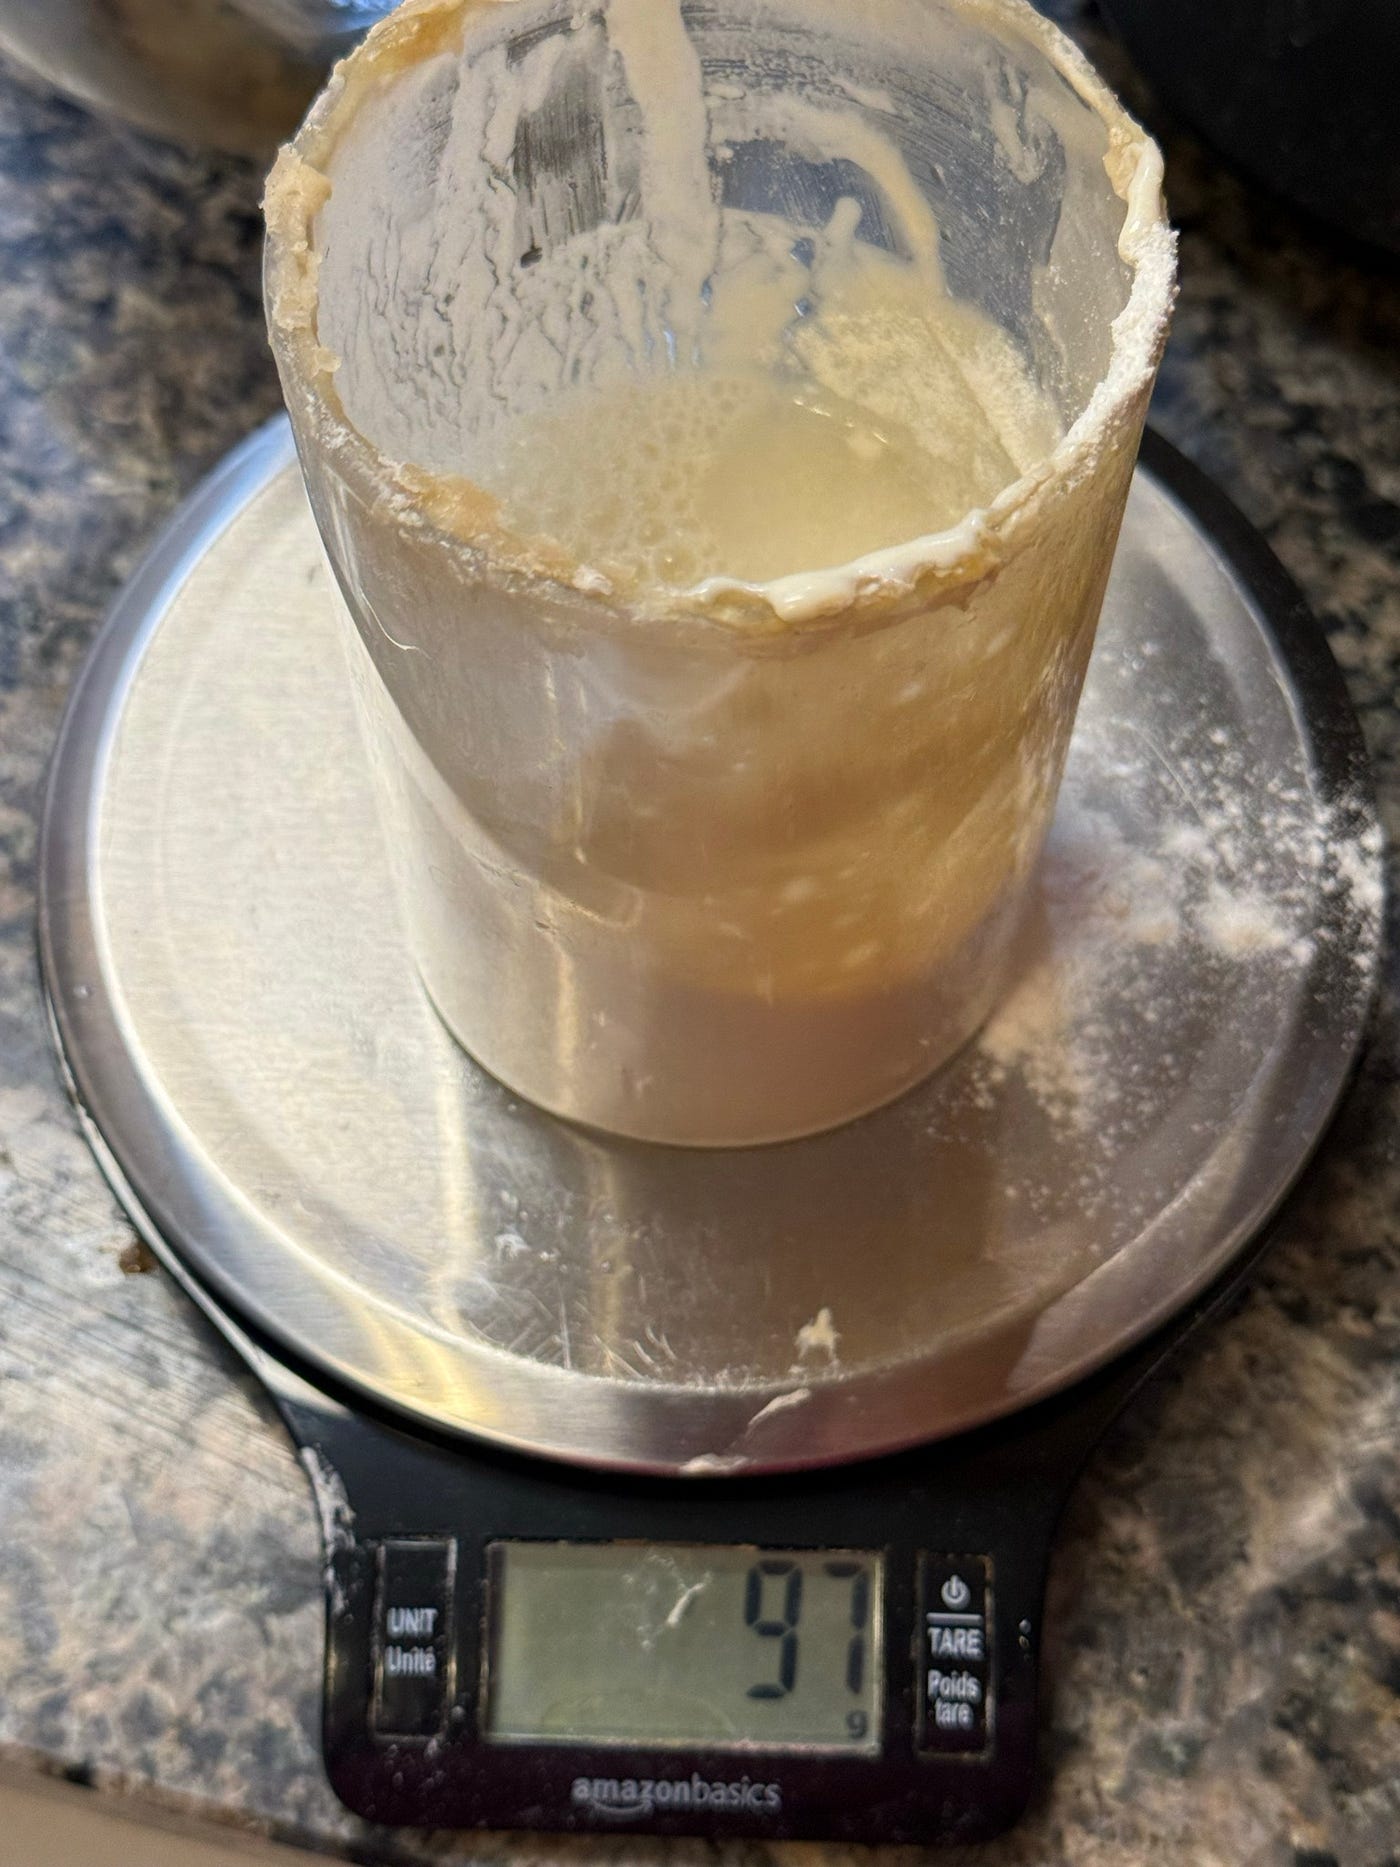
Feeding the starter: A starter that needs feeding (L), giving it 45g of AP flour (M), then about an equal amount of water (R). Last: stir it up!
Levain prep
Making a good levain will work best if your starter is relatively active. I try not to start a new levain using starter that just came out of the refrigerator and is still sluggish — if I know I’m starting a batch of bread on Friday, I take the levain out 24 hours beforehand and feed it 1–2 times before Friday AM.
Levain is basically a larger batch of starter, and the process is just feeding/amplifying your starter to make a larger quantity of it — here’s what I do:
- Measure 200g of water into a jar
- Add 40–60g of active starter and stir until mixed thoroughly
- Add 200g of flour and stir until mixed thoroughly
- Put the jar out of direct sunlight in a warm spot for 8–12 hours
The volume should about double, at which point it’s ready to make dough!

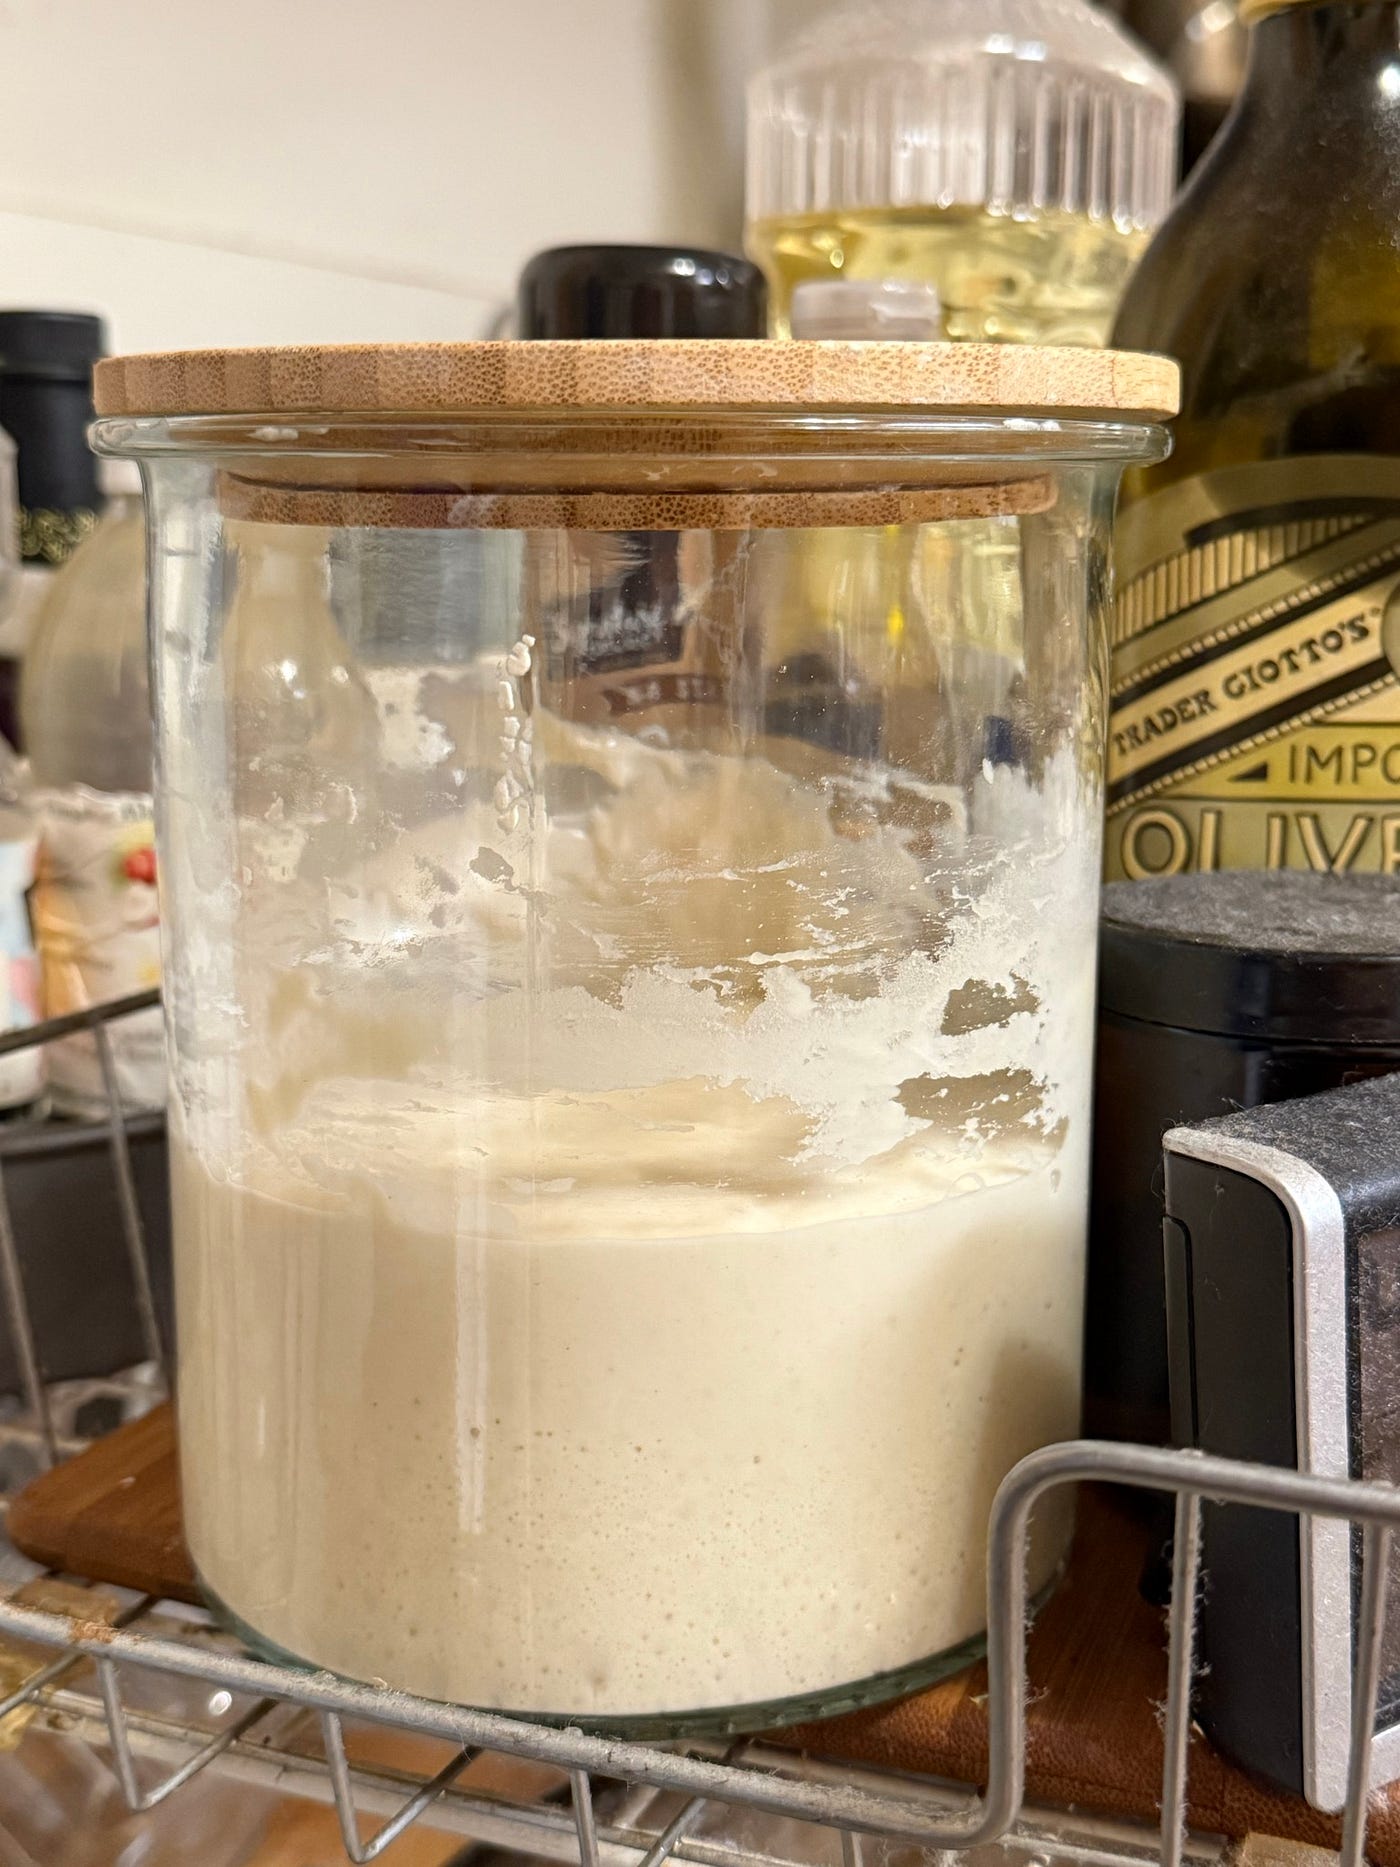
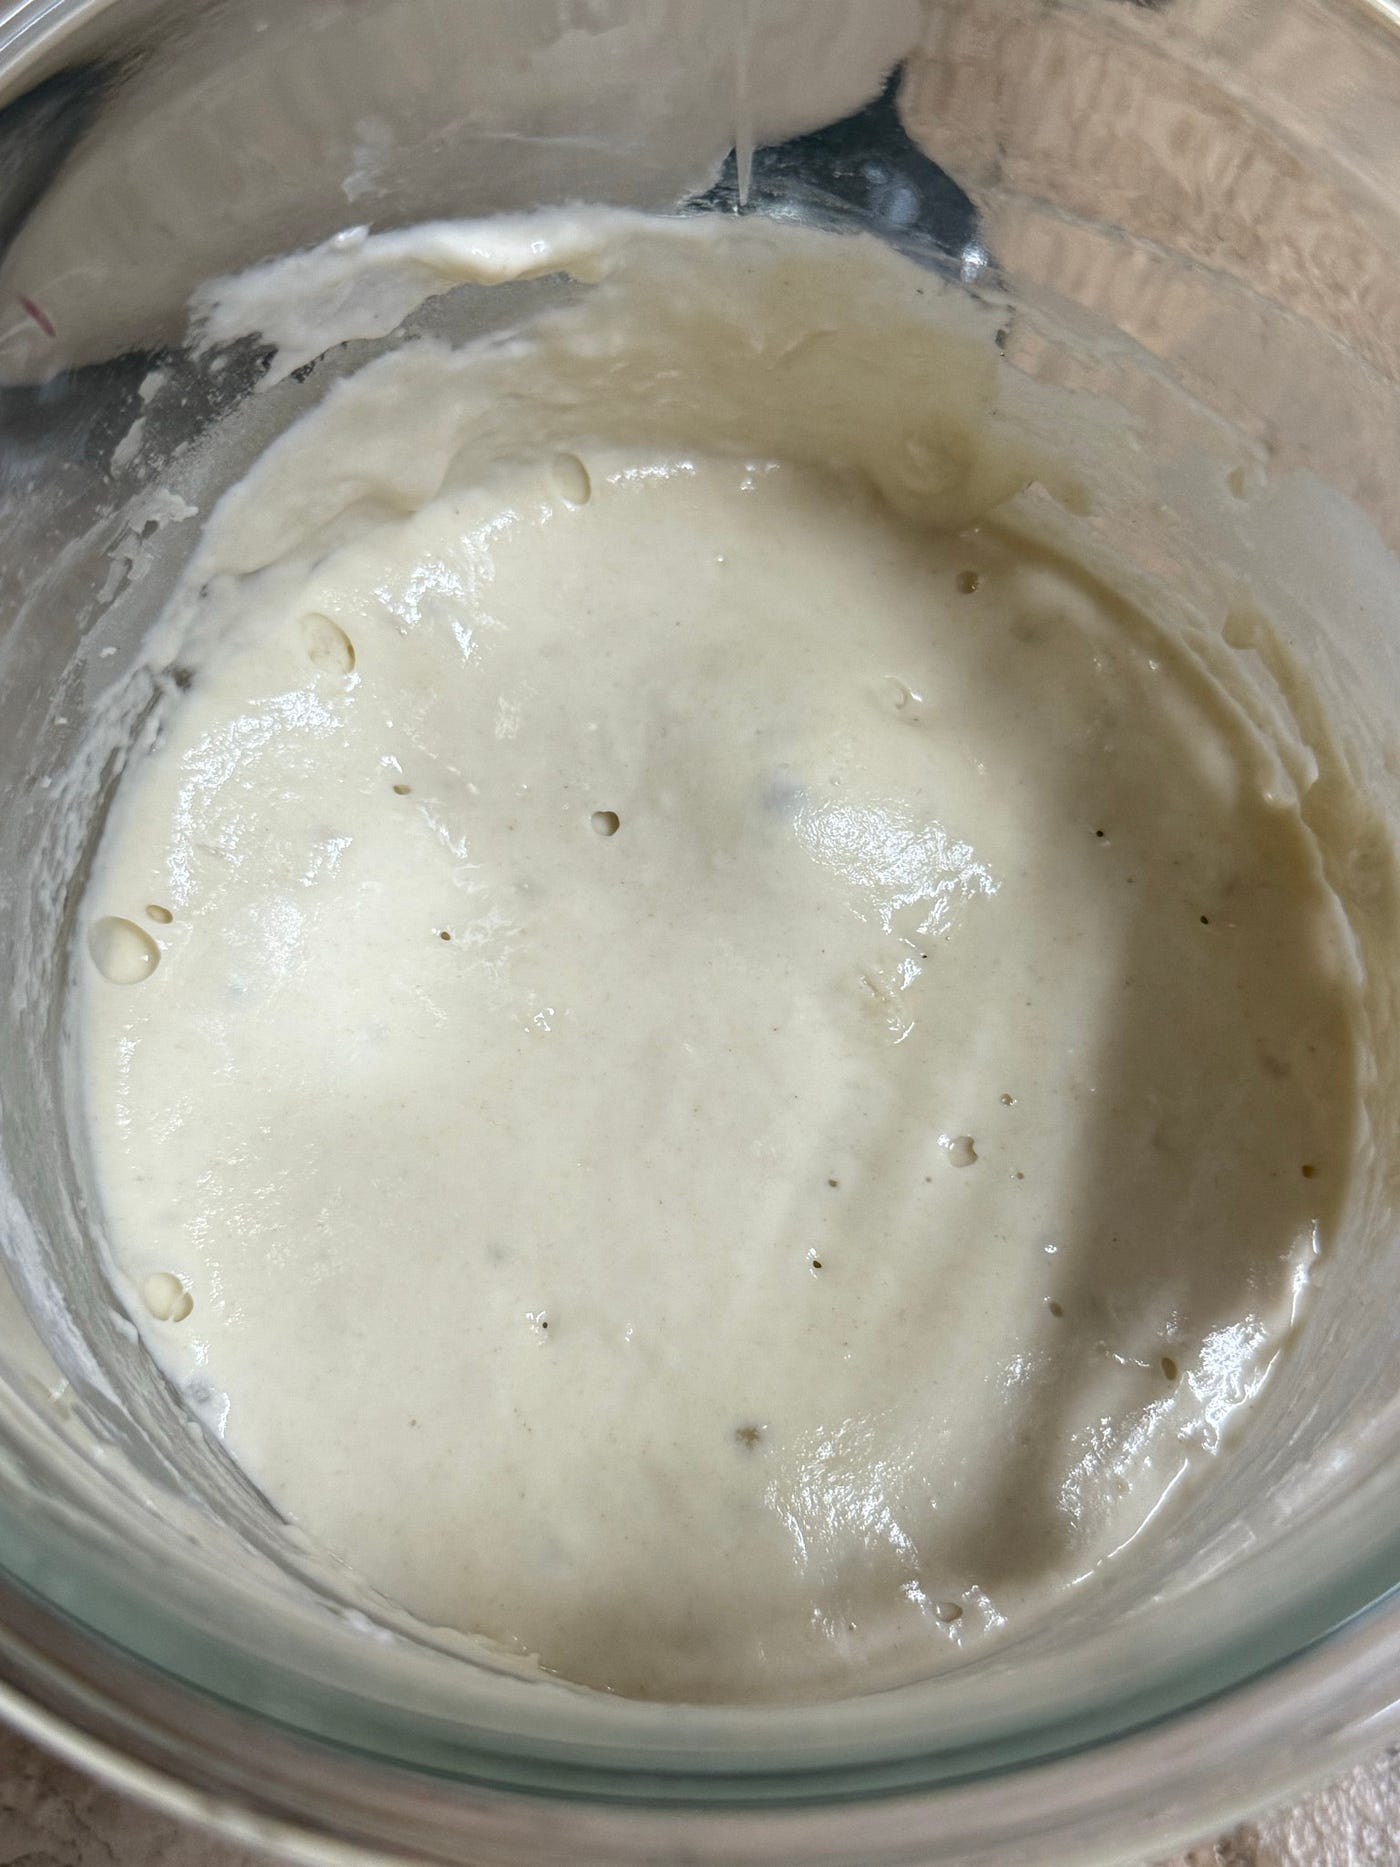
Levain in the morning after mixing (L), and in the early evening (M/R) ready for use
Dough prep
This is where your decisions start to matter more. In prepping the dough, the process starts to feel headed positively toward making bread!
First decision: flour mix
The mix of flour will affect the taste of your bread. It will also impact the effects of hydration, but that’s still beyond my experience to date. Here’s the flour mix I’ve been using, for a total of 1000g (makes 2 loaves):
- 800g bread flour
- 100g whole wheat flour
- 75g spelt flour
- 25g dark rye flour
I measure all the flour into the metal bowl of my stand mixer, then mix them all together using a hard spatula.
Second decision: hydration
The level of hydration will affect how moist the inside “crumb” of your bread is. It also affects how your dough feels as you move through the remaining steps of the process — I’d recommend experimenting a bit here to discover what hydration level works for your process and taste. When I bake I’m usually trying to achieve a moist, glutinous, open crumb loaf, so I’ve been inching hydration level up continuously over the past year or so. My current setting is 85% hydration, meaning that I mix 850g of water into my 1000g of flour.
Measure the water into your flour, and mix it until it is completely absorbed. You can do this with your hands — which will become very sticky, that’s ok and is actually a fun part of the process for some people — or you can use a stand mixer or a hard spatula. I found that with ~70% hydration, my stand mixer did a great job of mixing the water and flour together into a cohesive ball of dough that the mixer could effectively punch and roll around the inside of the bowl — but at higher hydration levels, the dough is too sticky for this technique to work, and the stand mixer will be punching at the surface while deeper dough isn’t moving and there’s still dry flour underneath. When this happens, I stop the mixer and use a silicone spatula to stir the dry flour up from the bottom of the bowl a few times, then restart the mixer. If you’re using a stand mixer, repeat this process until you don’t have any dry flour left at the bottom of the bowl — or you can use your hands to finish the process.
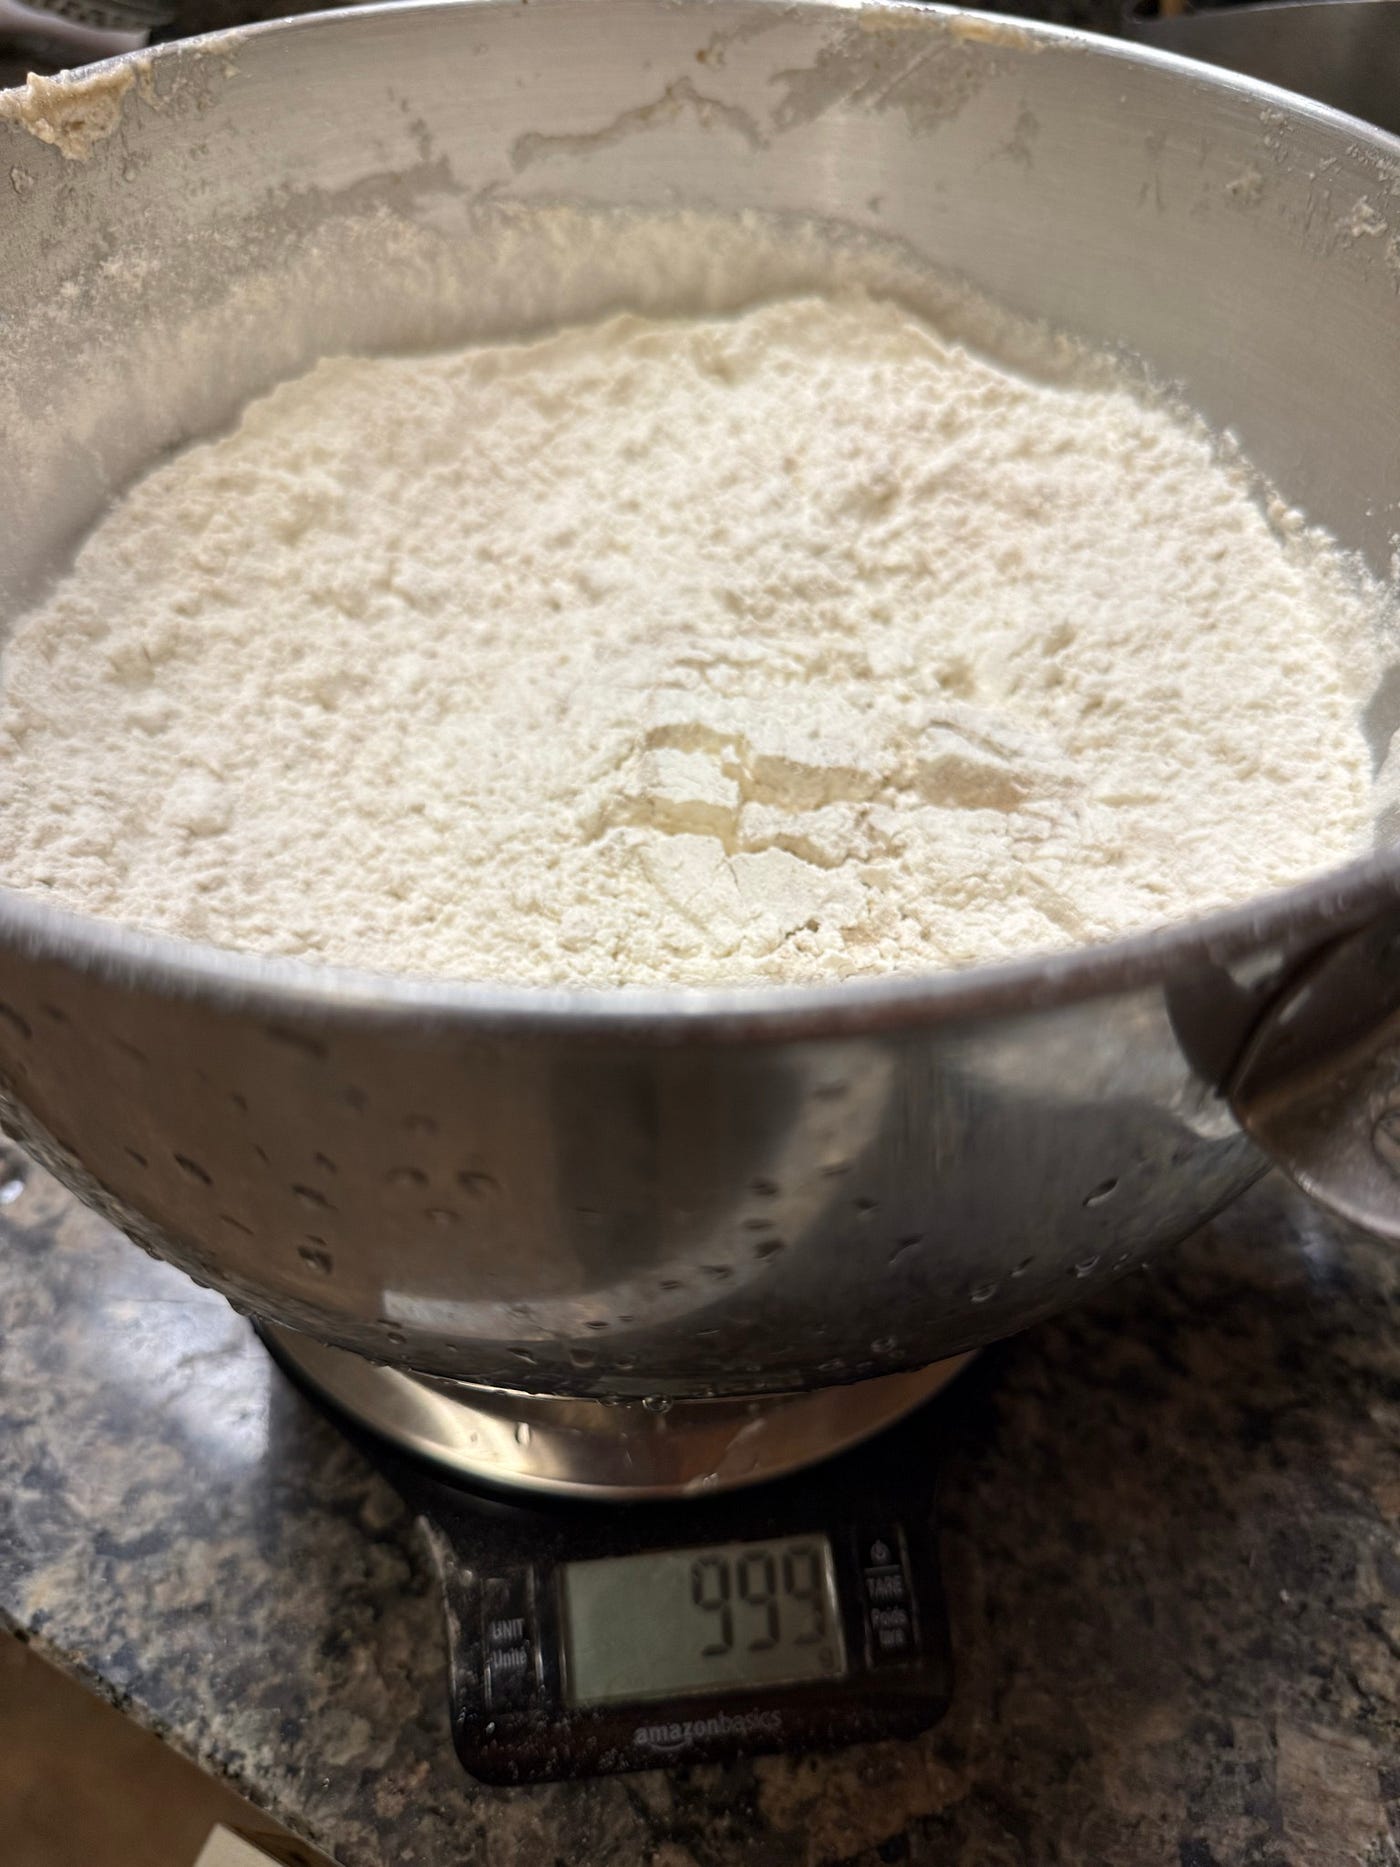
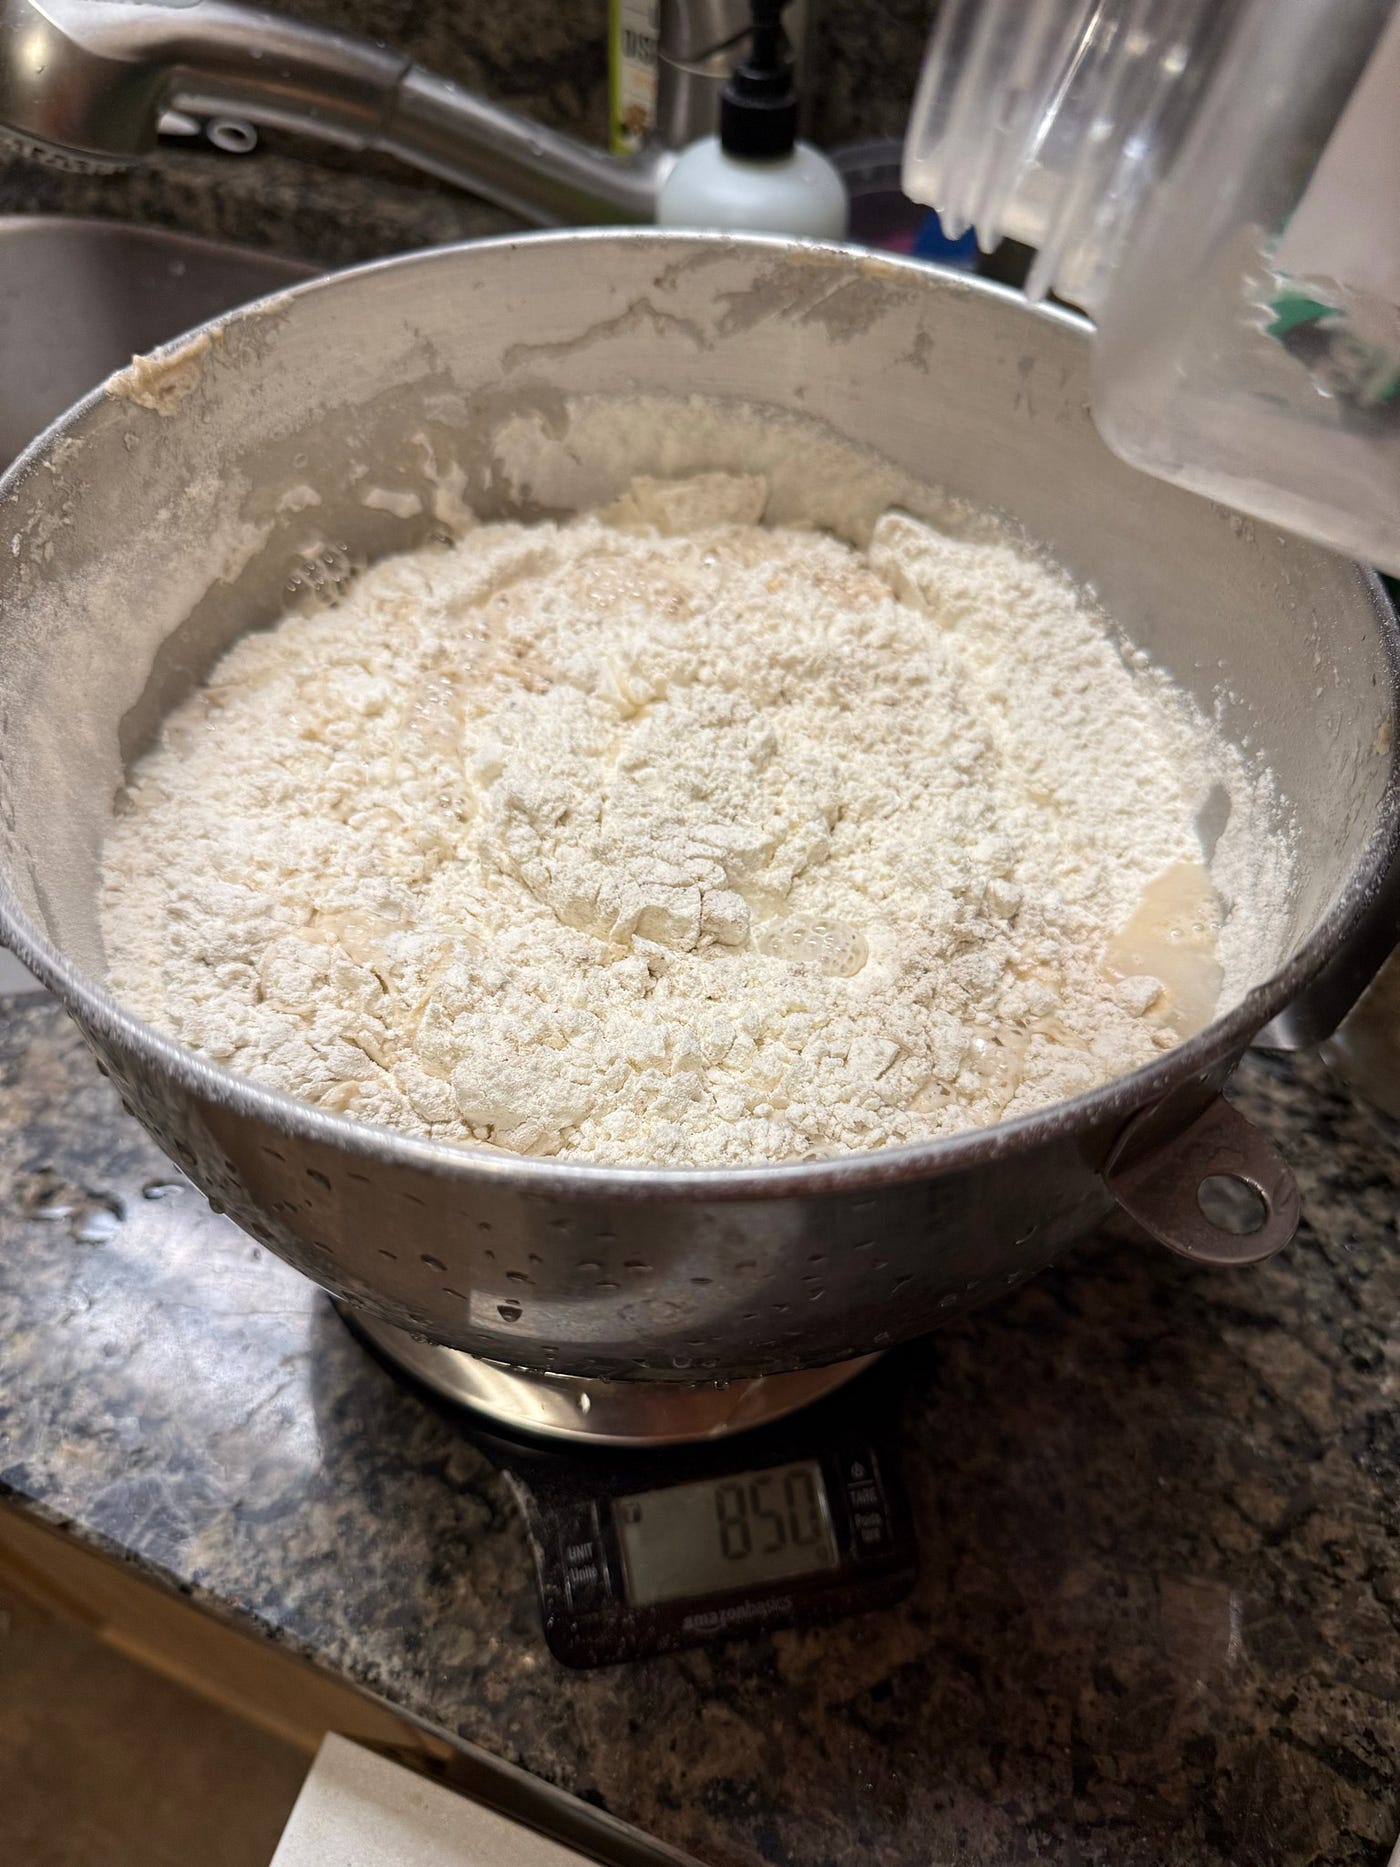

1000g of flour (L), water goes in (M), stirring the shaggy dough (R)
Dough tip: when I first started baking bread, I didn’t know what to do with sticky dough. I got frustrated and thought I was doing something wrong — I’d add flour to make the dough less sticky. It turns out that water repels sticky dough, and getting your hands or tools a little bit wet before touching dough will usually keep them from turning into a sticky mess.
Autolyse
According to Gemini: Autolyse is a baking technique where flour and water are mixed and rested for 20–60 minutes before adding salt, yeast, or levain. This process fully hydrates the flour, initiates gluten development, and increases extensibility, resulting in a more manageable, stronger dough with better volume and crumb structure.
Yup, that. After mixing, I leave the dough in the mixing bowl for an hour to autolyse, usually setting the bowl on top of my gas range to keep it warm. iPhone or Alexa timers are useful throughout this entire process BTW!
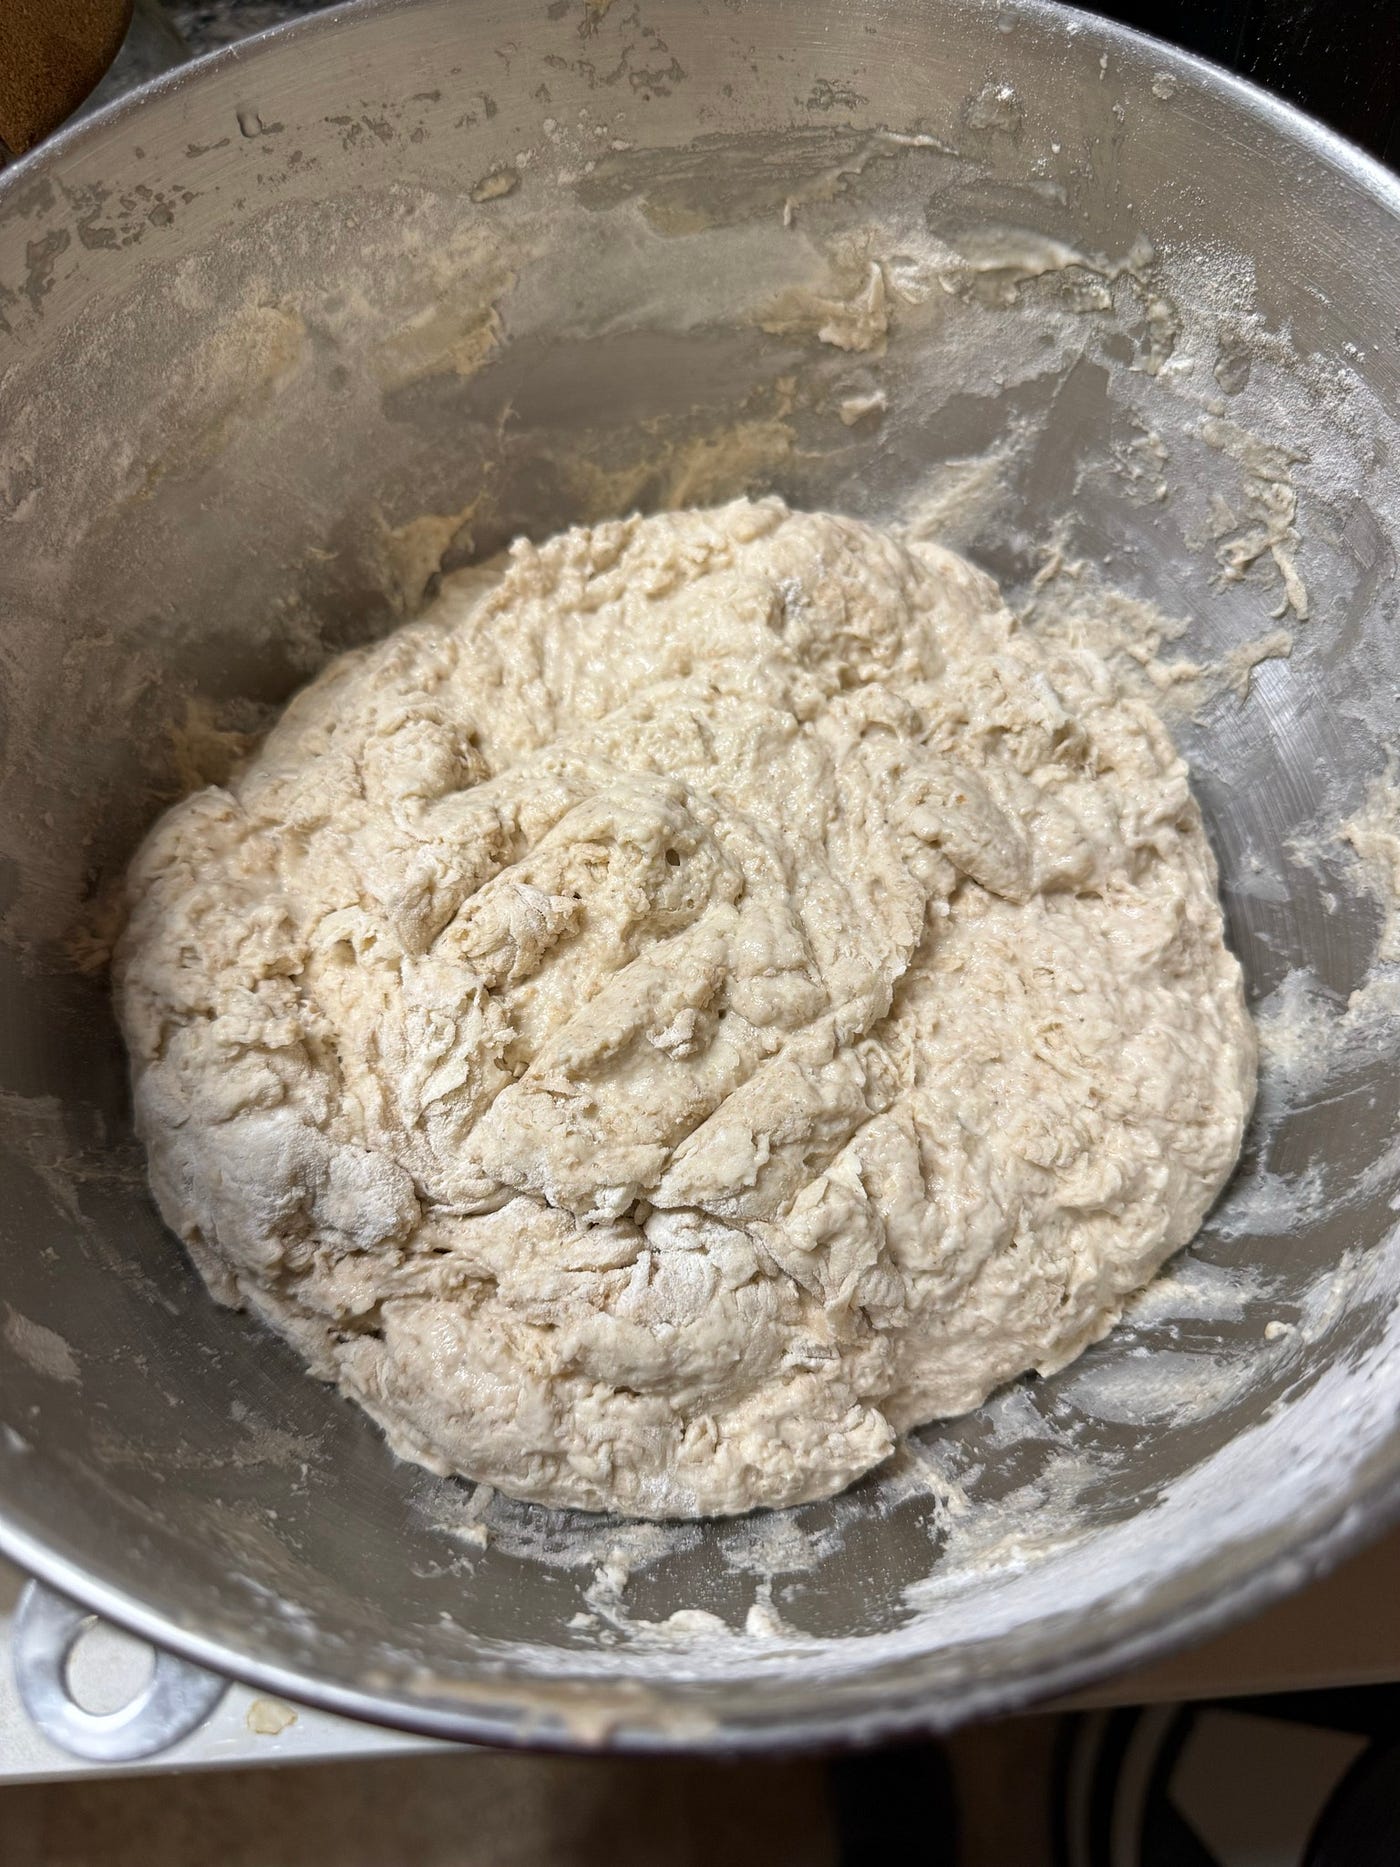
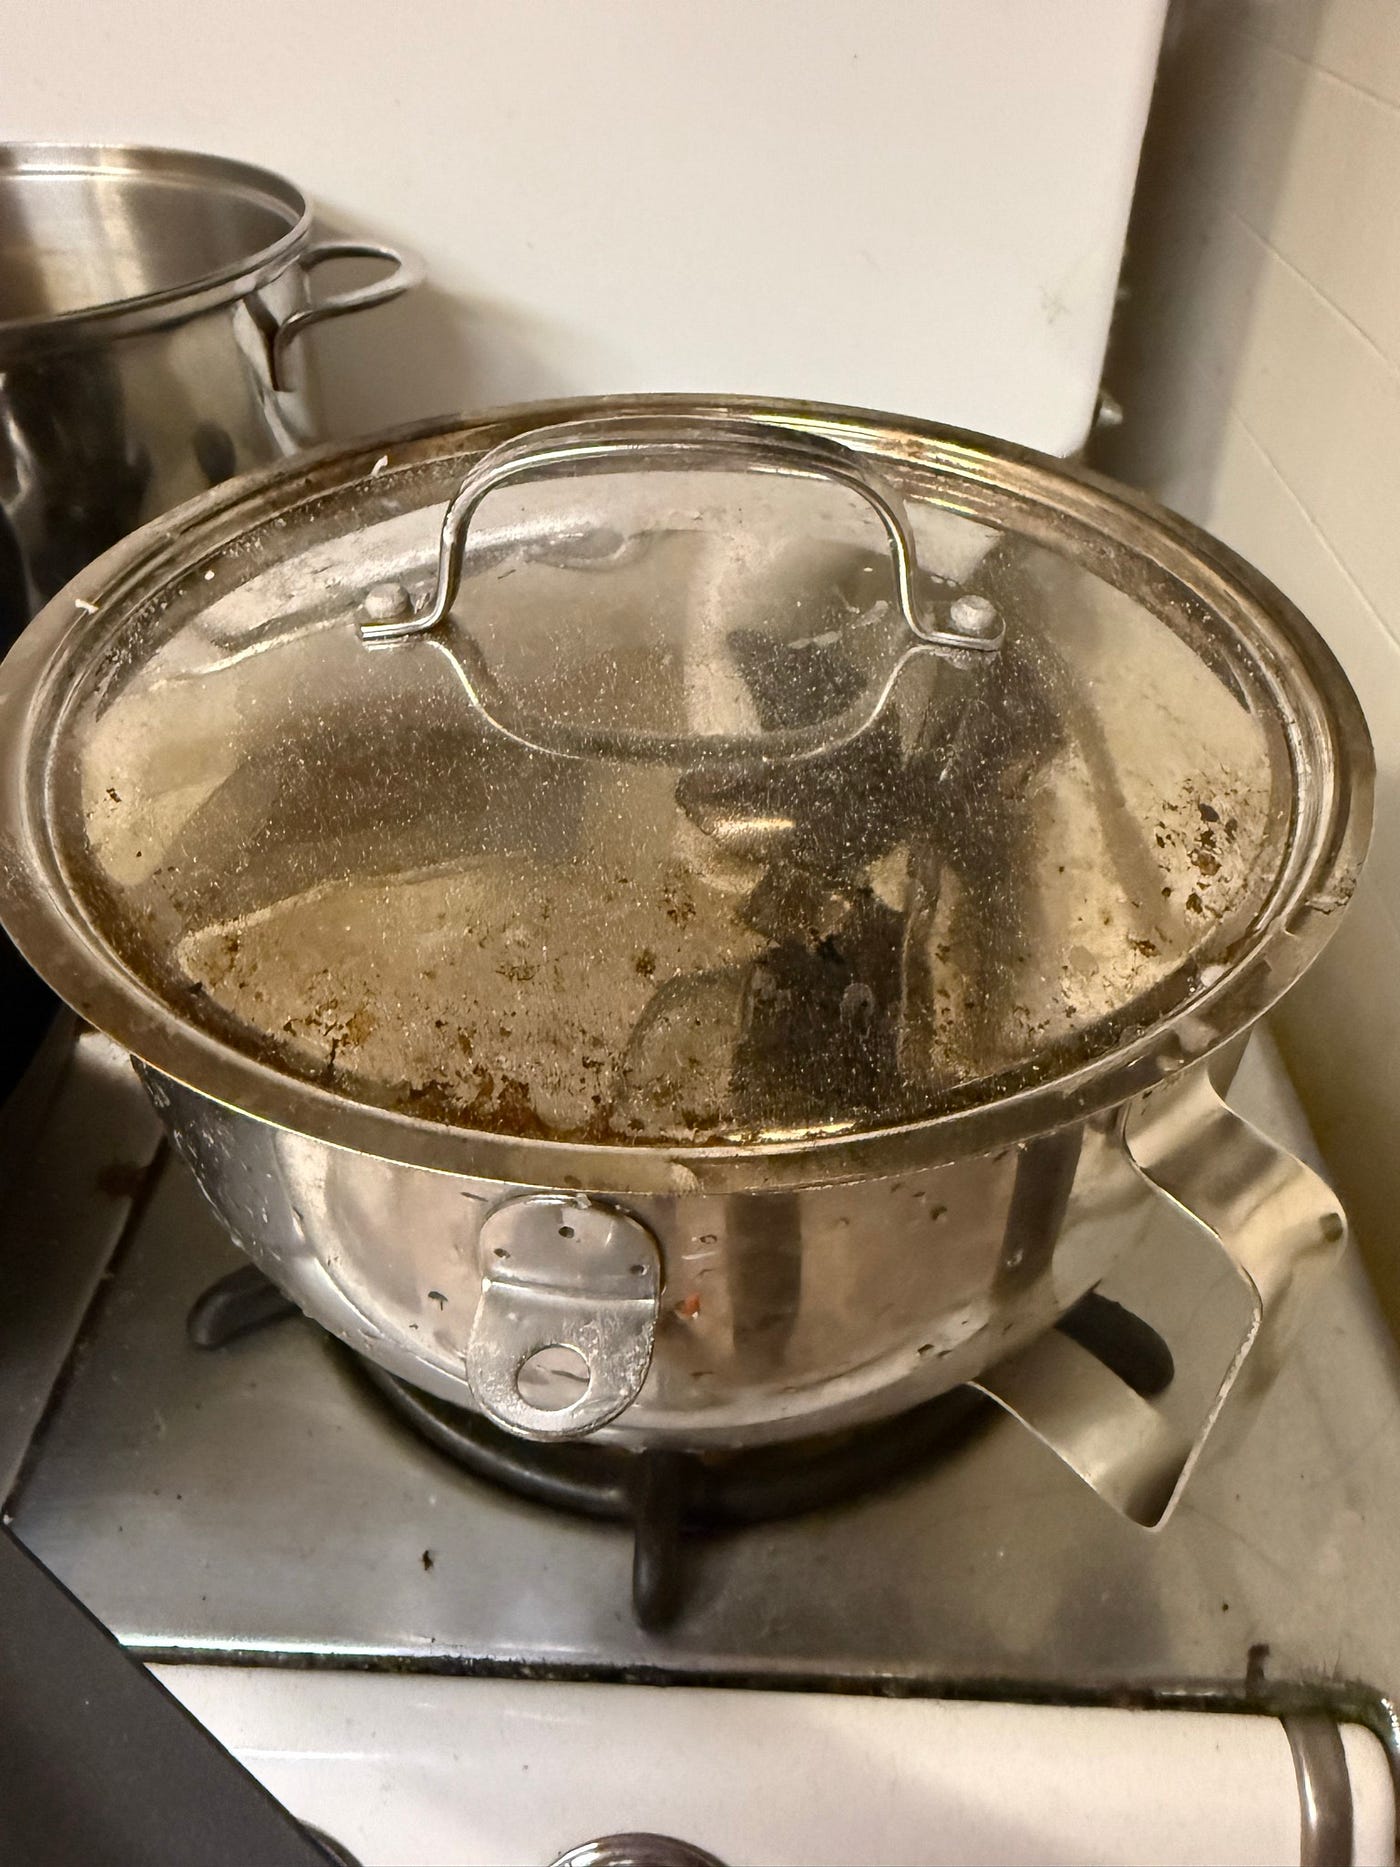
Let the mixed dough autolyse covered for 60 minutes in a warm place
Introduction of the levain and salt
After ~60 minutes of autolyse I transfer the dough into a 12qt plastic container for the next few steps (also ok to leave it in the mixing bowl). I place the 12qt container on top of my kitchen scale and sprinkle 10–12g of sea salt onto the surface of the dough. I then pour the levain out onto the dough/salt (a wet long spatula helps get it all out), then shake another 10–12 g of sea salt onto the levain (20–25g total salt). I shake the salt out in two tranches in order to distribute the salt more evenly throughout the dough. After introducing the levain and salt, I immediately apply the first stretch-and-fold (see below).
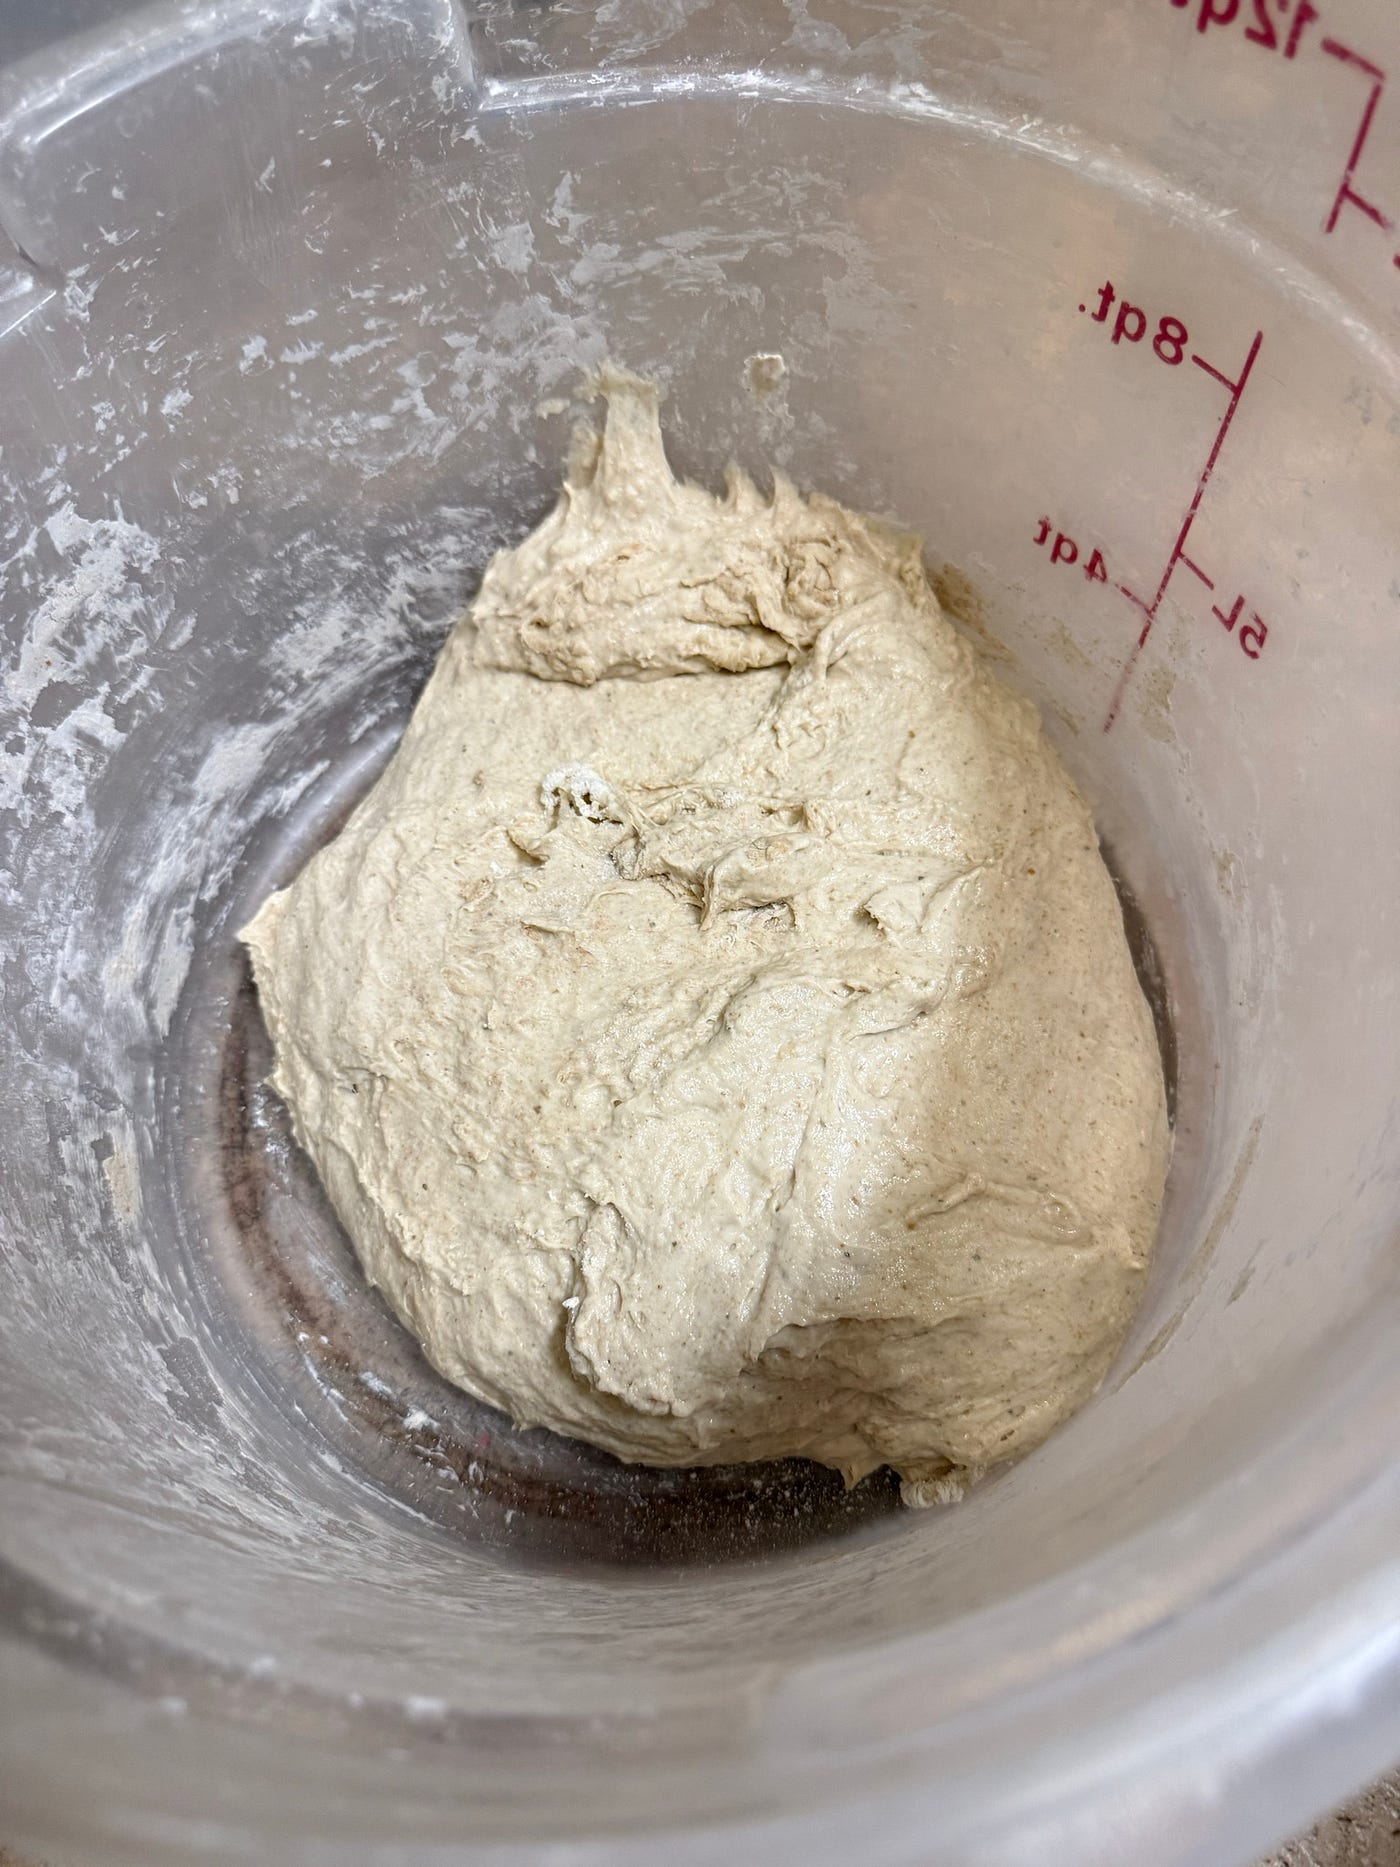
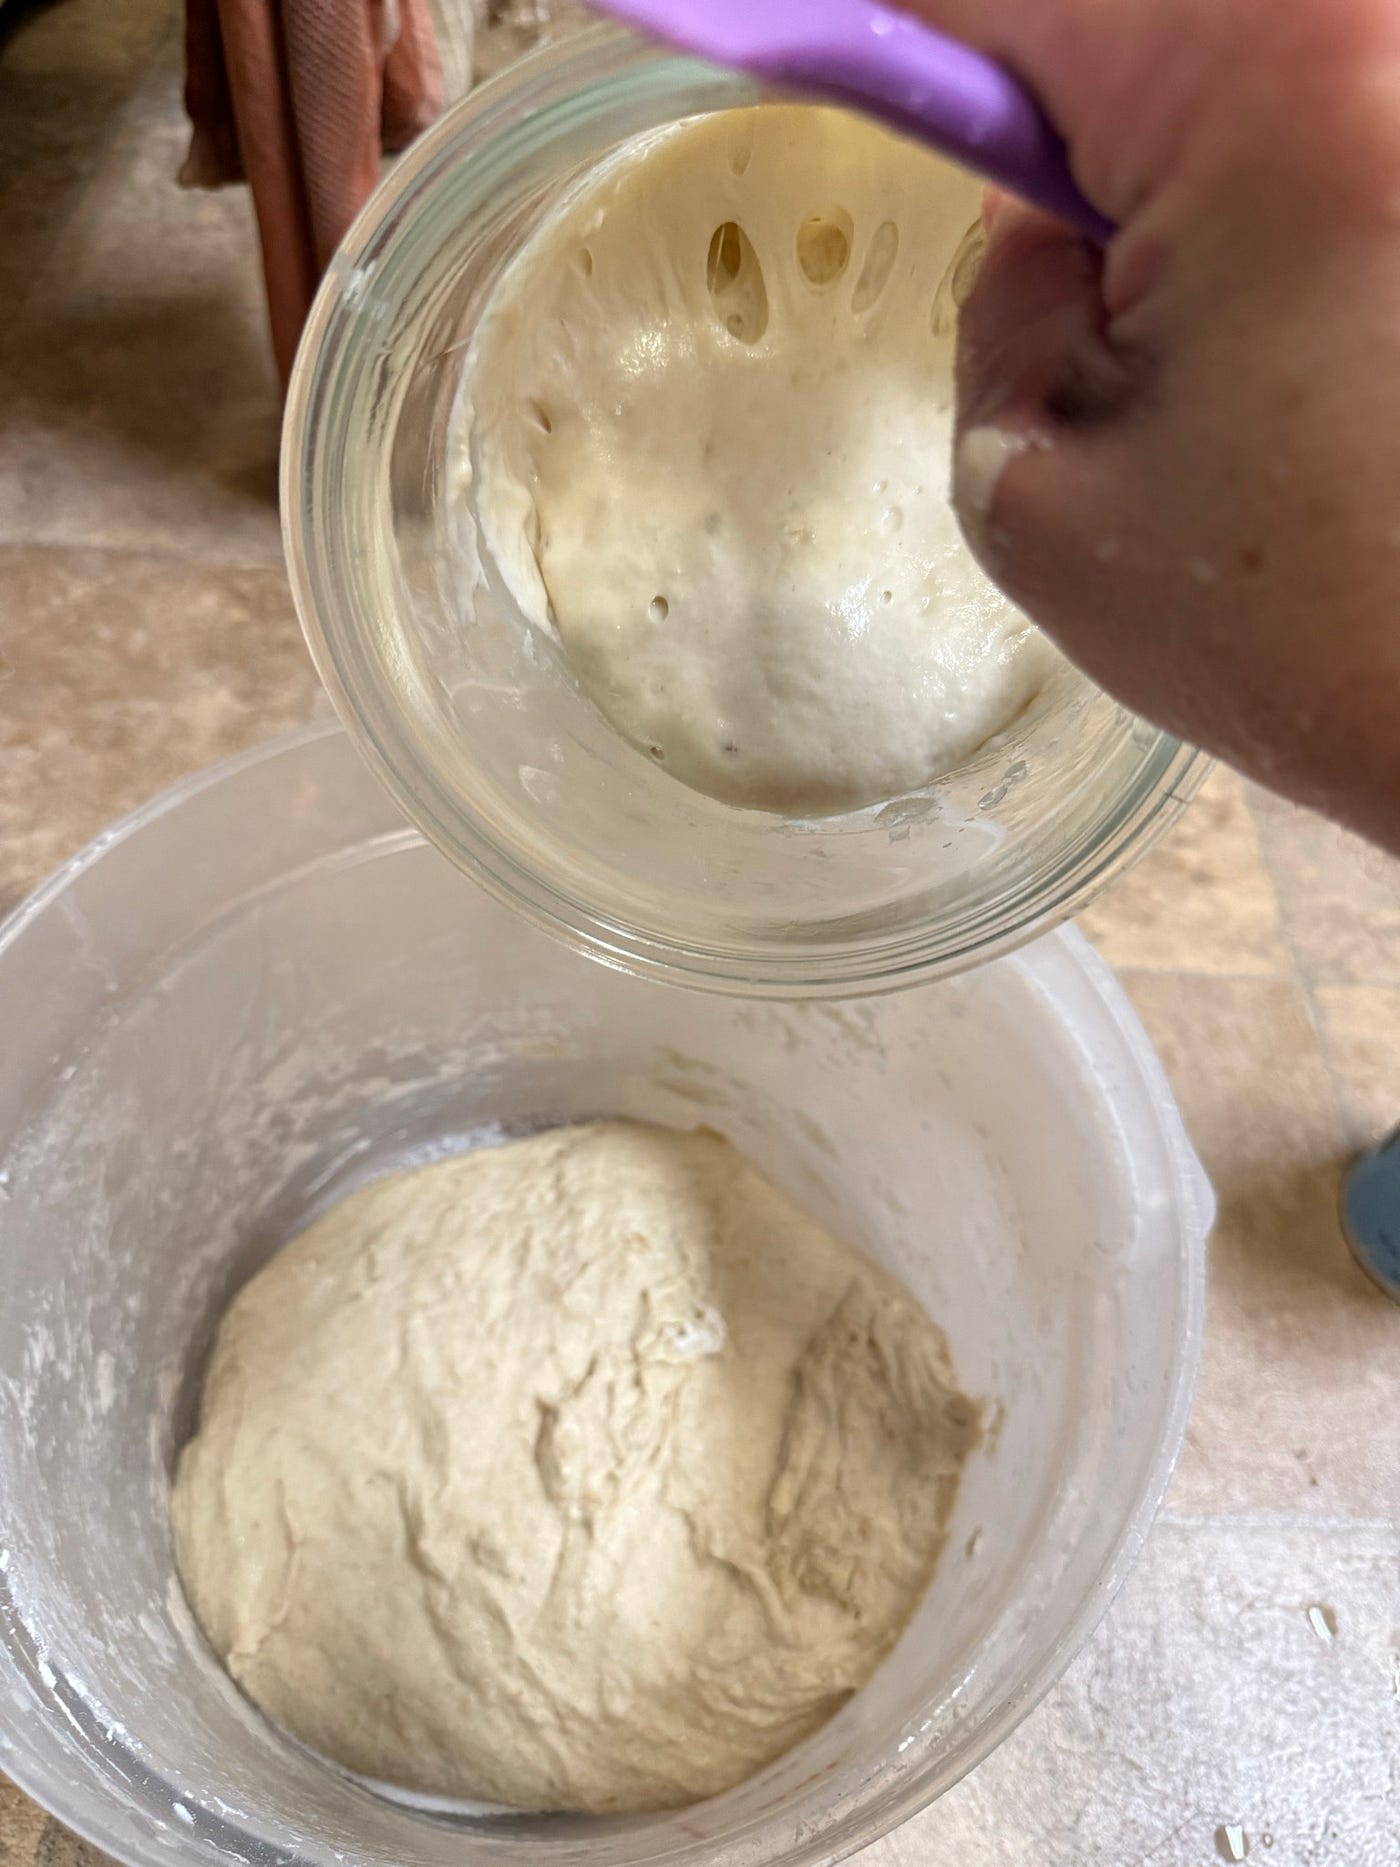

Autolysed dough (L), levain being poured onto the dough (M), and levain on dough (R)
Stretch and folds
The purpose of stretch and folds is to build and strengthen the internal gluten structure in the dough. It also creates layers of dough and levain, allowing the levain to permeate into the dough and creating a layered structure that will rise during baking.
Immediately after mixing, and even after autolyse, your dough is likely to feel “shaggy” when handled — it rips in a lot of places when stretched, and does not hang together like a cohesive mass of taffy. During the stretch and fold phase, your dough should transform from being shaggy to being smooth and flexible. If this doesn’t happen, check the ambient temperature — you may be letting your dough sit in a location that is too cold.
The stretch-and-fold actions I use:
- slide a hand under one quadrant of the dough
- grab it and gently stretch it upward (stretch)
- fold across the rest of the dough to the other side of the container (fold)
- rotate container 90 degrees, and repeat this process
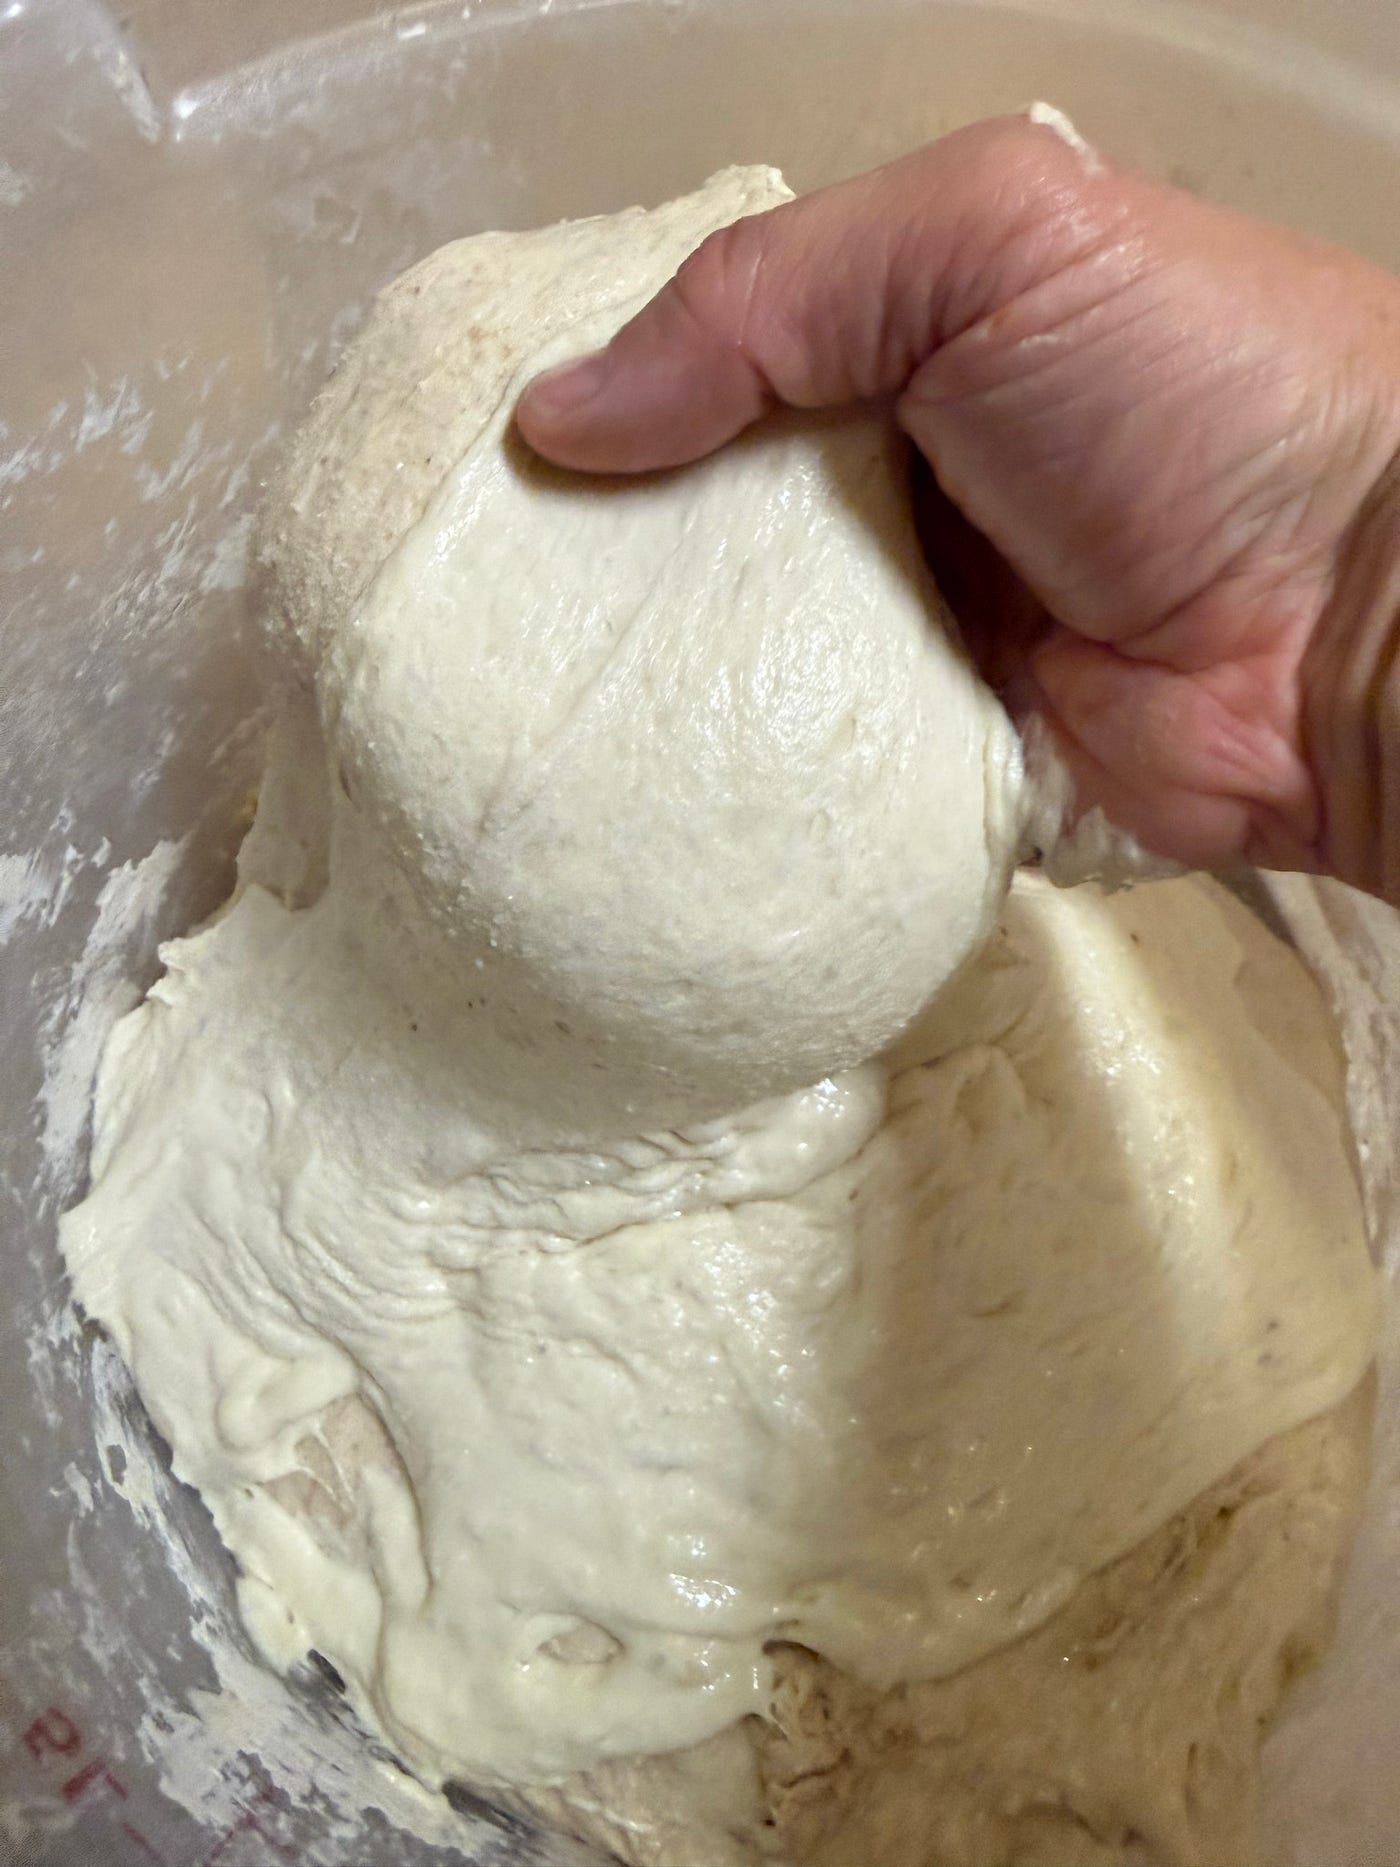
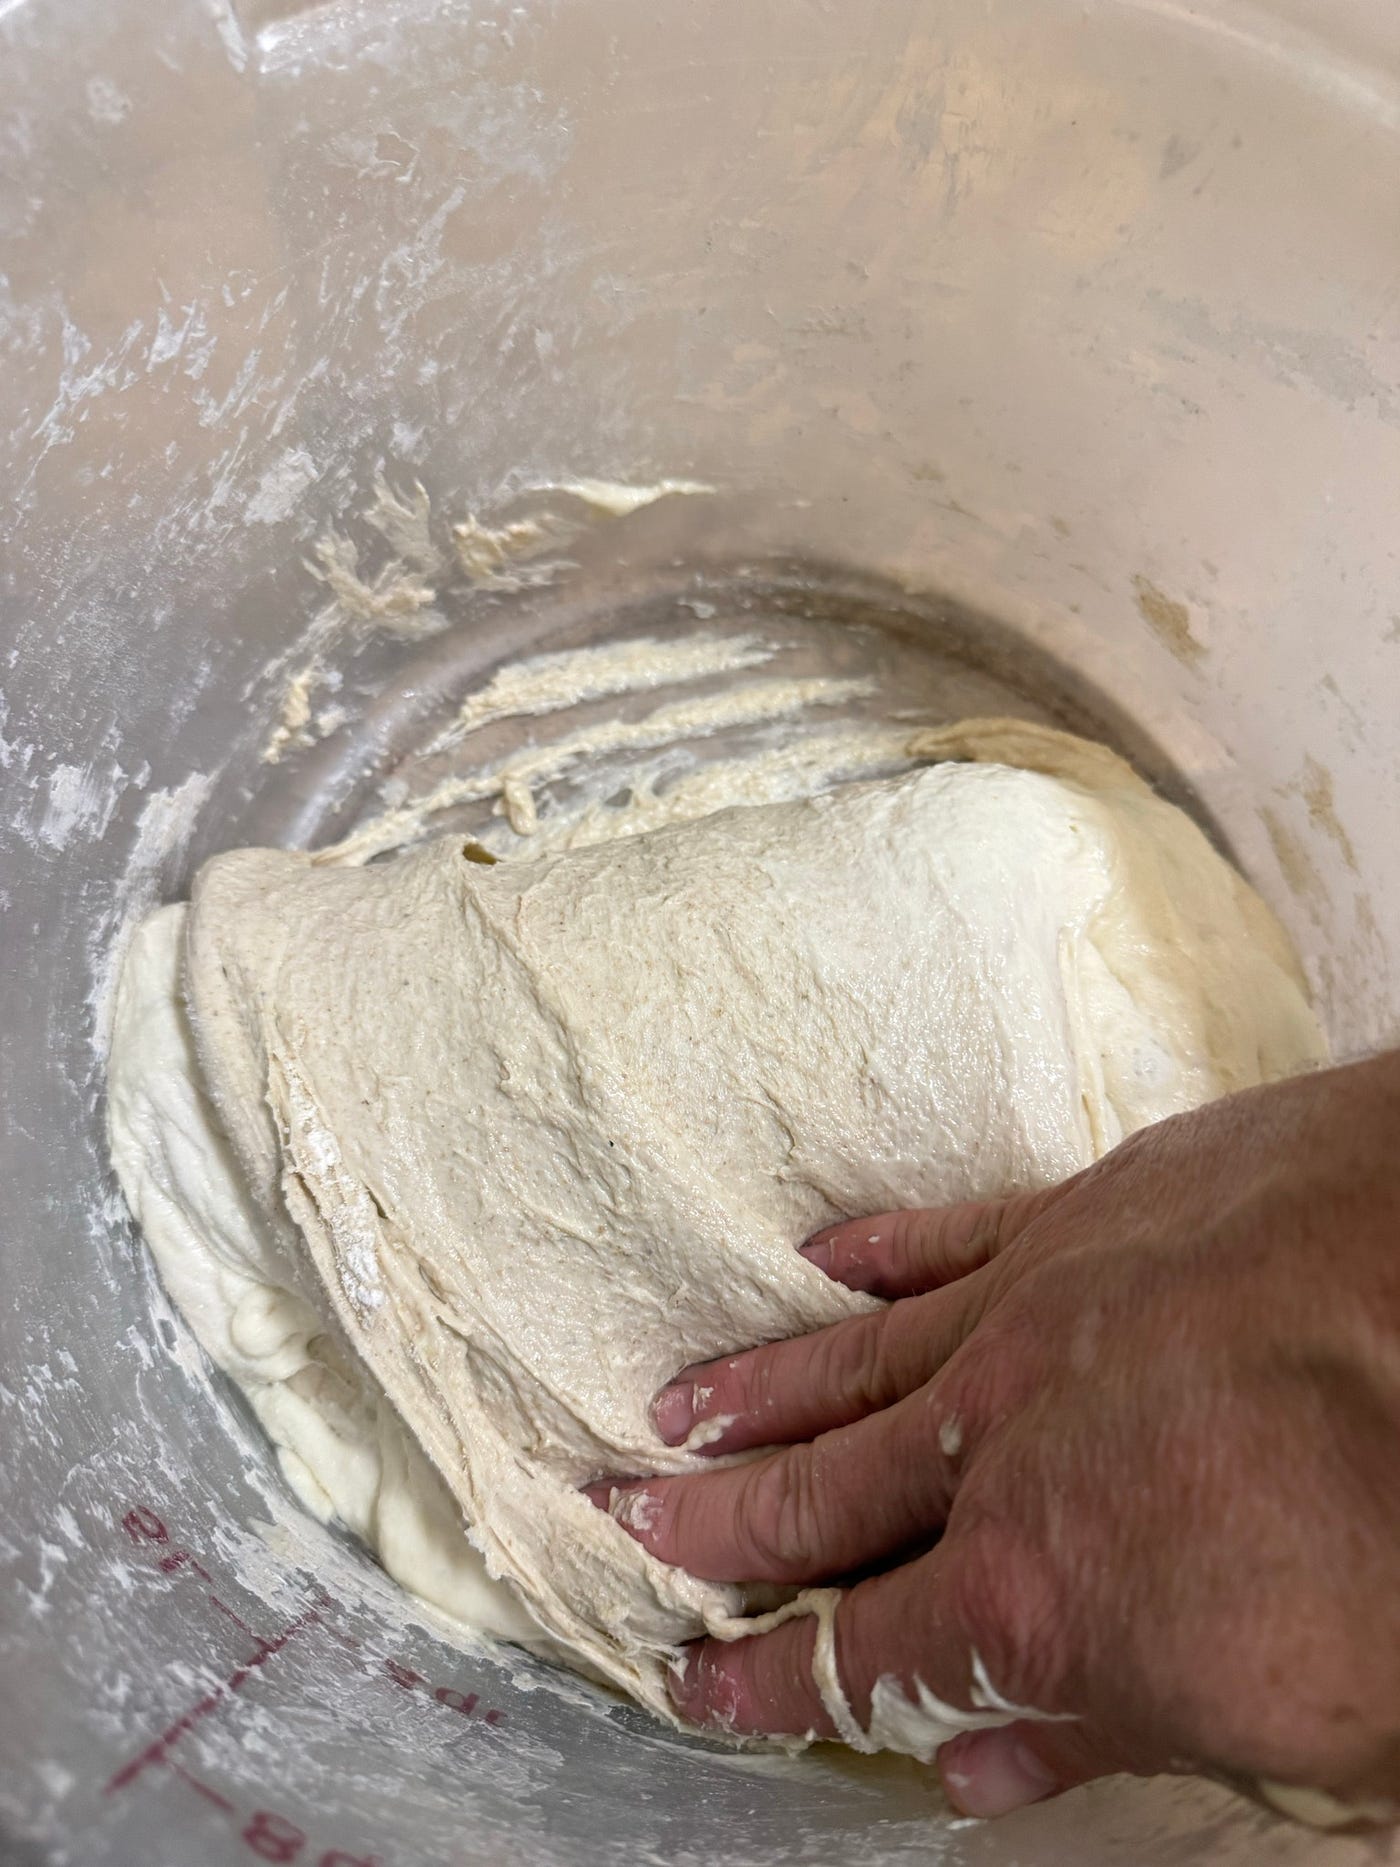
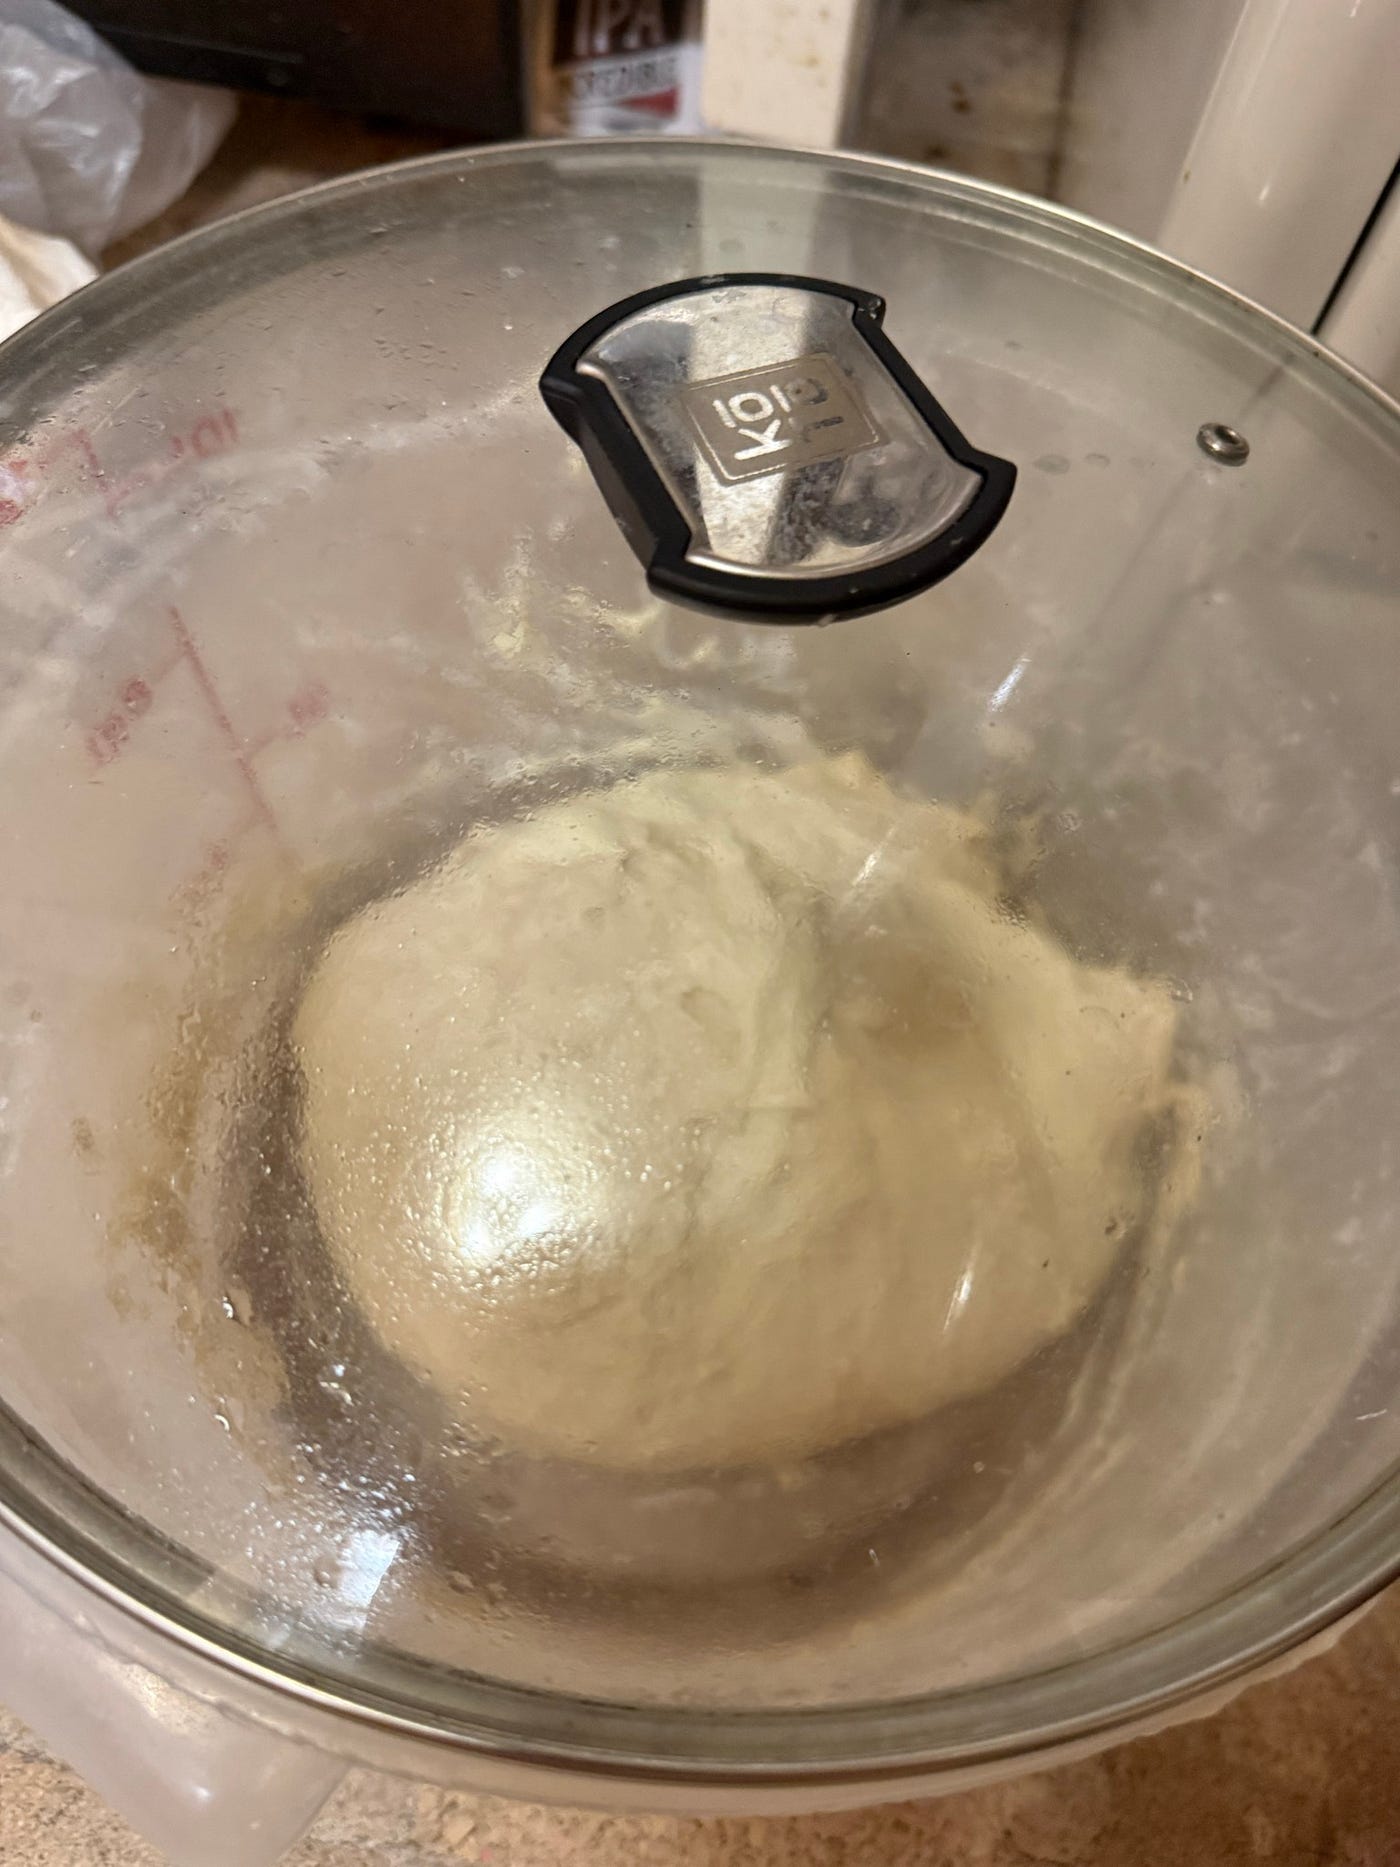
A stretch and fold (L/M), and the dough covered back up (R)
For very pliable / high-hydration dough, you should be able to accomplish 4x stretch-and-folds each time, at 0, 90, 180, and 270 degrees. If the dough is thicker, you might only get 3x stretch-and-folds each time. I think either is OK. If the dough is sticking to the bottom of the container, I slide a wet silicone spatula underneath, to cut it free before the stretch-and-fold.
I do a stretch-and-fold action every 30 minutes, over a period of 2–3 hours (i.e. 4–5 times, in my experience this number doesn’t need to be precise). In-between, let the dough rest and expand in a warm location that is ideally 70–80 degrees F — for example, I sometimes put the (covered) container into the oven chamber of my old gas stove and leave the oven door open. By the end of this process the dough should feel somewhat “billowy” — smooth and flexible, and expanded in volume a bit vs when you started stretch-and-folds.
Shaping
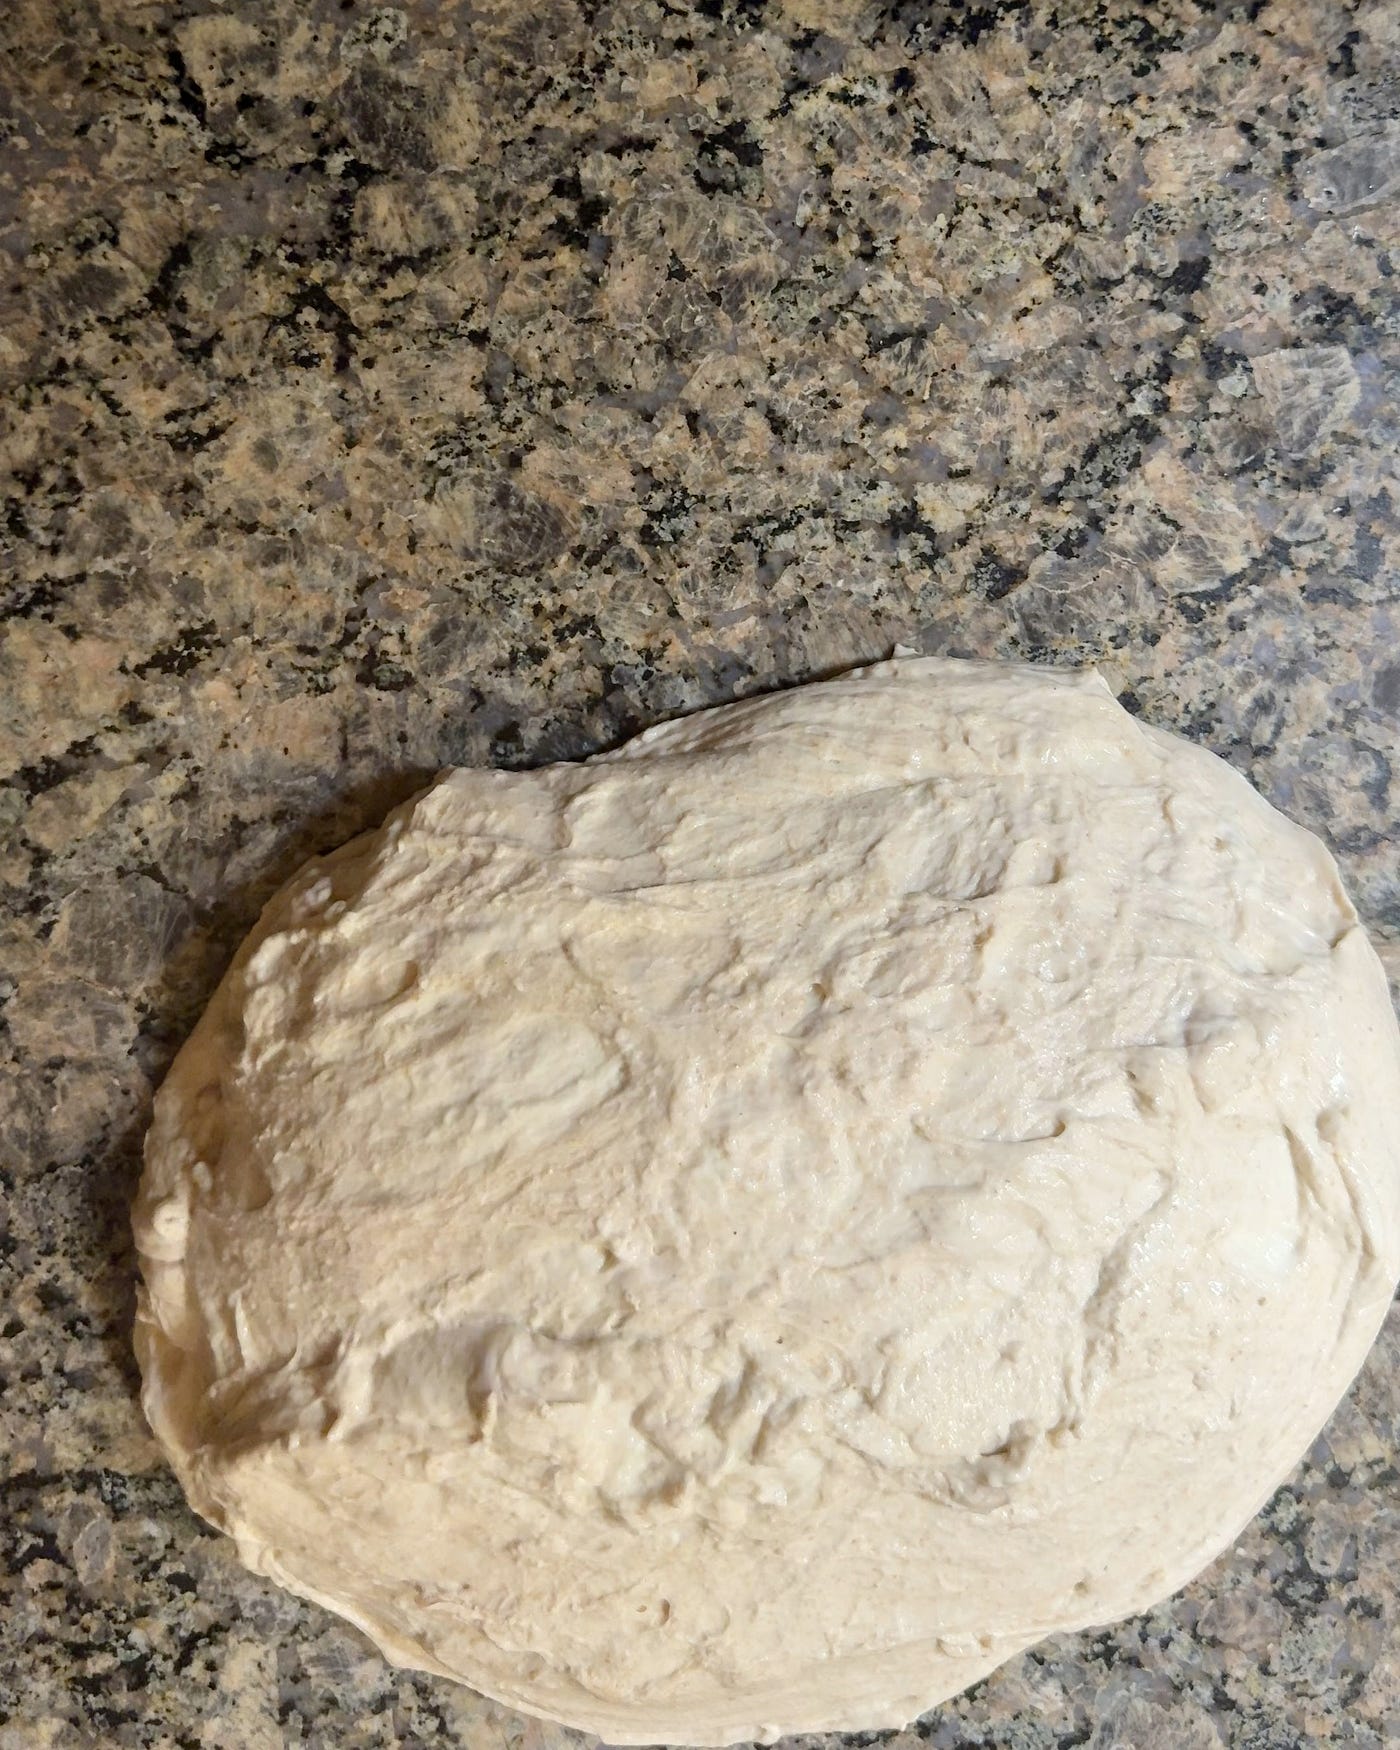
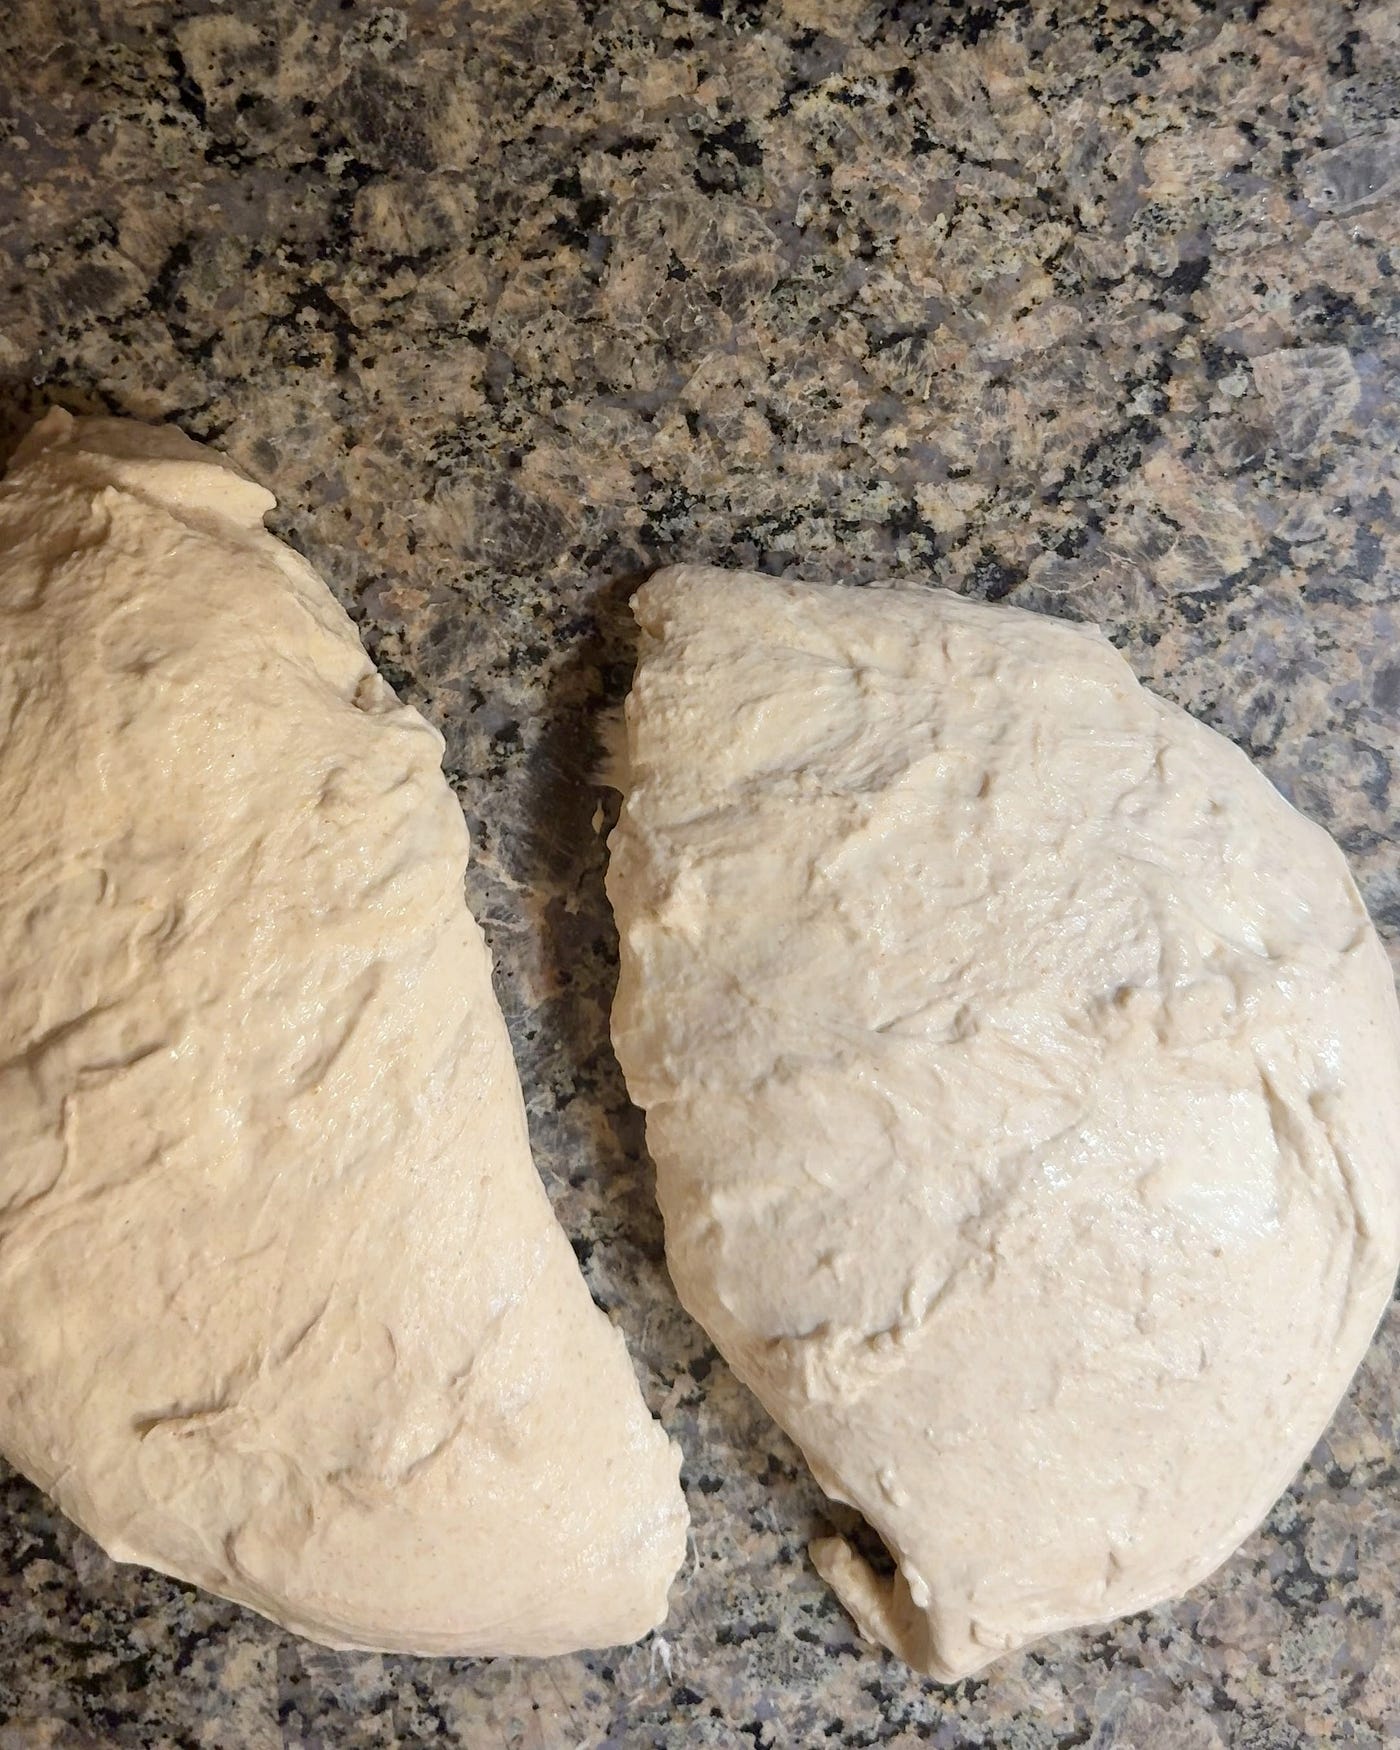
With a wet silicone spatula, I ease the dough out of the container onto a clean countertop. Using the same spatula, I cut it the dough into two equal pieces and make them as circular as possible, sculpting around the edges with the spatula. Try to get them to have identical volume, you can cut and transfer small pieces from one to the other if needed.
At this point I typically let the dough sit on the counter for 20–30 minutes if I have the time, this “bench rest” allowing the dough relax and spread out, which makes the next step a little easier.
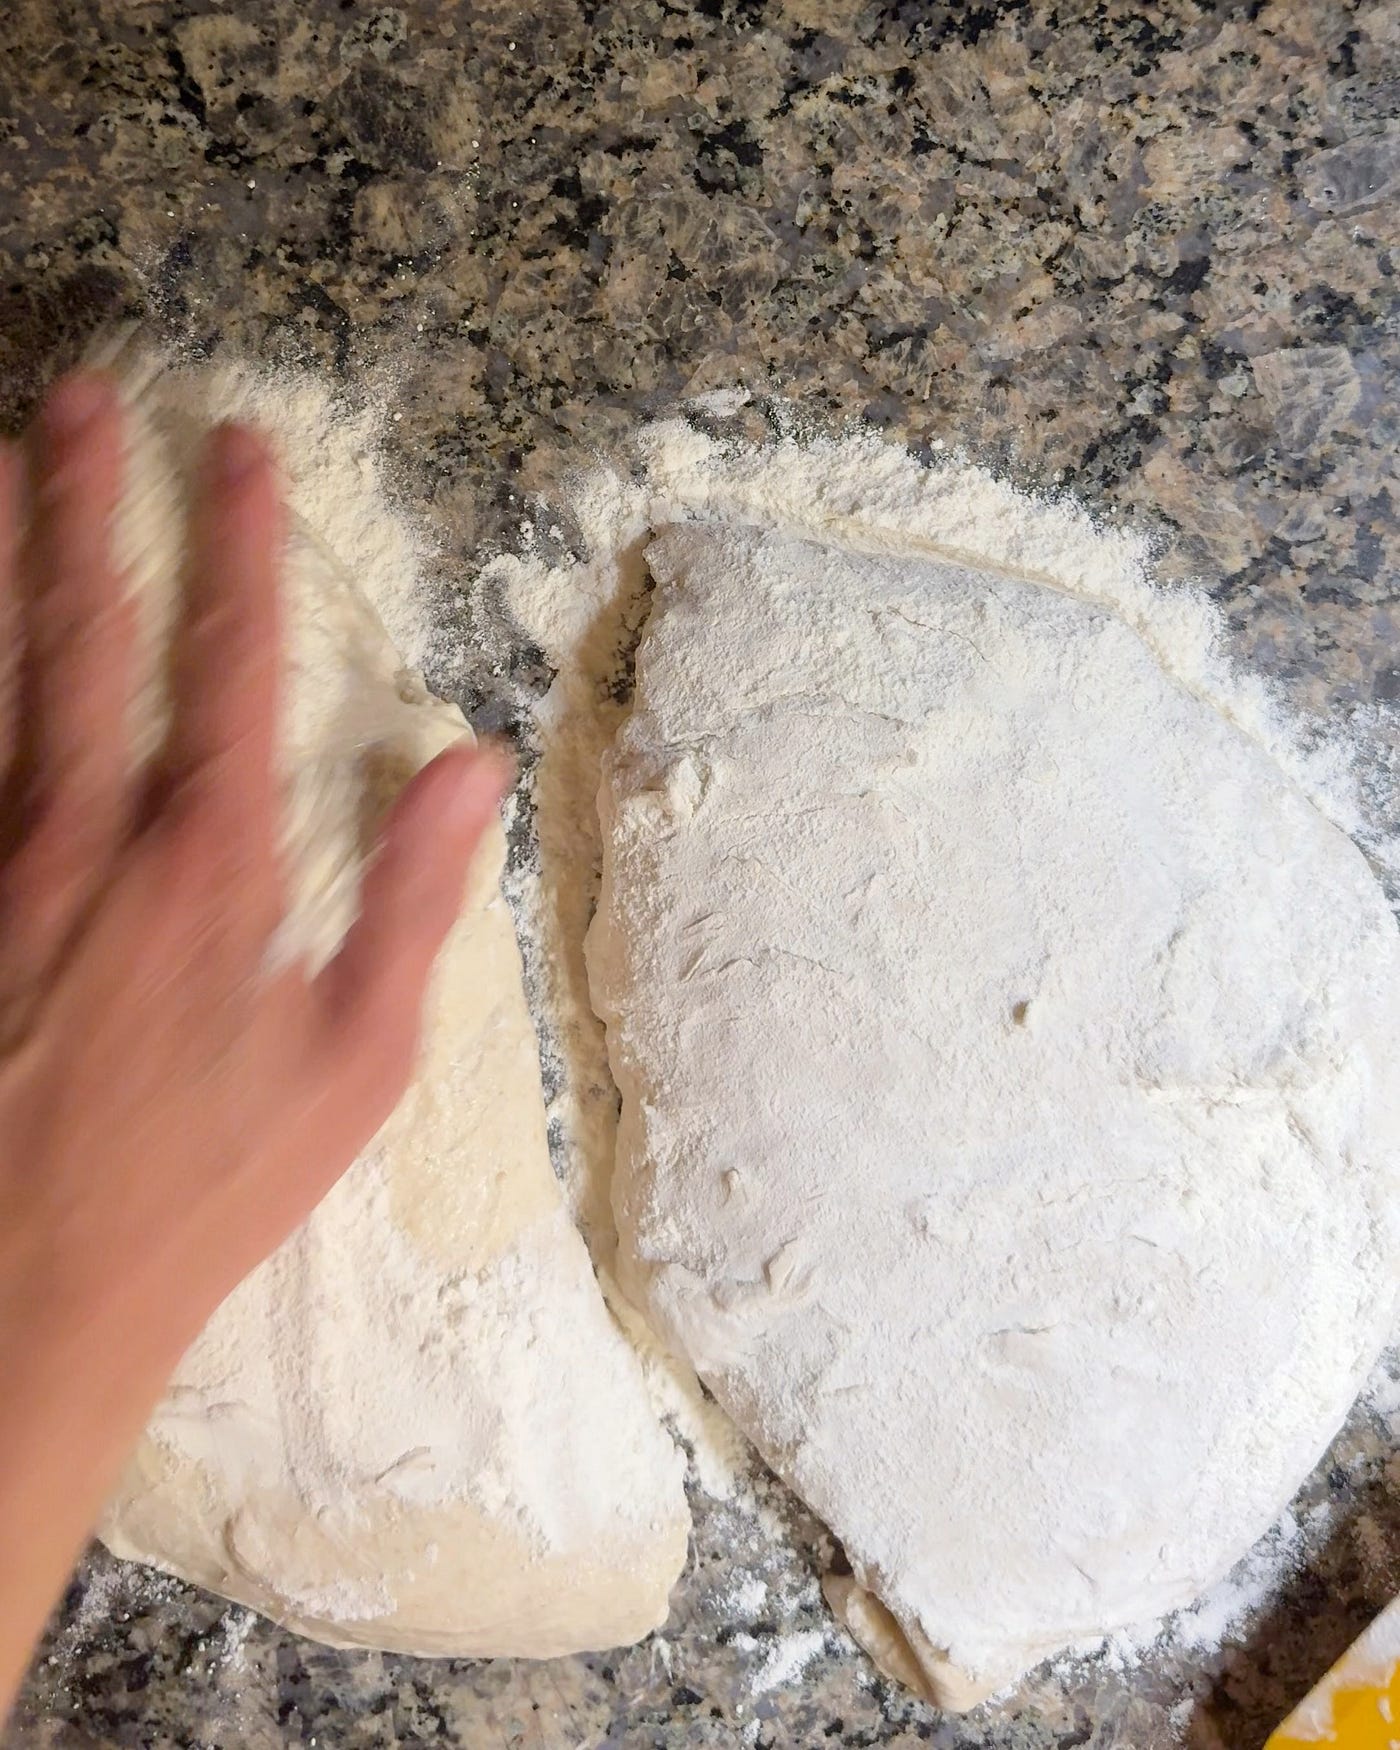
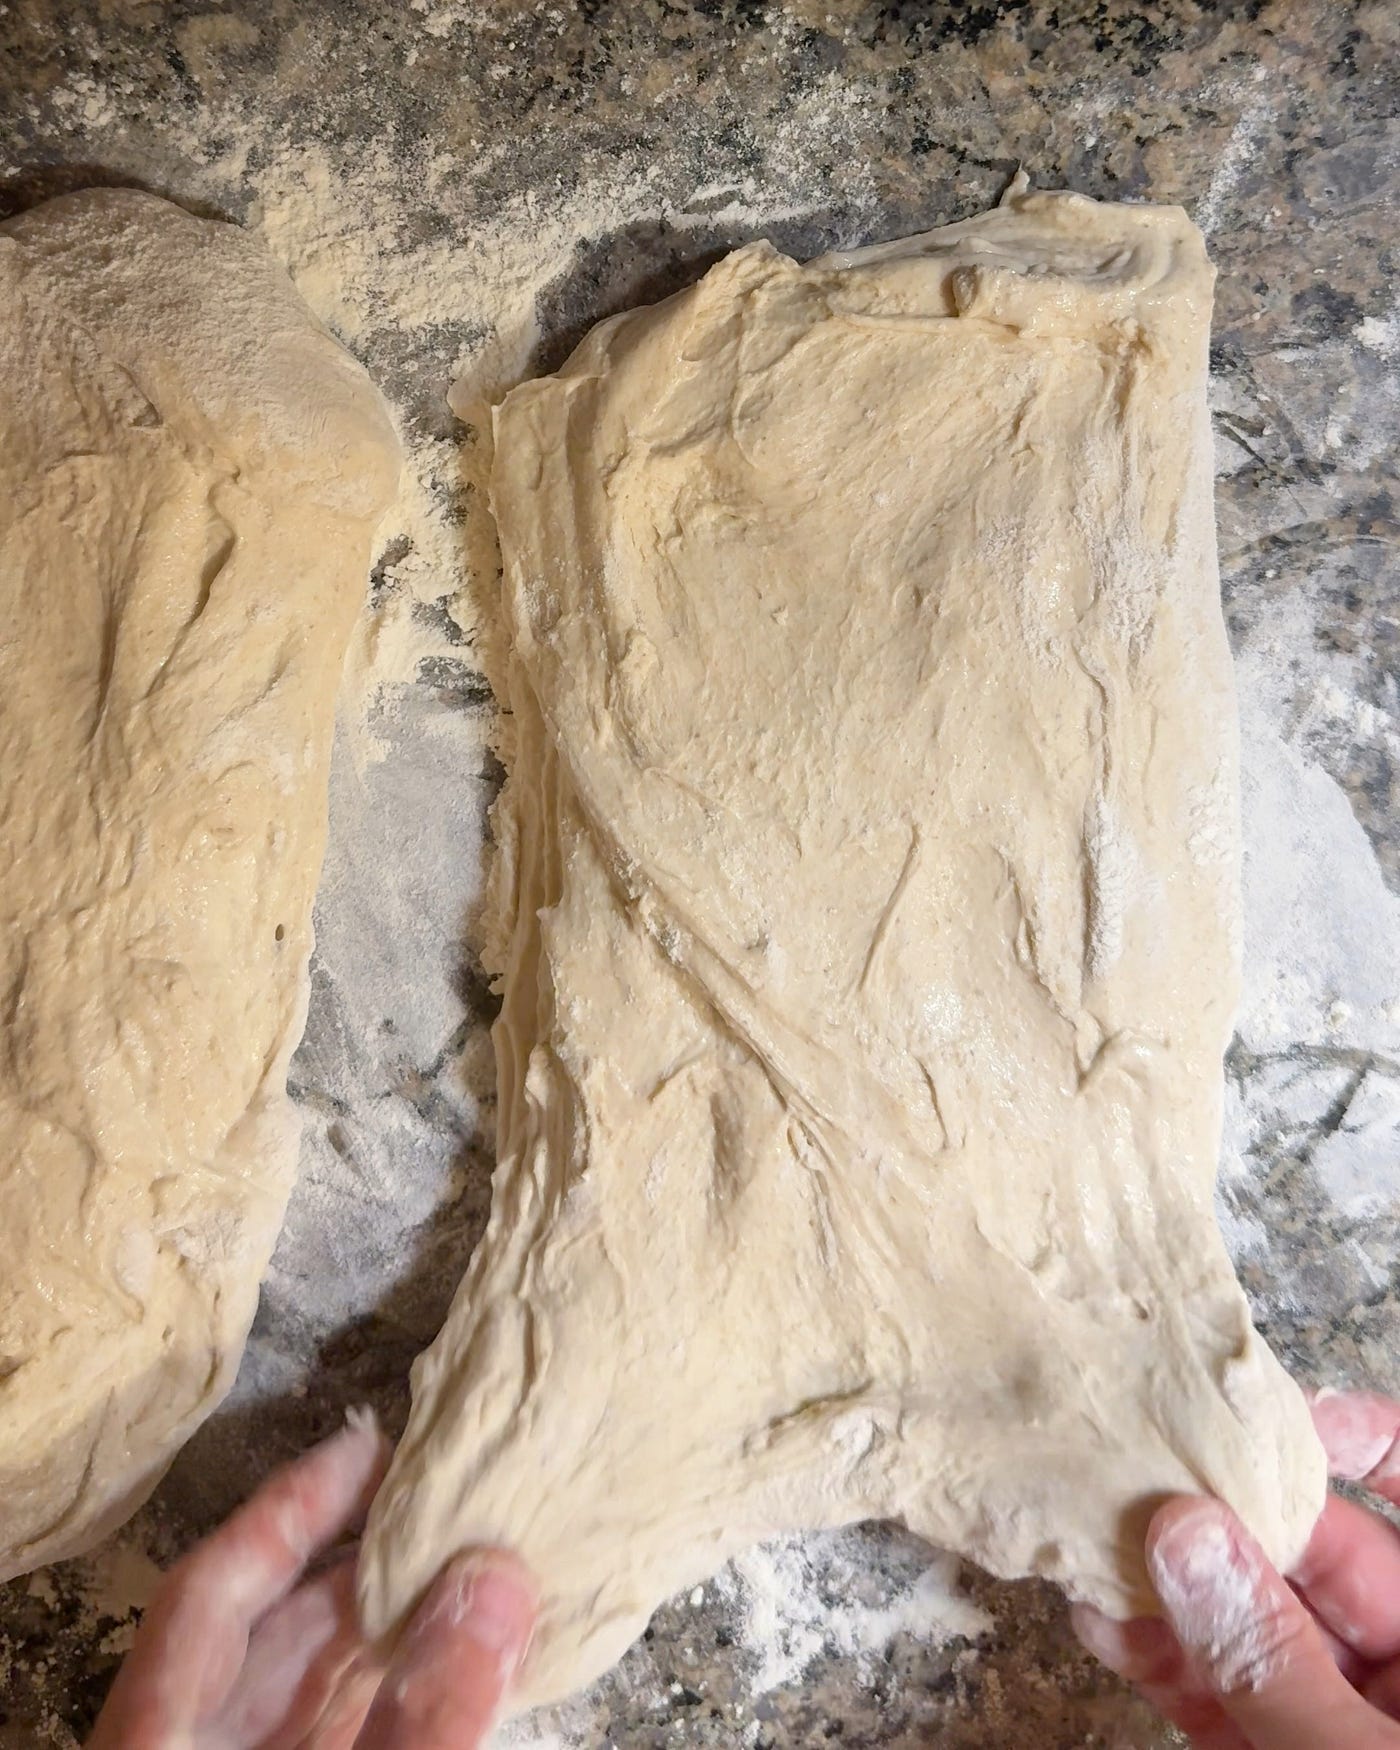
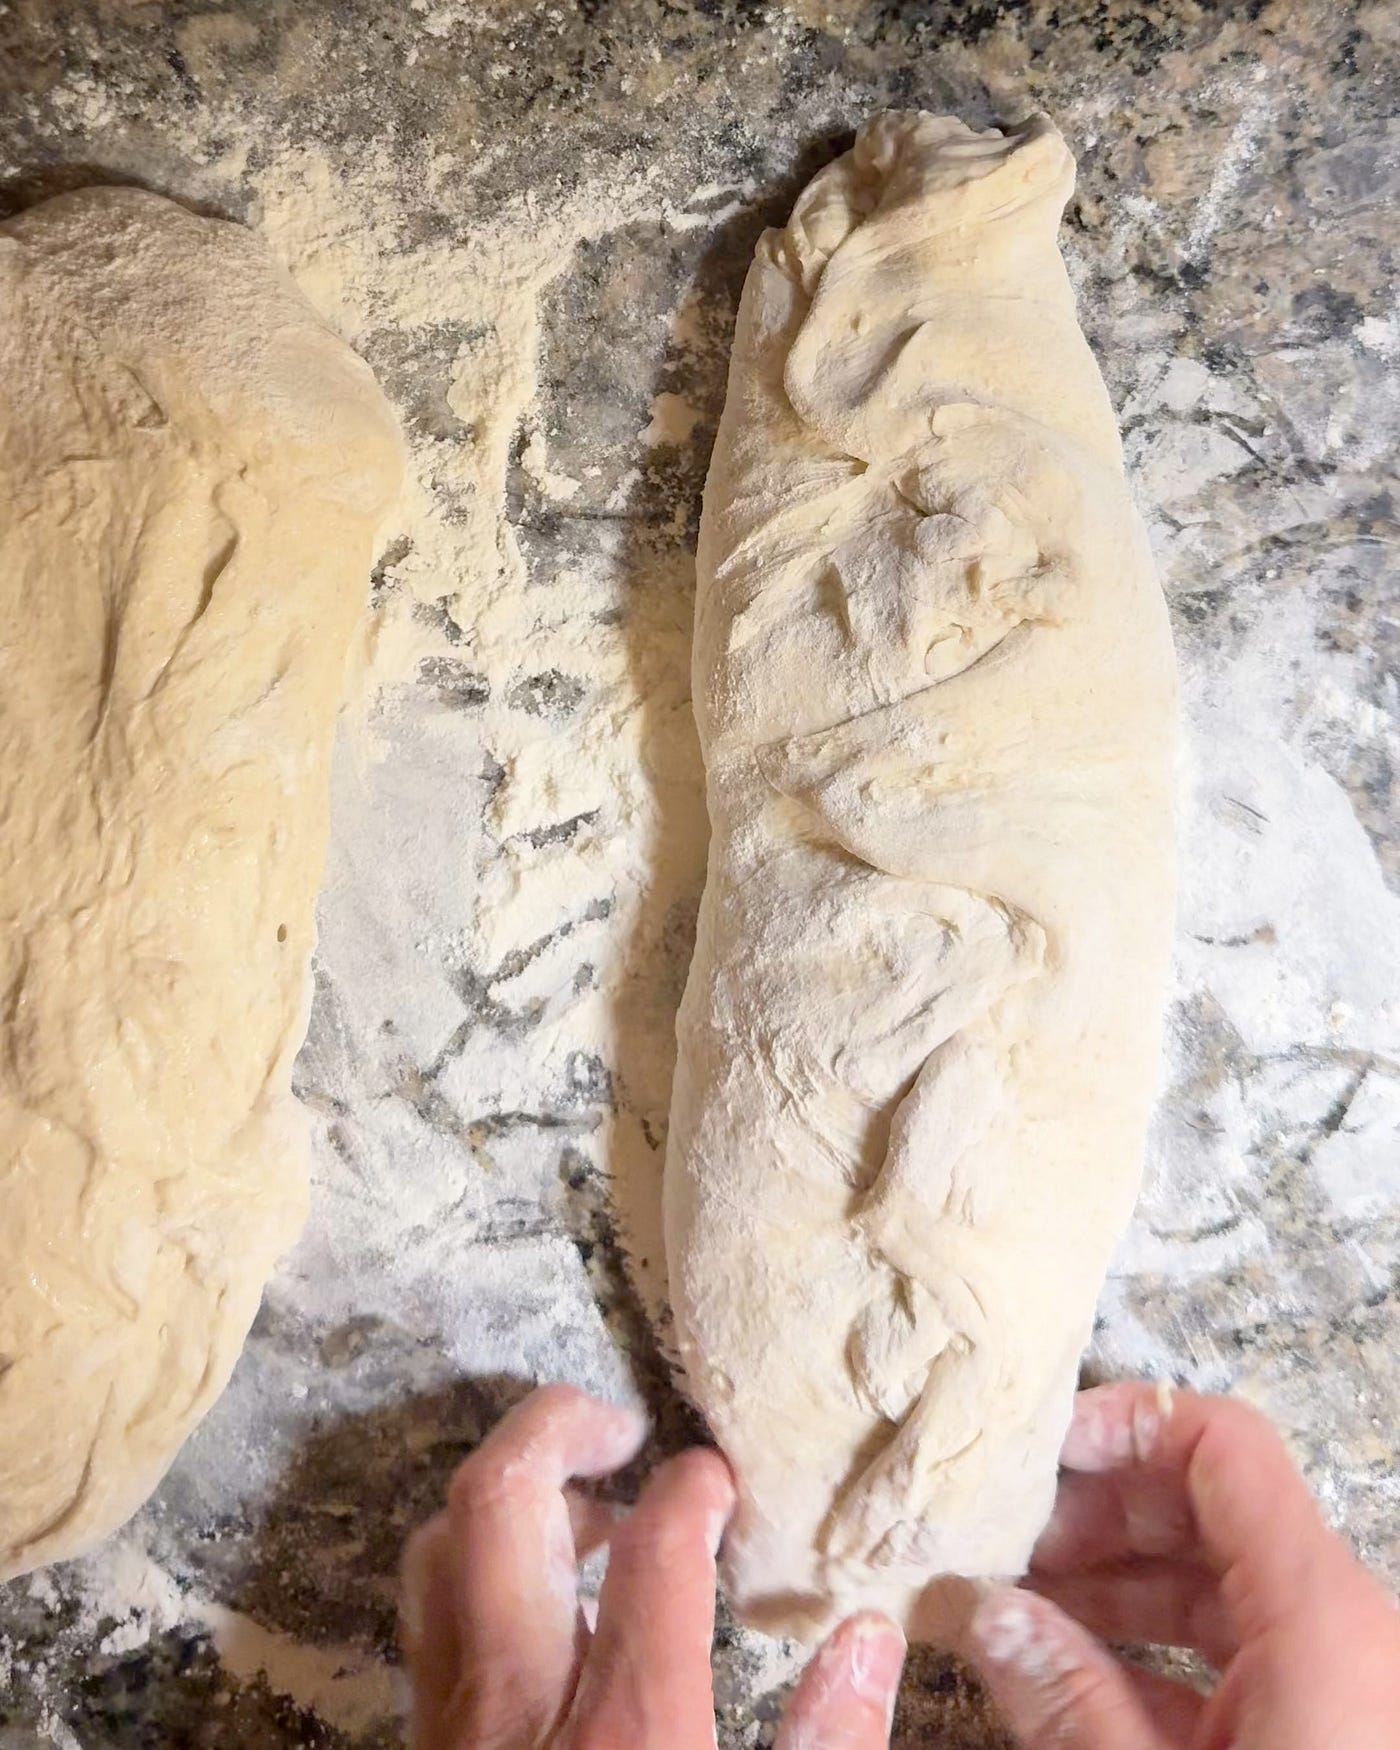
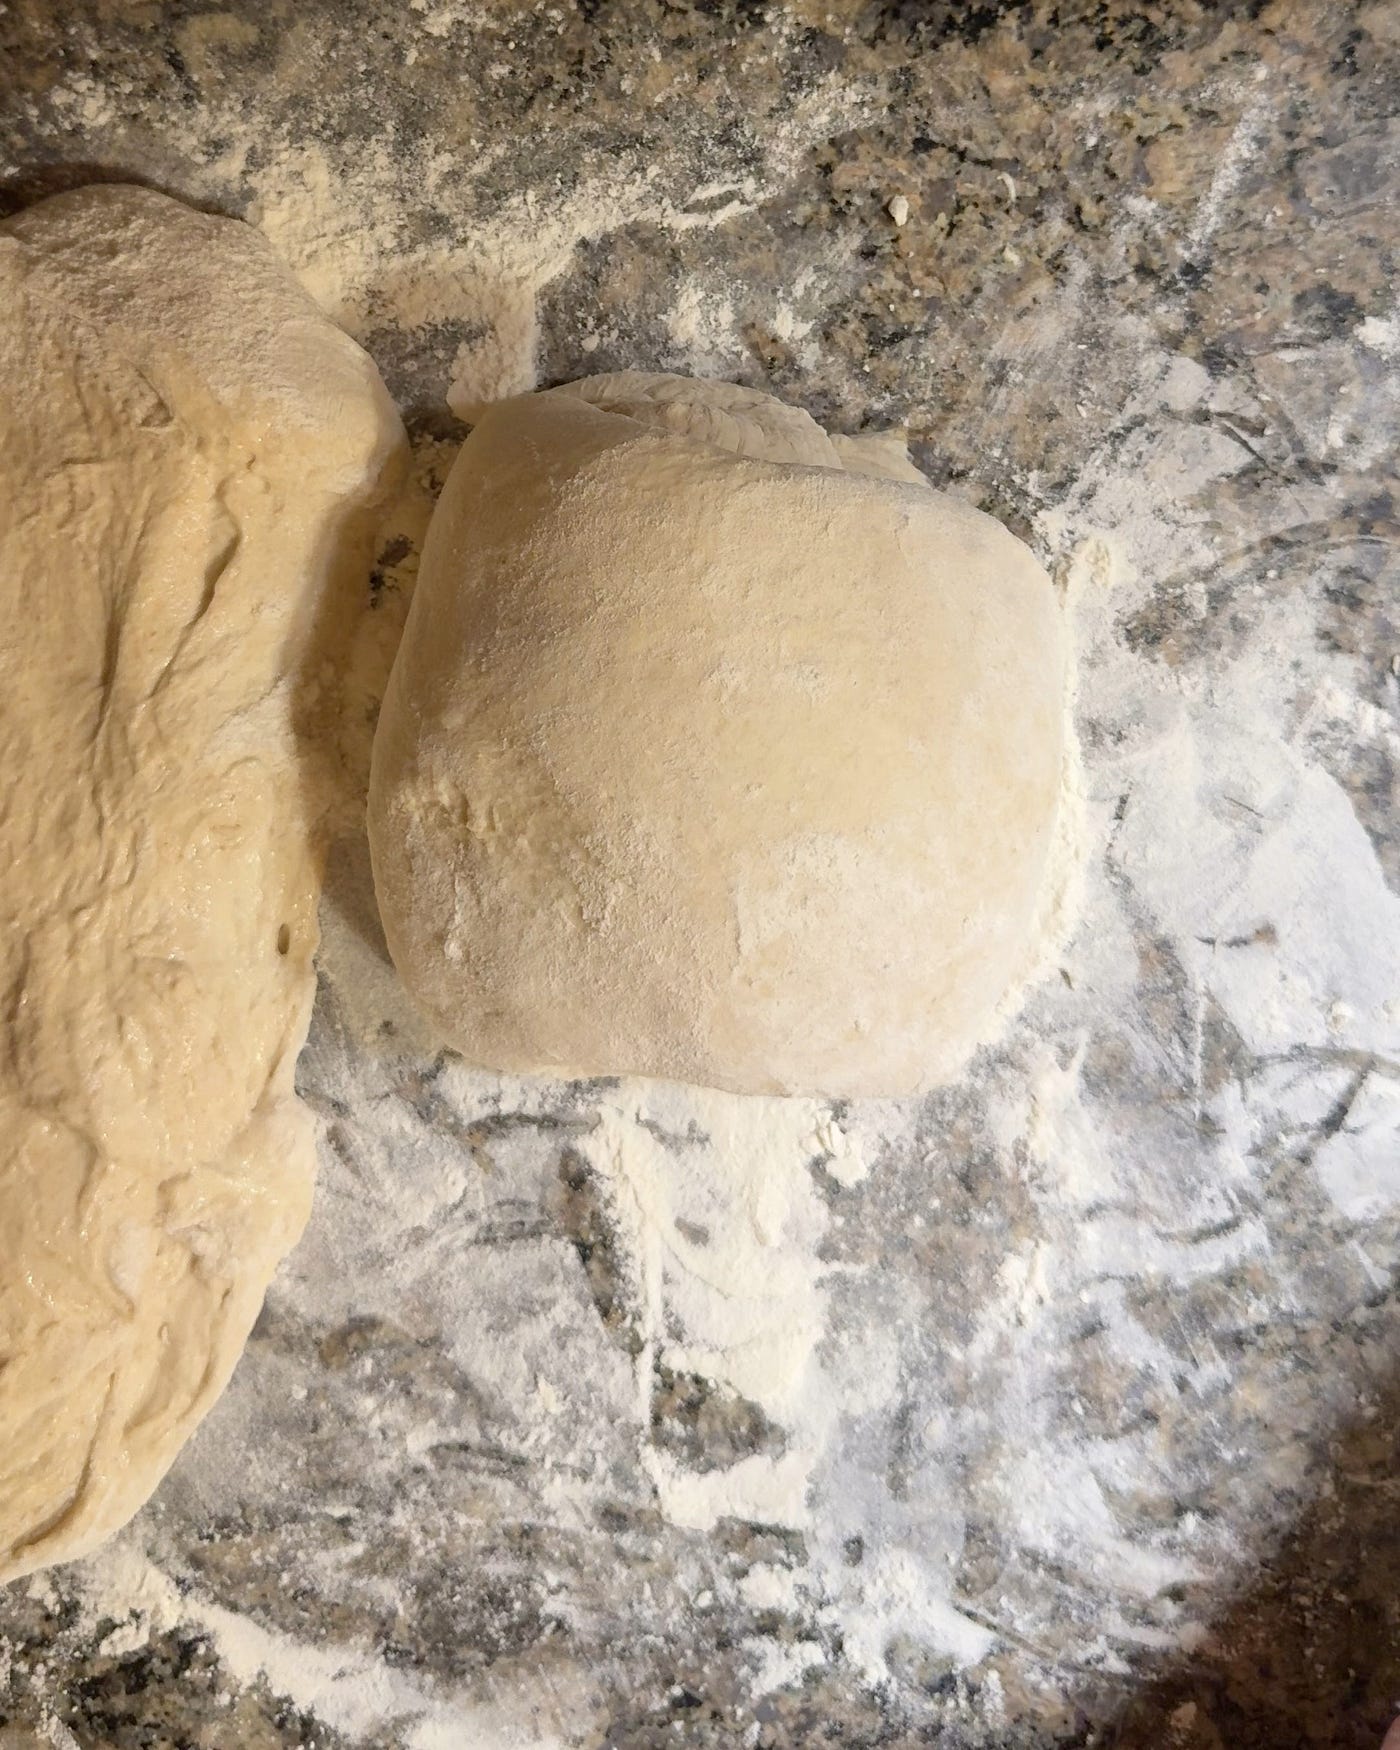
After the optional bench rest, I sprinkle about a tablespoon of flour onto the top of each chunk of dough. With my hand, I gently rub the flour around to cover the entire surface of the dough. Using the spatula and my hand, I then gently flip over each piece of dough, exposing the wet underside. I tug the edges all around to flatten out each piece of dough as much as possible. Then I “zipper” each piece of dough, gently roll it from one end to the other, and put it into an oblong banneton proofing basket with a cloth lining that I have sprinked with rice flour to keep the dough from sticking to the cloth during proofing.
That last paragraph is a good example of how language utterly fails to capture a skill that is physical and subtle — hope the pictures help!
Cold proofing
After the loaves of dough are in banneton proofing baskets, I put each basket into a plastic bag to keep moisture in and stick it into the refrigerator for an overnight cold proof. This proof lasts for anywhere from 12–24 hours — the sourdough will taste more sour the longer the proof.
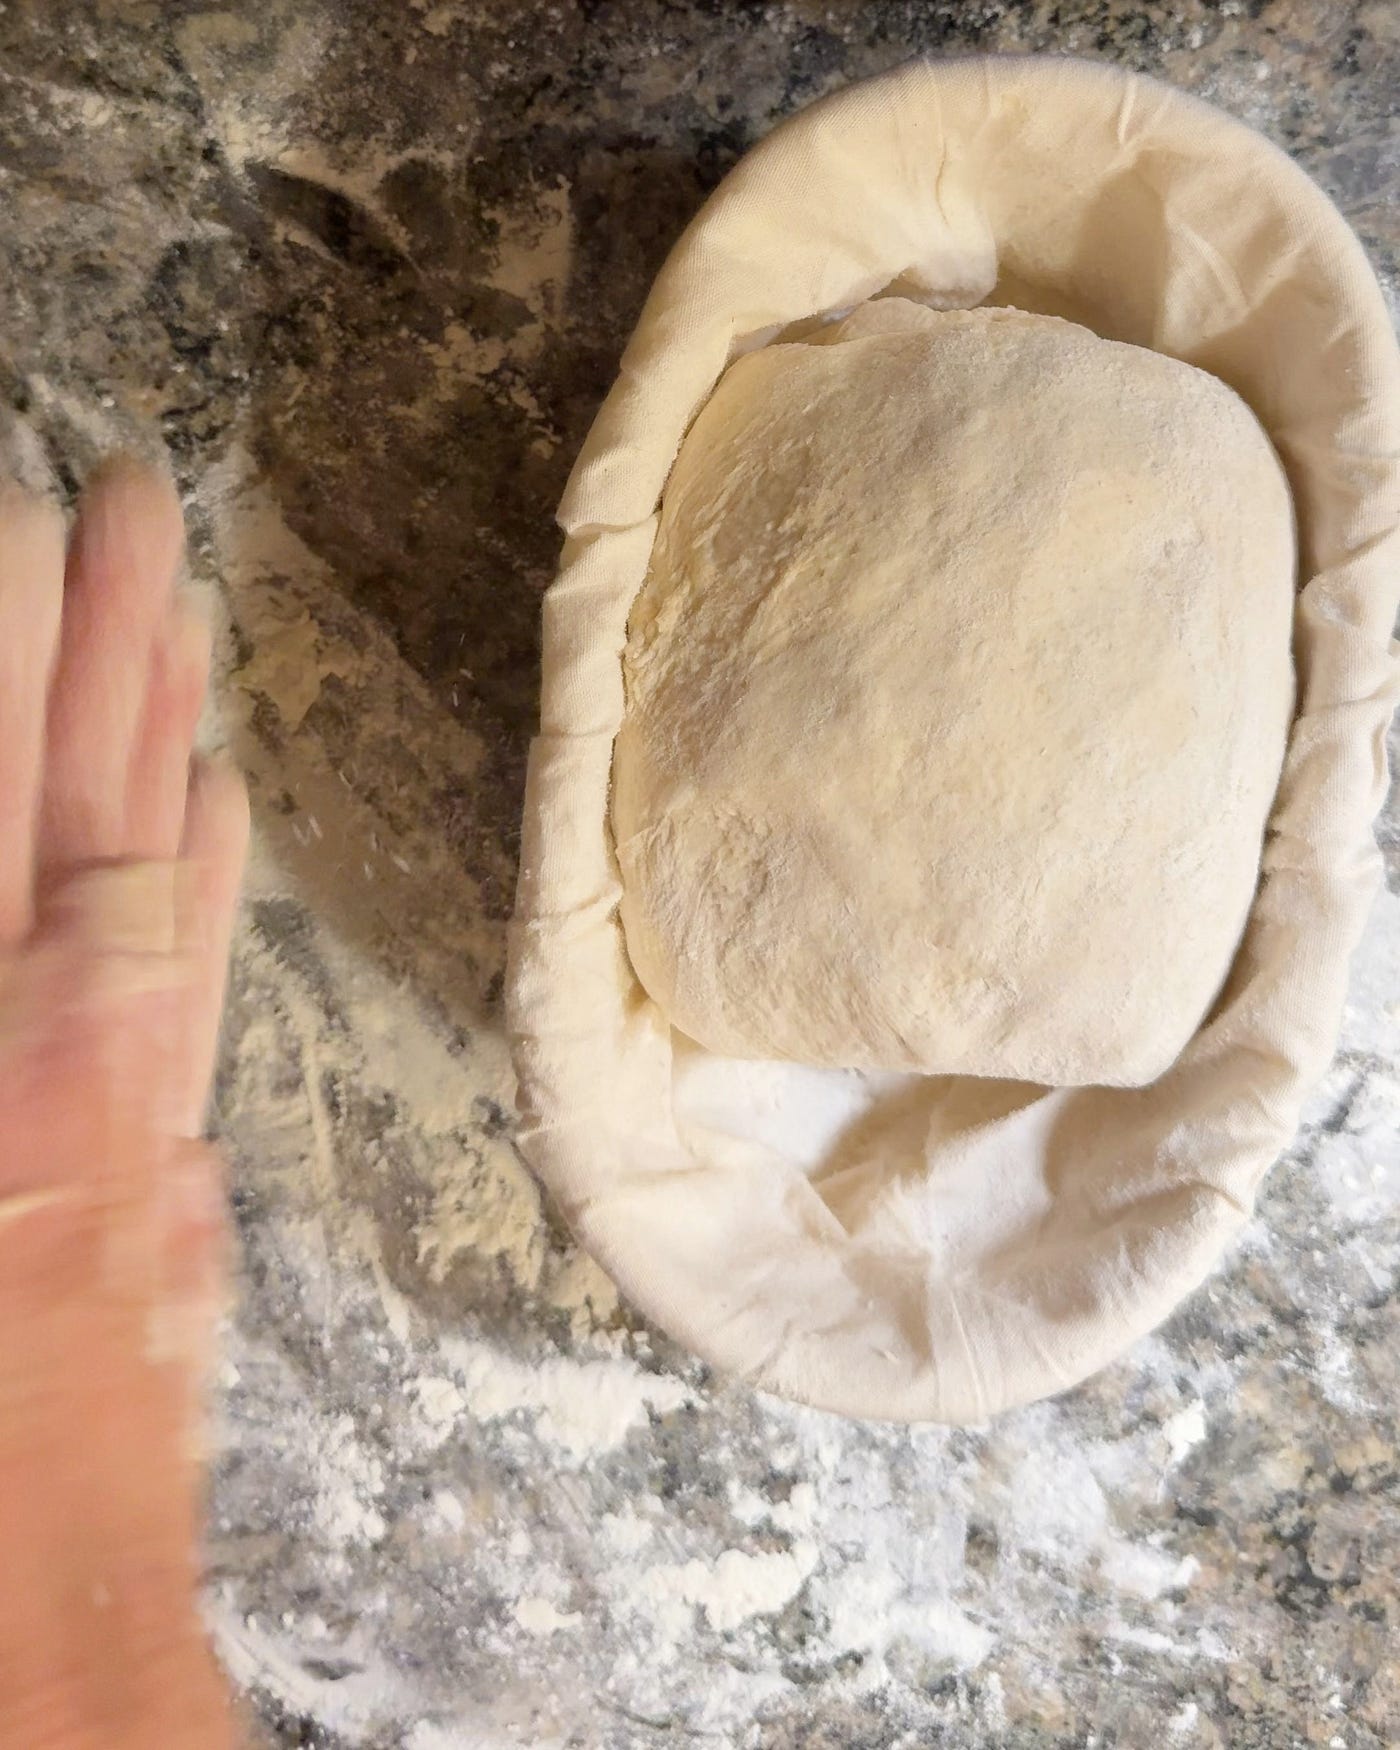

A shaped loaf in the banneton proofing basket (L), and 2 loaves bagged and ready for overnight cold proofing (R).
Prepping the oven
30–60 minutes before bake-time, I prepare the oven as follows:
- set both oven chambers to 450F to preheat
- in each chamber on a low rack goes a crock pot with lid slightly ajar
I check to make sure that each oven chamber has reached at least 450F before baking. My oven runs hot, so it will actually reach ~500F according to the thermometers I use — this temp seems to work OK, and bake temperature is something you can and should should experiment with.
Preparing the proofed loaves for baking
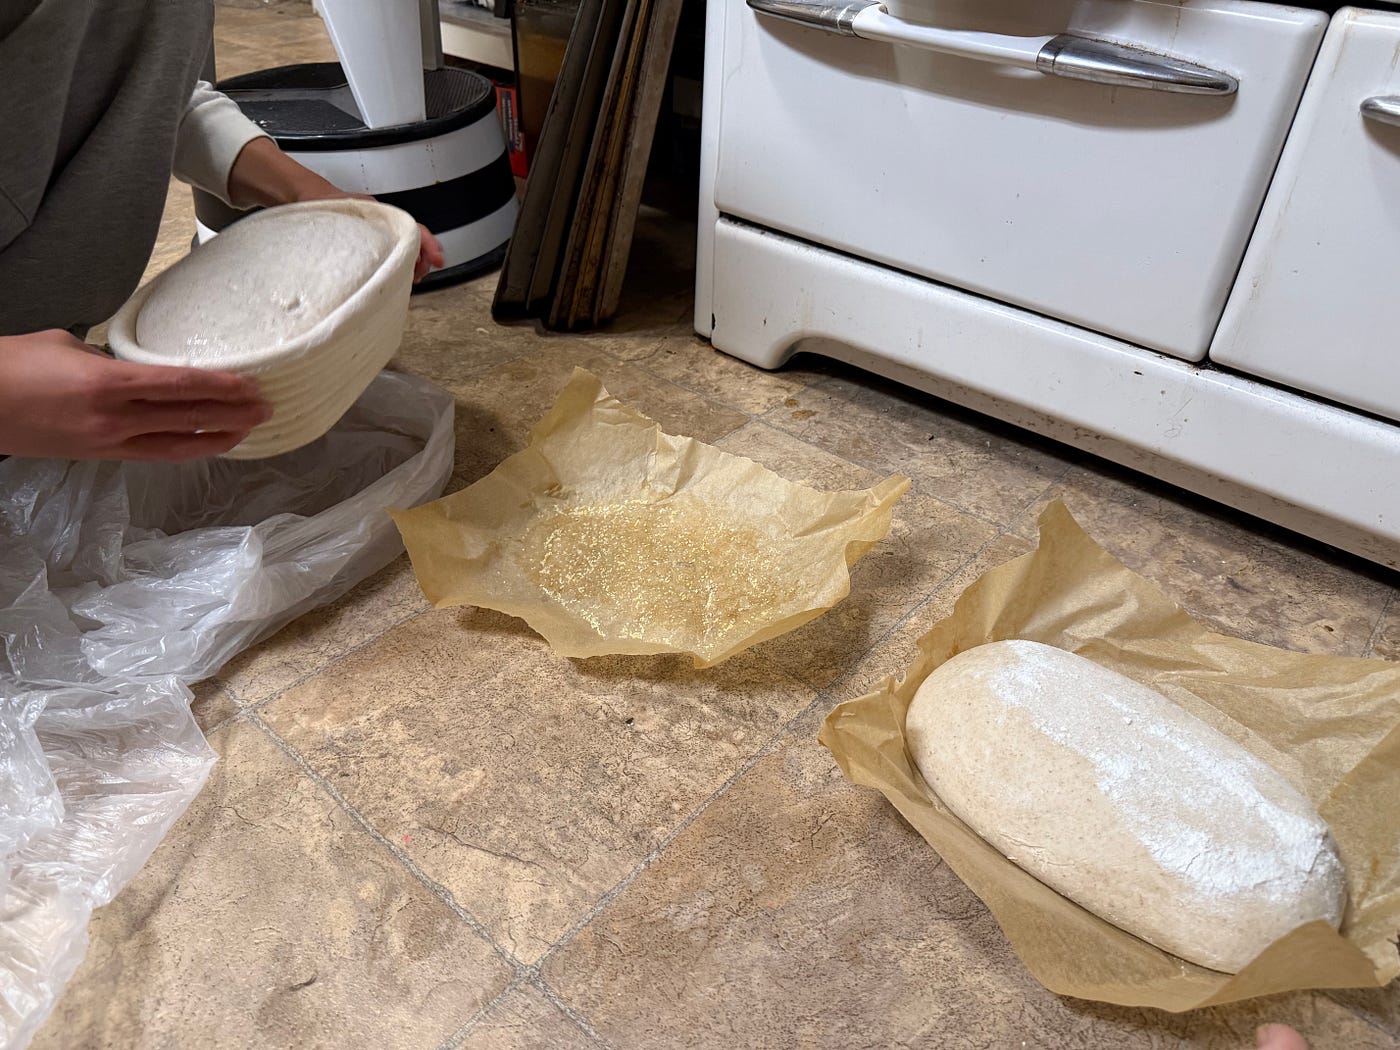
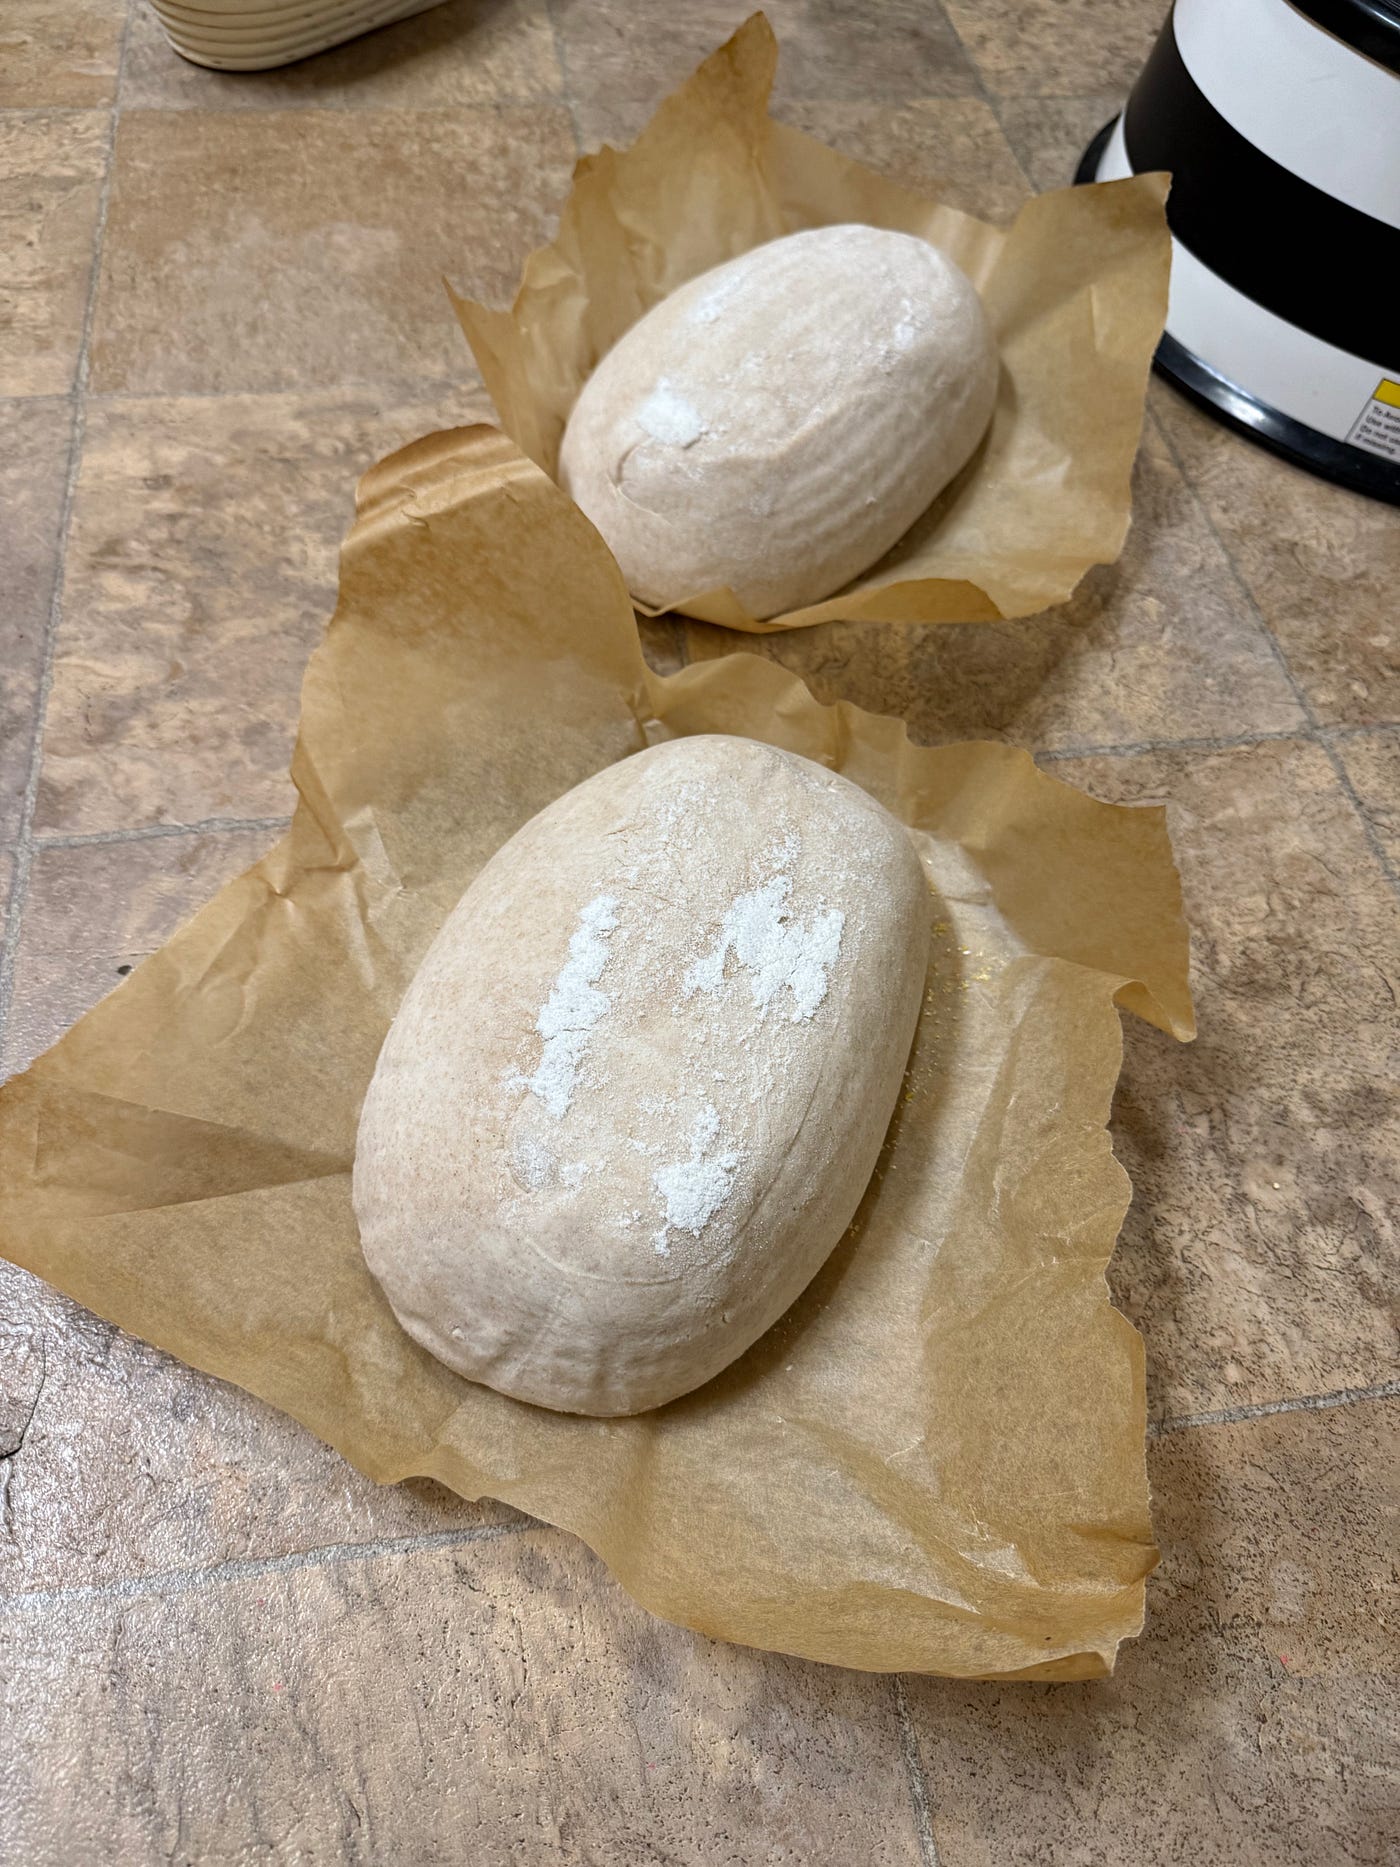
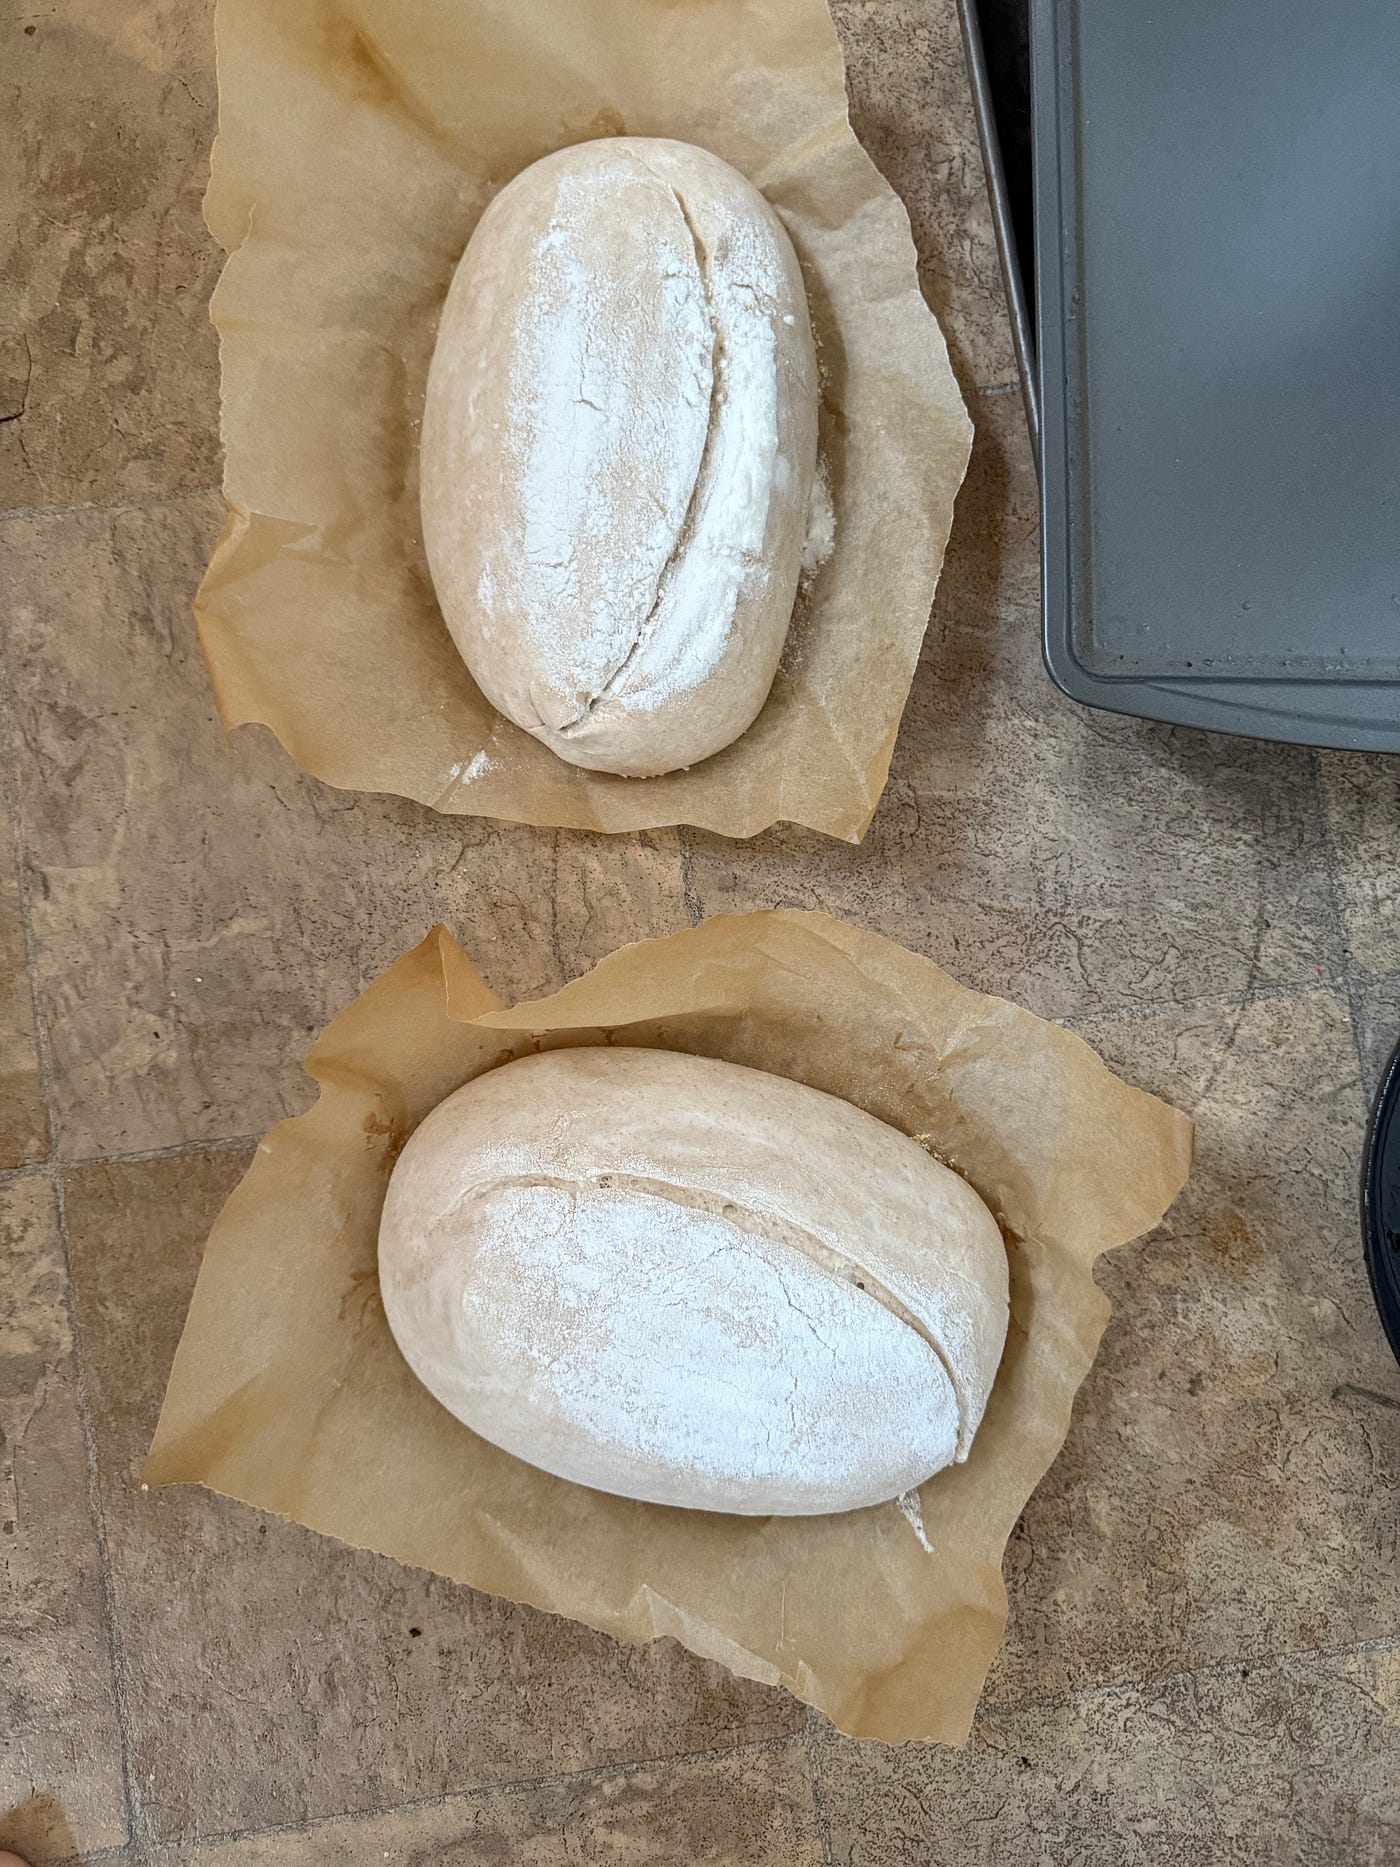
Easing proofed dough onto parchment paper (L/M), loaves after slashing with a lame (R)
I prep 2 sheets of parchment paper as follows: on the floor in front of my oven, spread each sheet in front of an oven chamber, leaving enough room to open the oven doors. I sprinkle a pinch of polenta onto each sheet, to create a crunchy detail on the underside of each loaf.
Next, the loaves come out of the oven and each is eased out of the proofing basket (flip the basket it upside down) onto a sheet of parchment paper.
Slash each loaf with a lame (baker’s razor blade knife) to allow it to expand during baking. Your way of cutting becomes the signature look of your finished loaves, so I recommend you look at photos online and experiment as you go, to decide what you want to do here. I’ve used a lot of different slash patterns over time, and have settled on something that is a bit more decorative than functional because I like how it looks.
Baking the loaves
Using good oven mitts, pull out the rack to gain access to the hot crock pot. Remove the lid, then pick up a loaf by the parchment paper, and gently place the loaf inside the crock pot. Replace the lid, making sure it’s fully snug and in place (this is important to keep moisture in), and (with oven mitts!) slide the rack and crock pot back into the oven.
Before closing the oven, I slide a baking tray into the bottom of the oven under the rack — this apparently absorbs some of the heat from the bottom of the crock pot, reducing the blackening of the bottom of your loaves.

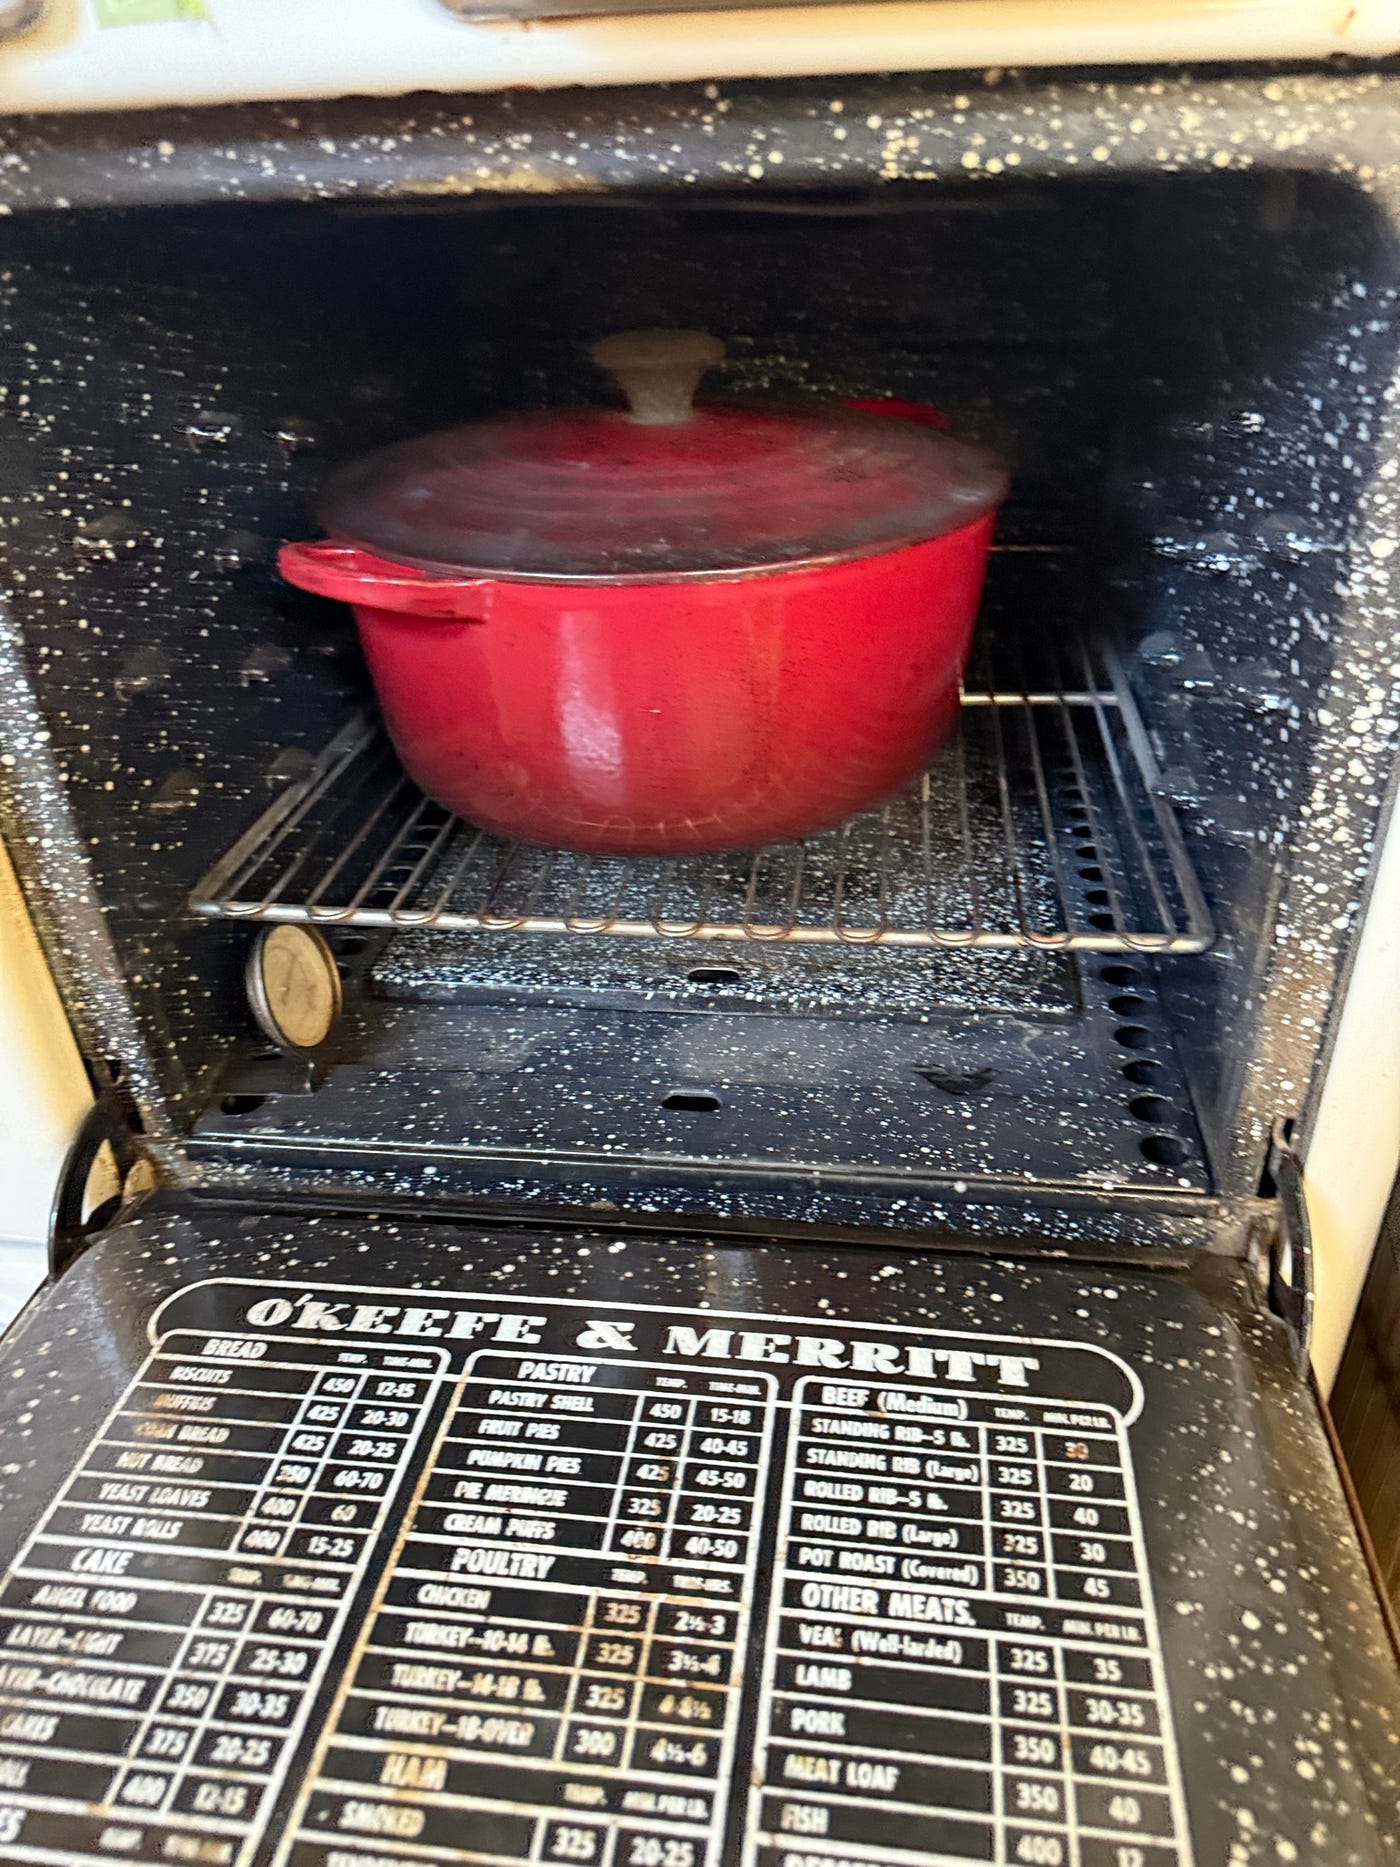
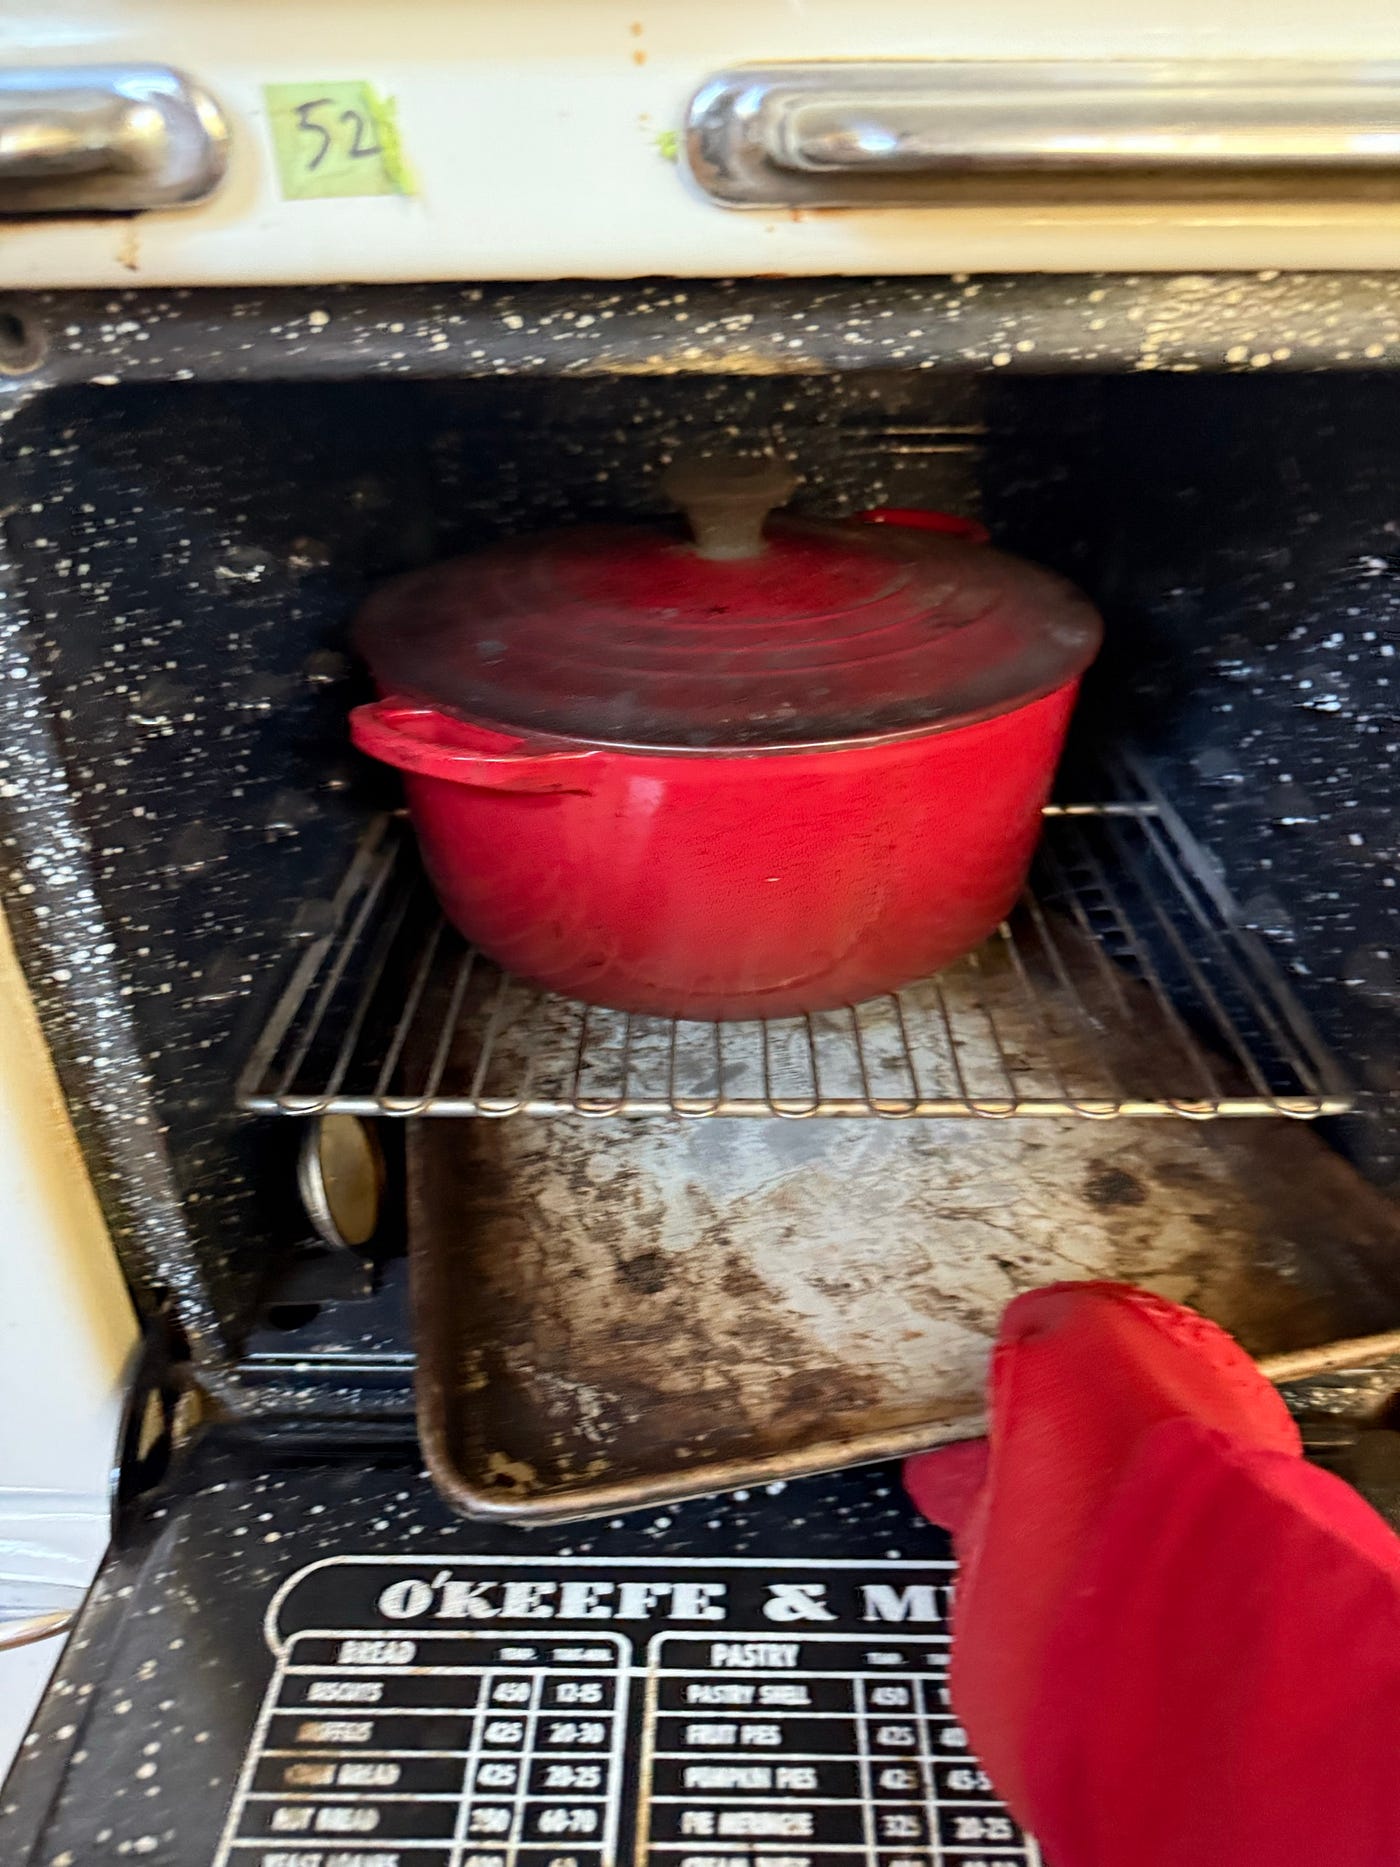
Accessing the preheated crock pot (L), back in the oven with loaf inside (M), and inserting an oven tray underneath (R)
My bake timing:
- Closed-crock-pot bake time: 25 minutes
- Open crock-pot (take the lid off) bake time: 25–30 minutes (I sometimes turn the oven temp down to 425F for this part)
After both phases of baking are done, remove the loaves and set them on a wire rack to cool down. Enjoy the smell, and listen to the crackling sounds! I let loaves cool for at least 4 hours (up to 12 is best) before eating, as I think the taste and texture improves during this cool-down/maturation time.
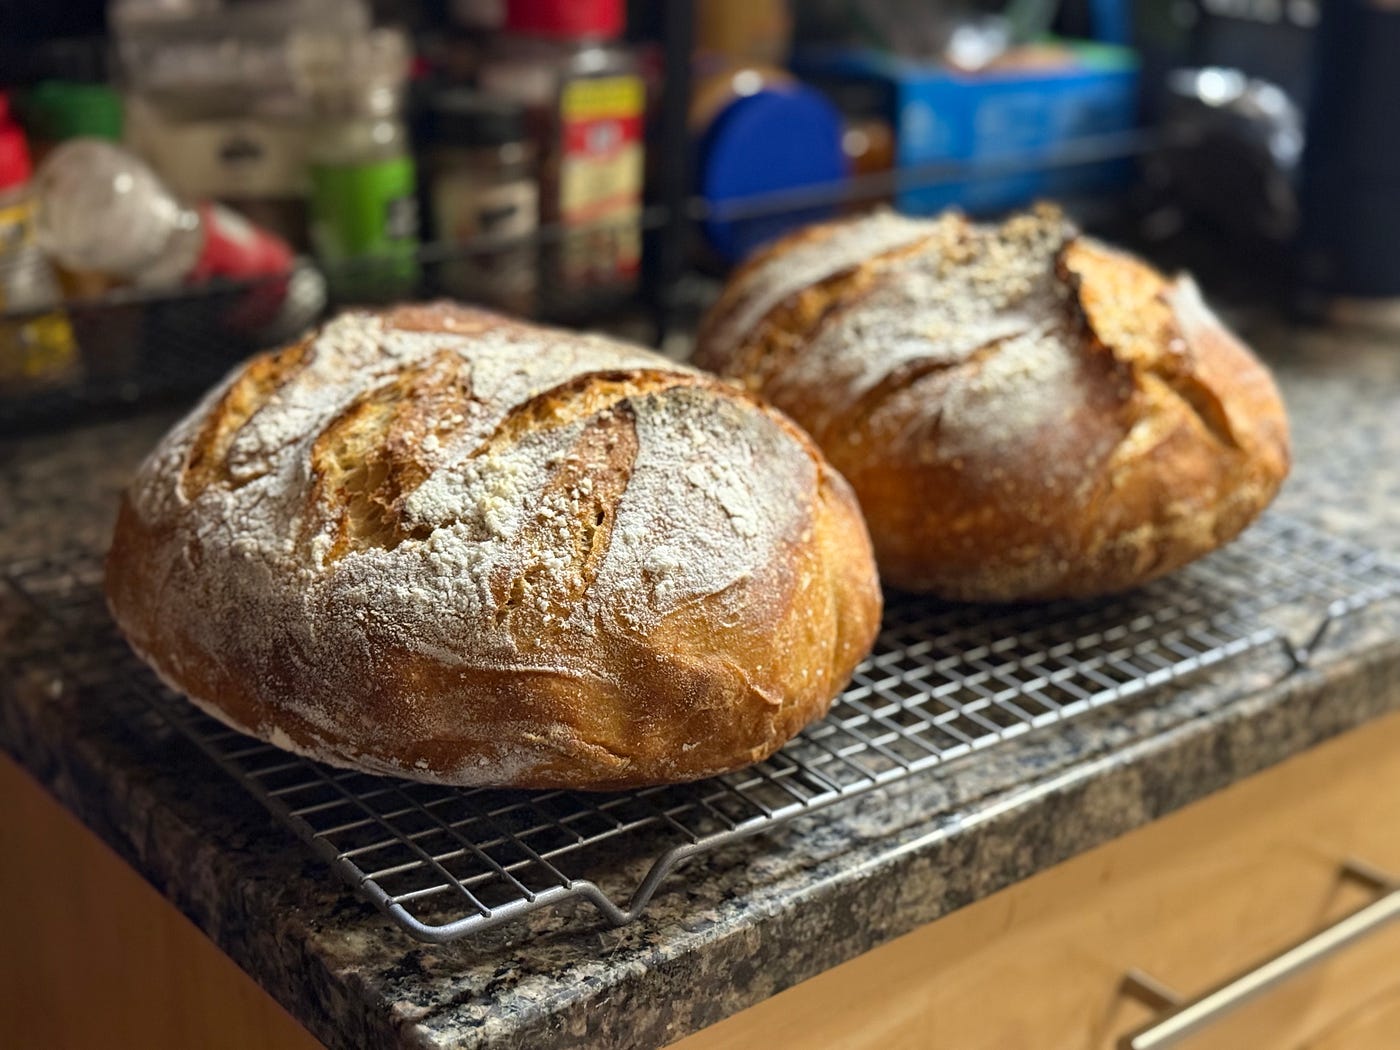
Beautiful loaves of bread! The smell as they cool is the best part.
Give a loaf away
One of the benefits of this recipe is that I get 2 loaves with each bake, and my family can only consume 1 before the bread gets stale. So we keep one loaf, and I give the other away to a friend / neighbor — a very popular gift!
N.b. I think the positive social feedback that comes from giving delicious bread away to friends and family is one of the main reasons that we amateur bakers get hooked on baking bread. Feels great to be appreciated, and it’s so satisfying to have an activity that can be completed start-to-finish within 24 hours that produces such feel-good results. So baking your own bread not only guarantees that you’ll have fresh, delicious sourdough on hand for a few days, giving it away strengthens your social fabric — bonus!
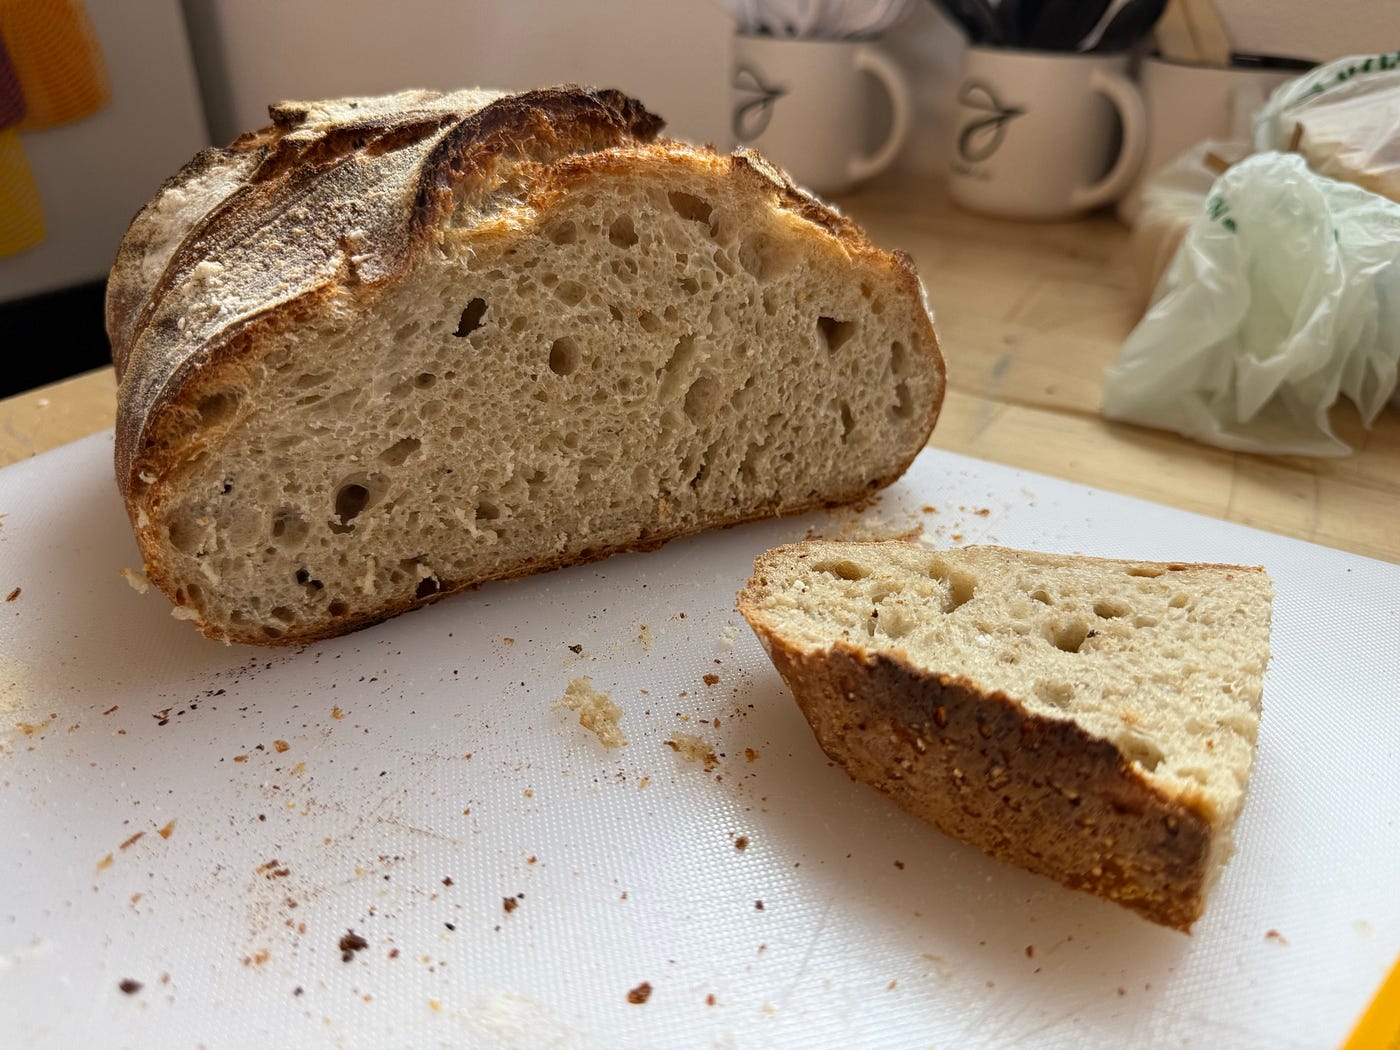

Share a loaf with co-workers (L) or give it away to a friend or neighbor! (R)
Enjoy it
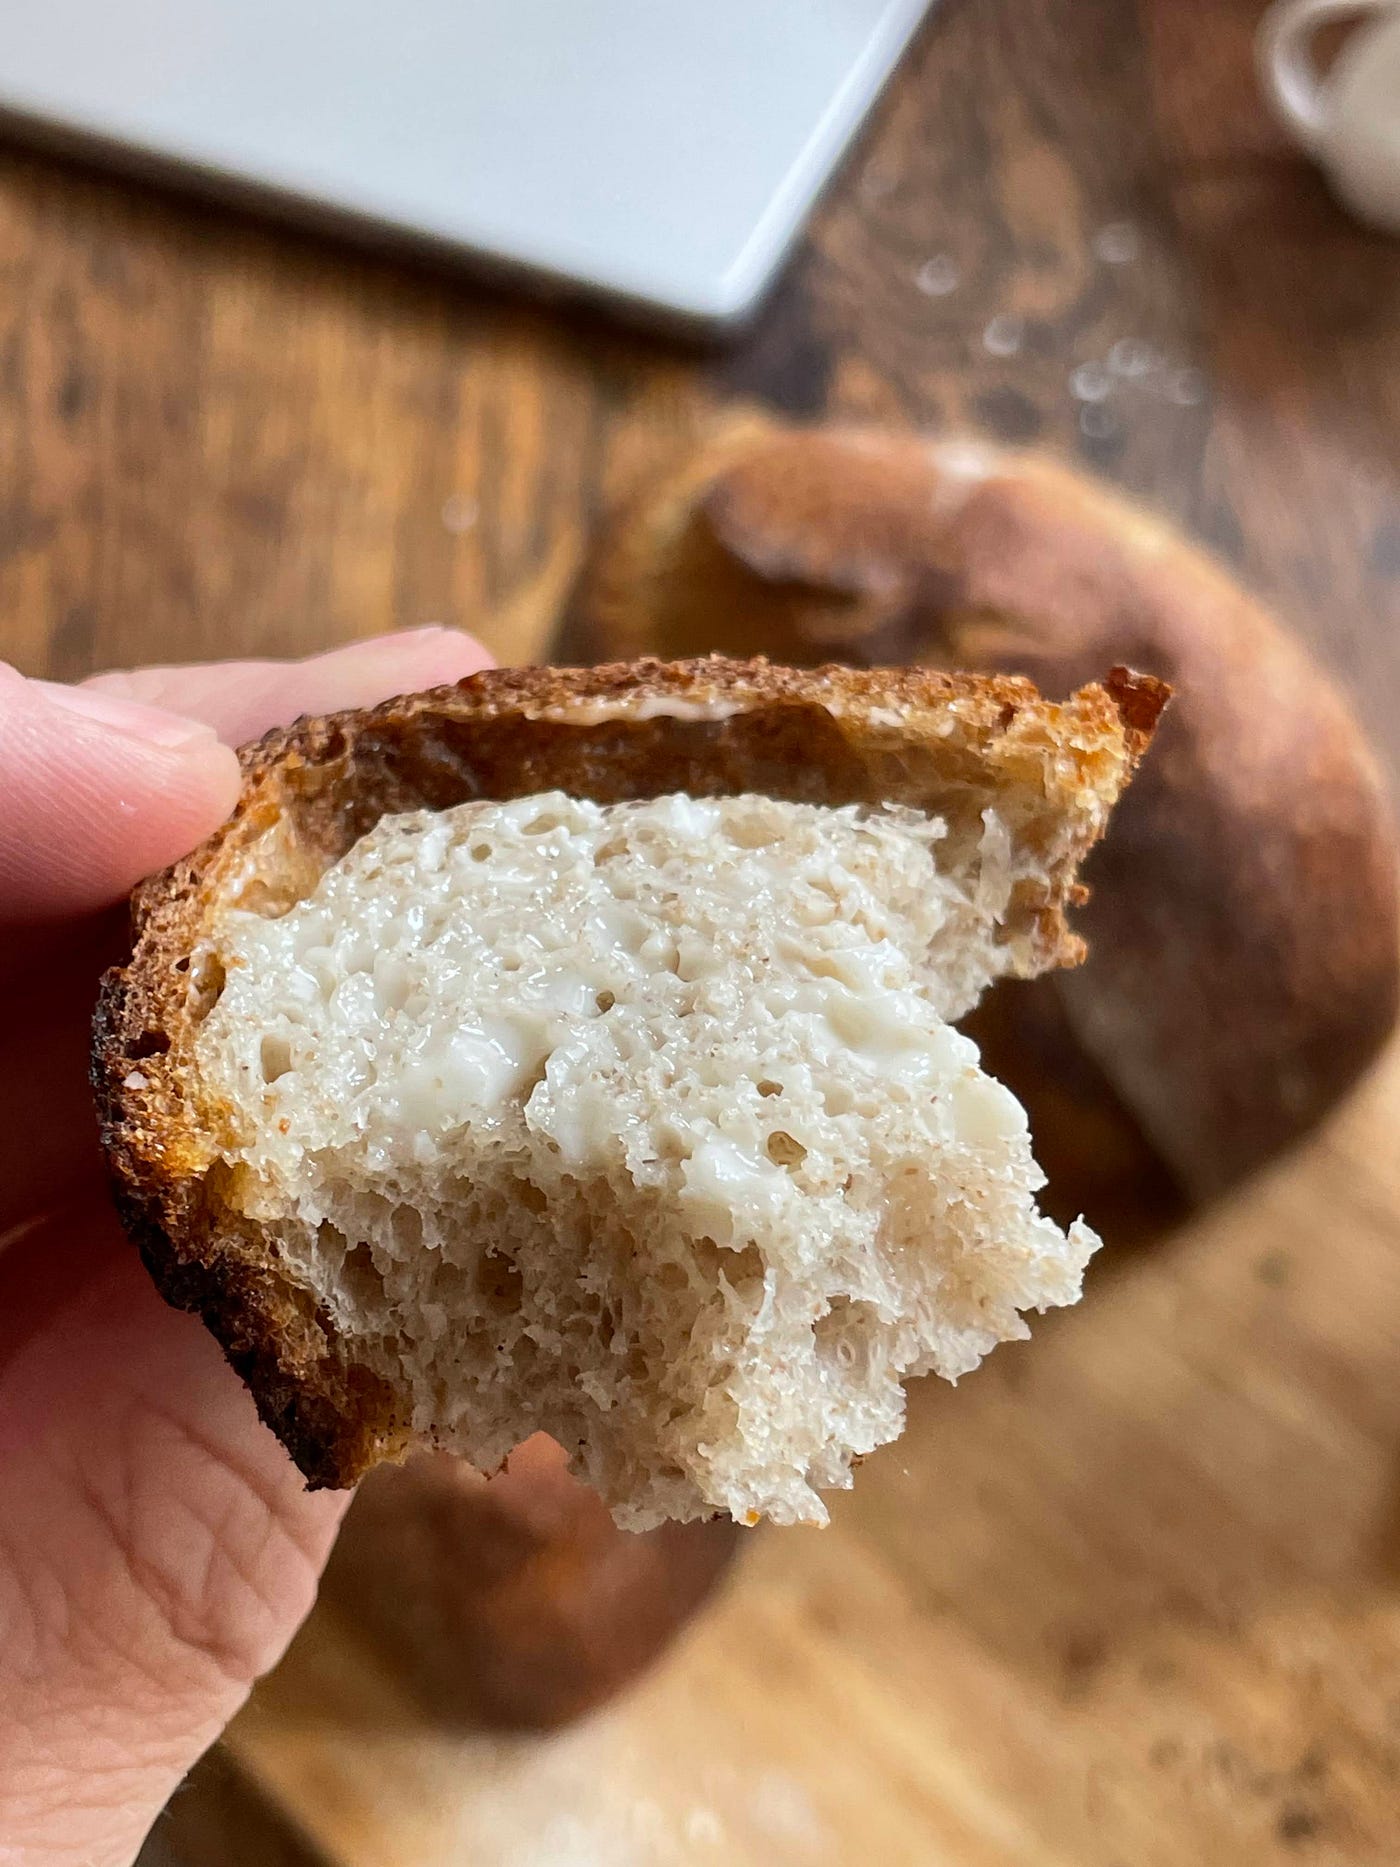
My favorite way to enjoy sourdough bread is very simple: bread or toast with salted butter. I think of bread-and-butter as the most pure way to experience sourdough (paired with a glass of milk if you like) —allowing for full experience and enjoyment of its unique taste.
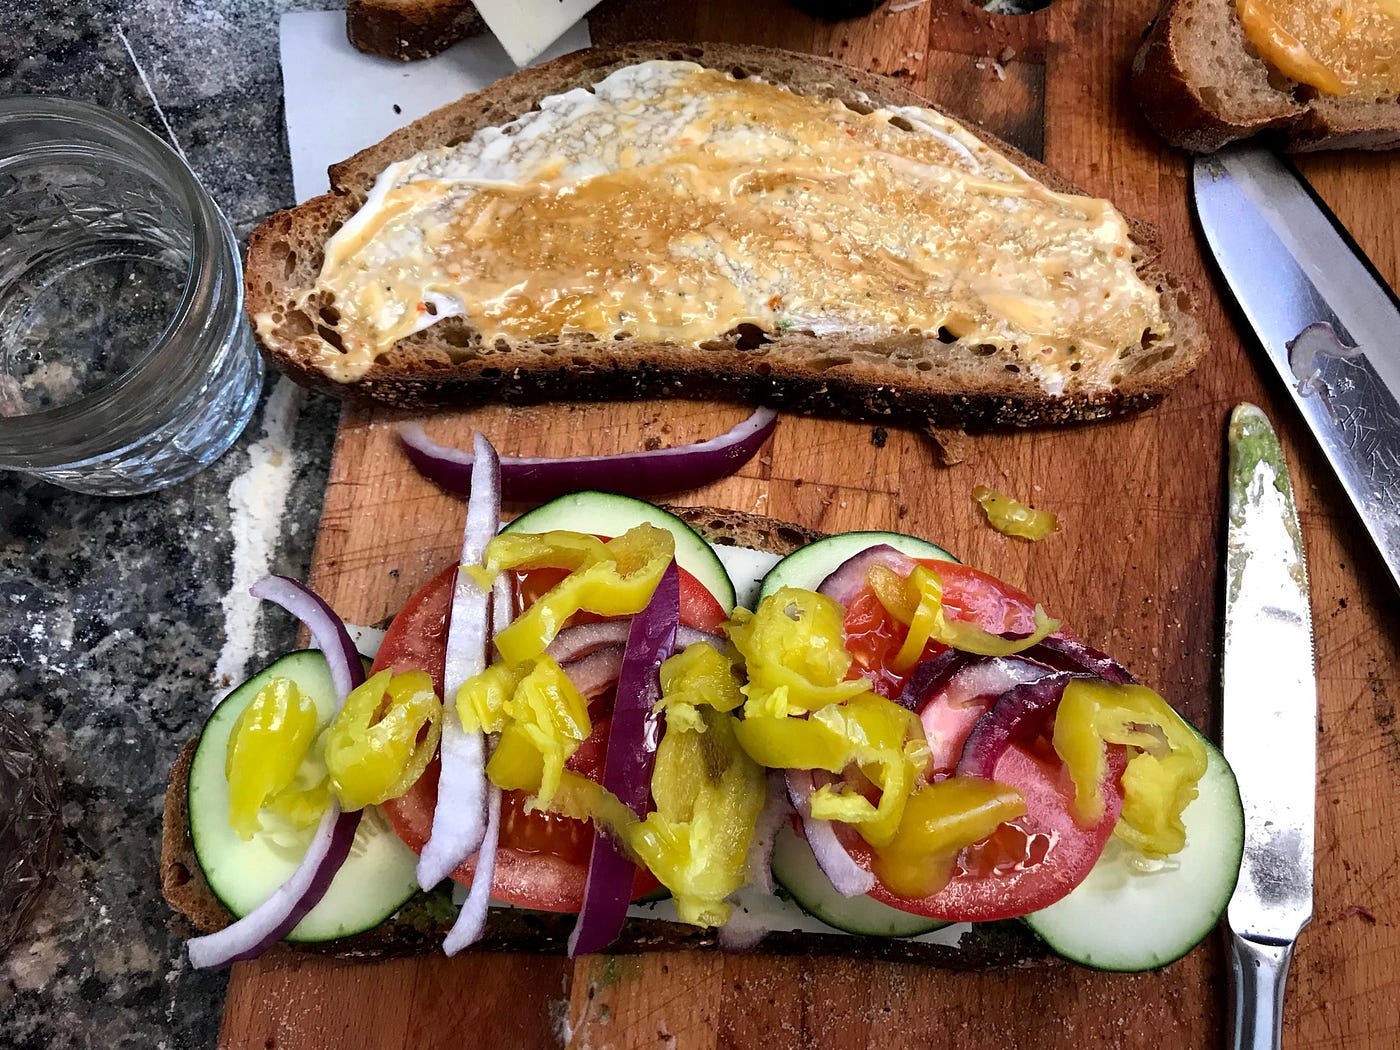
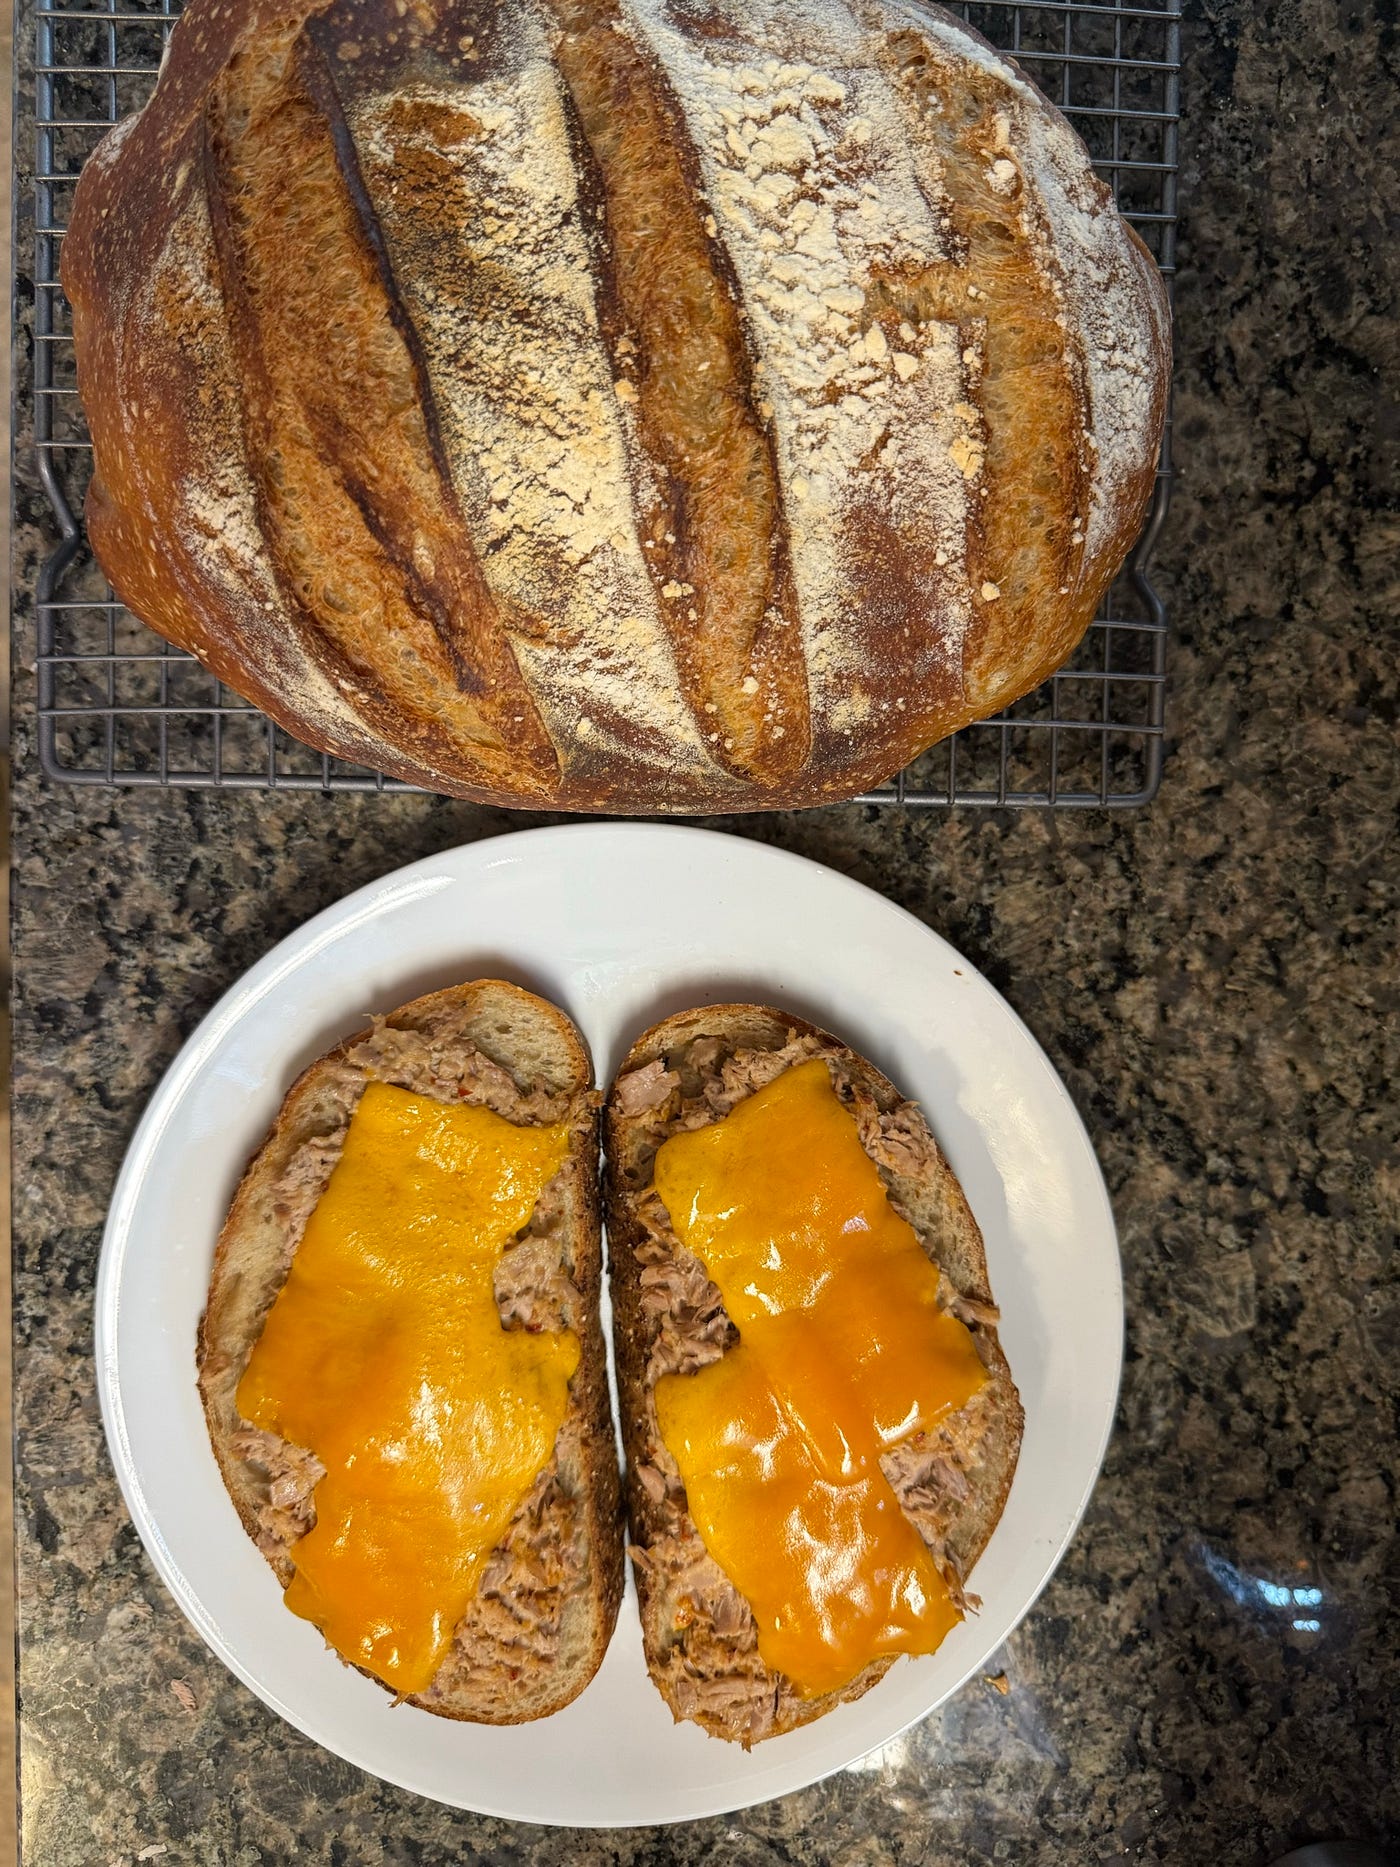
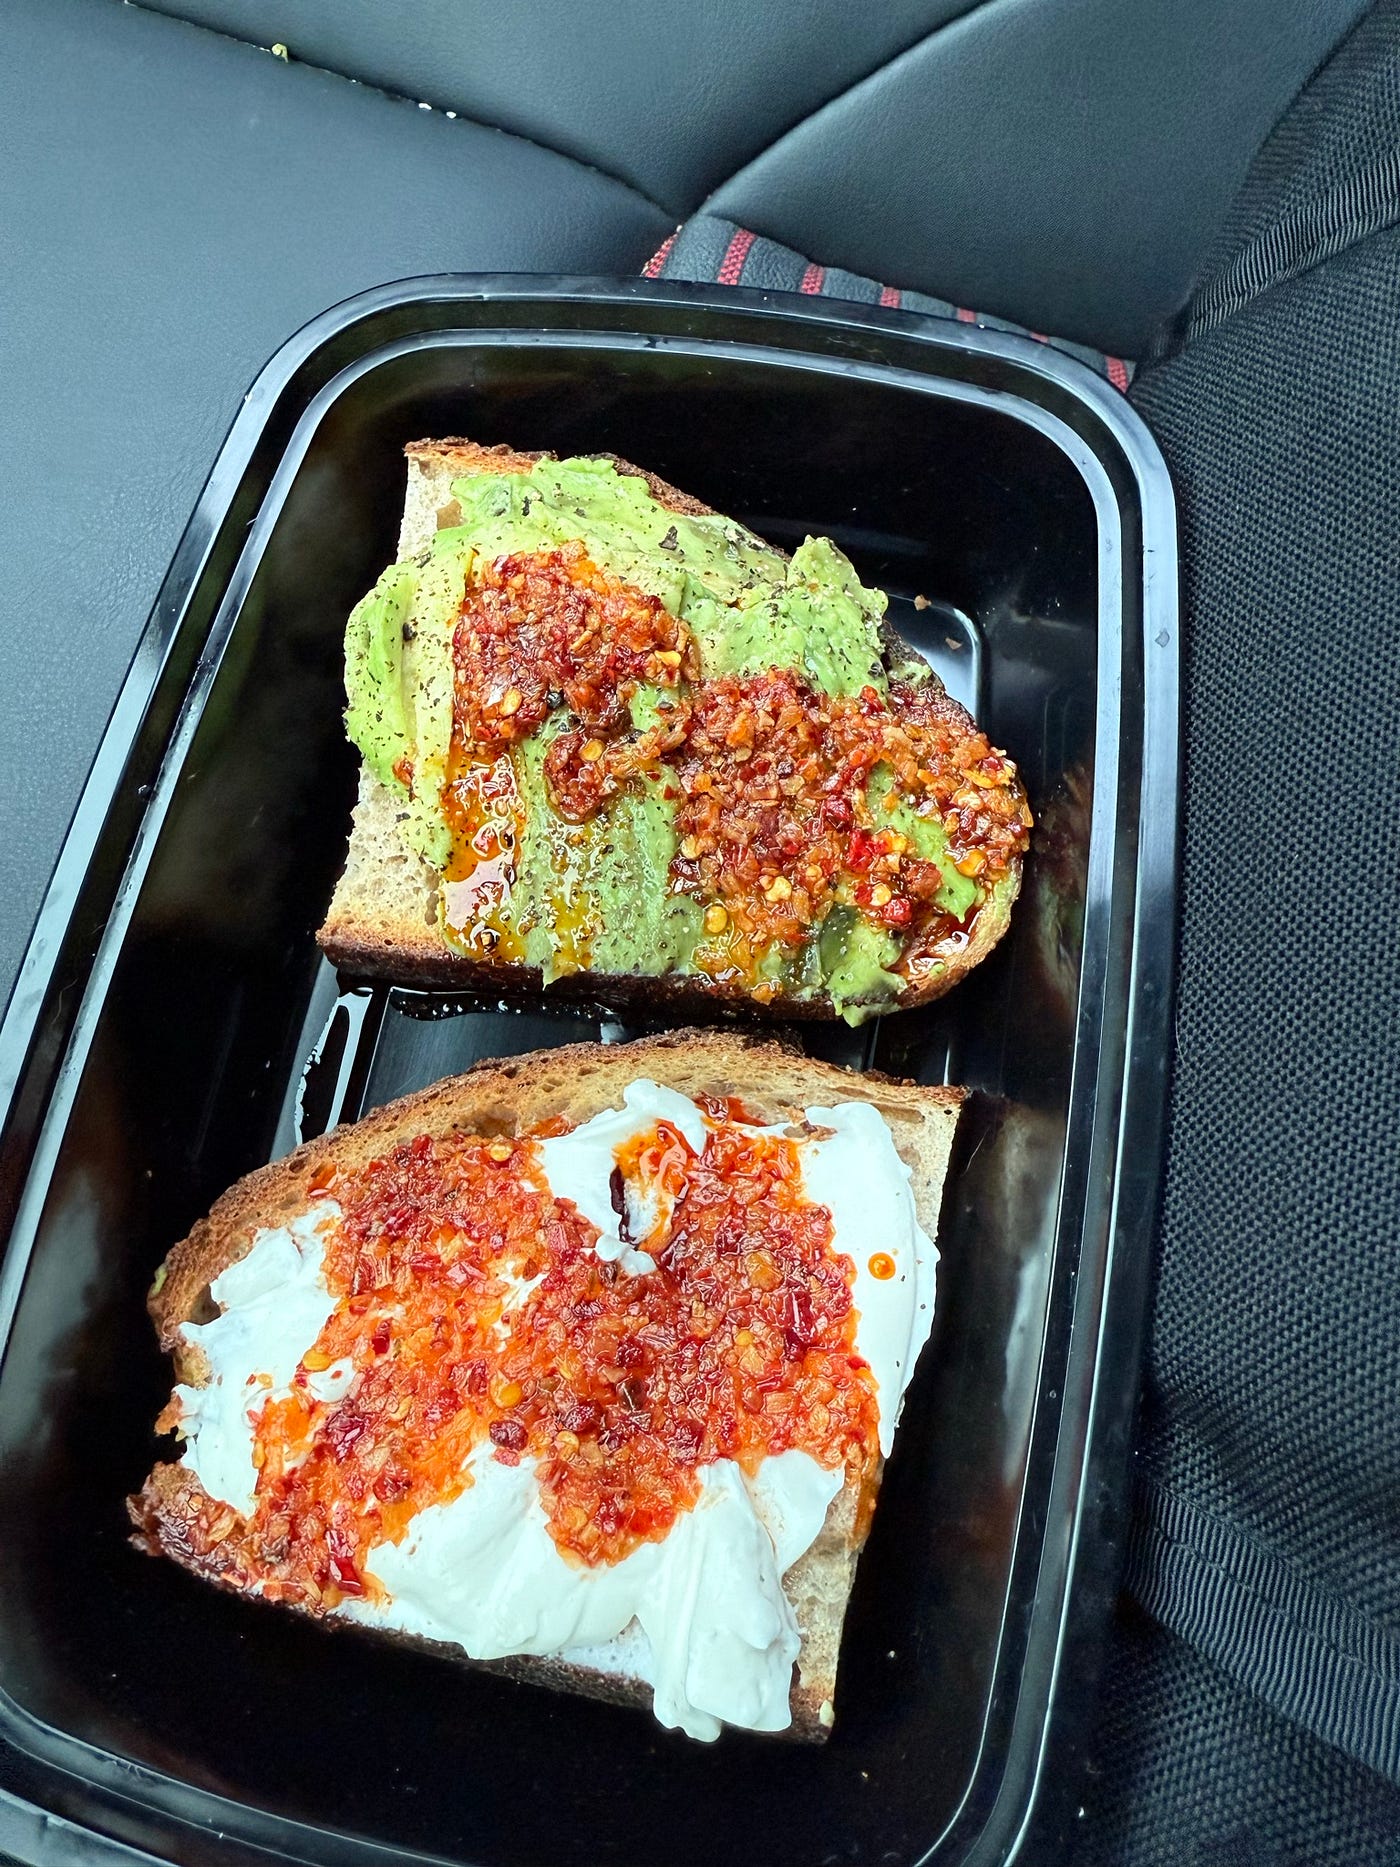
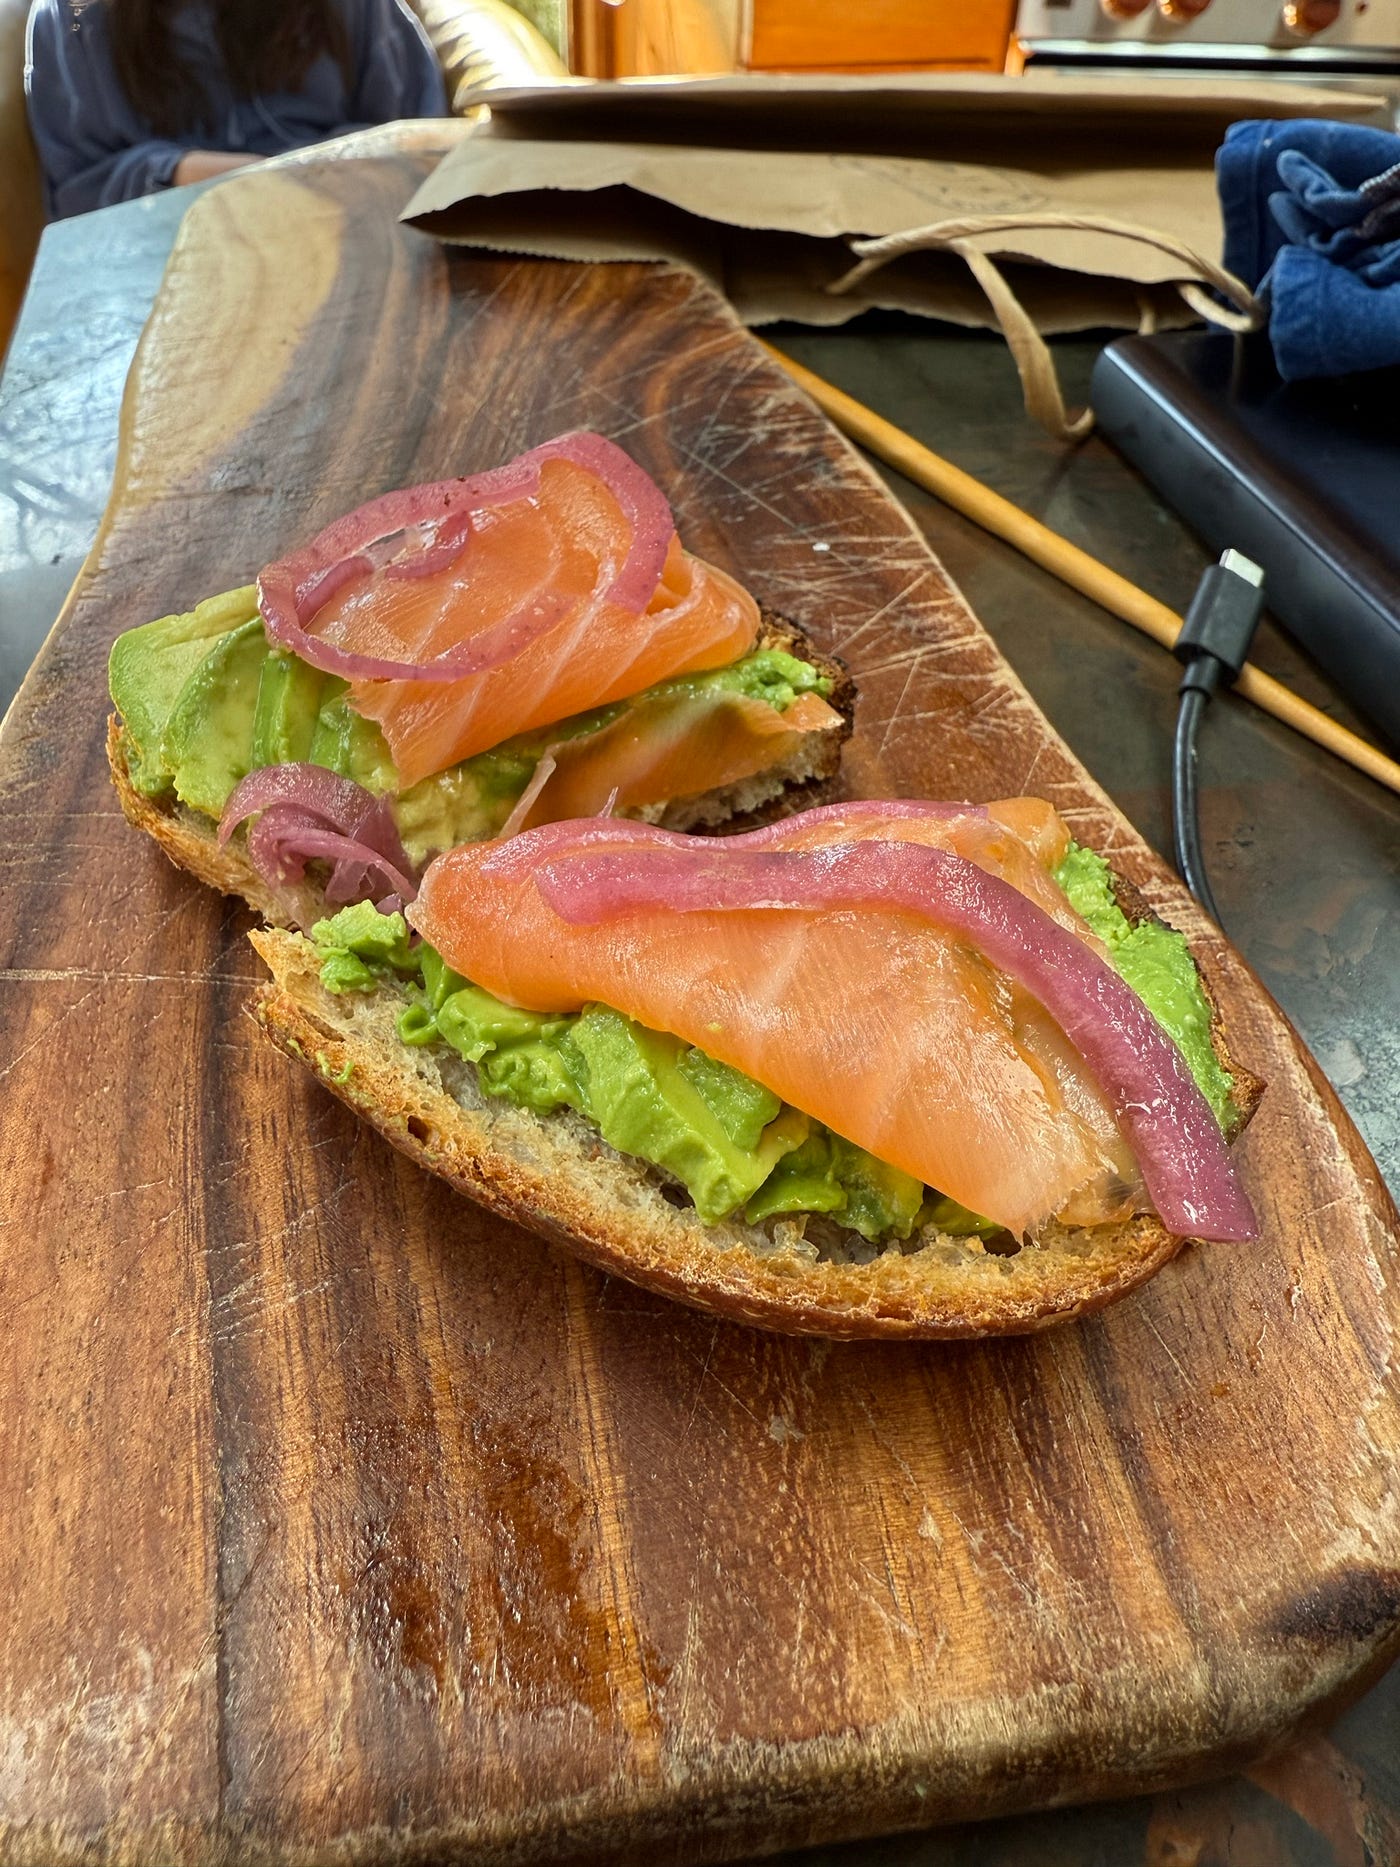
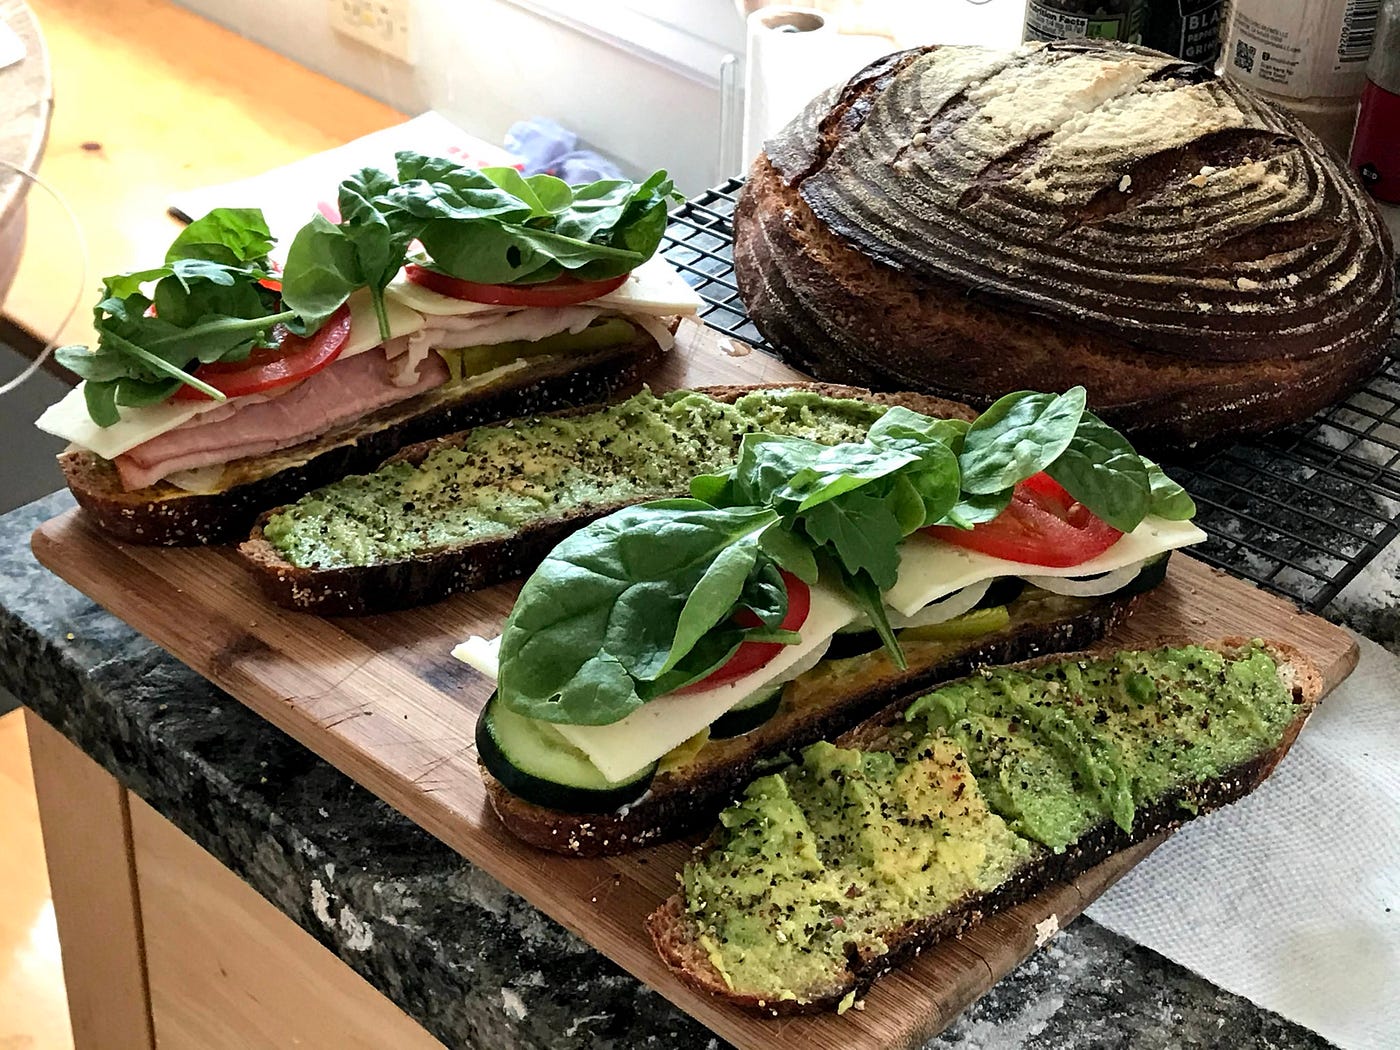
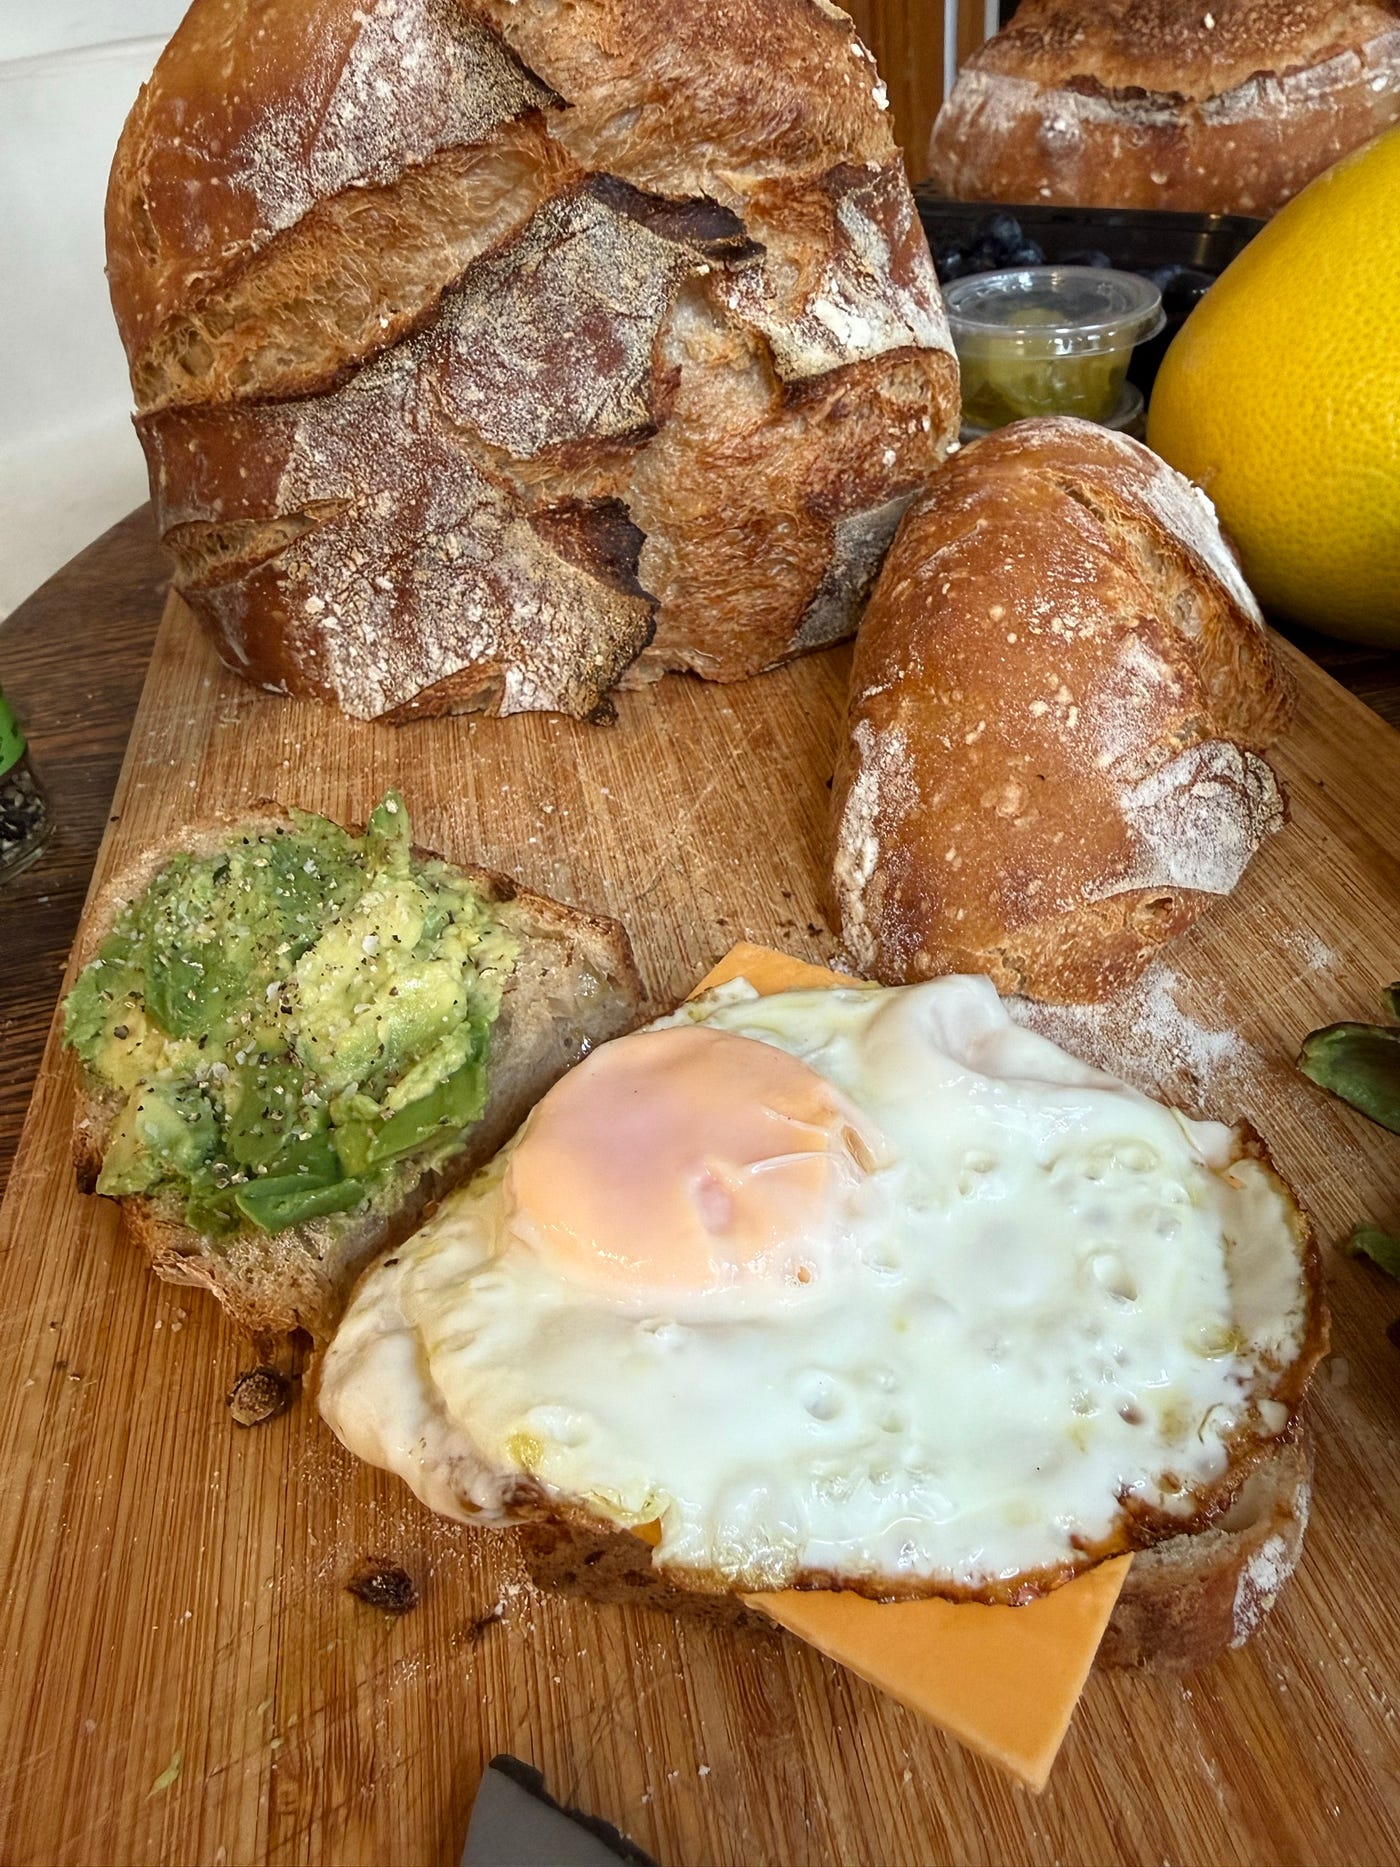
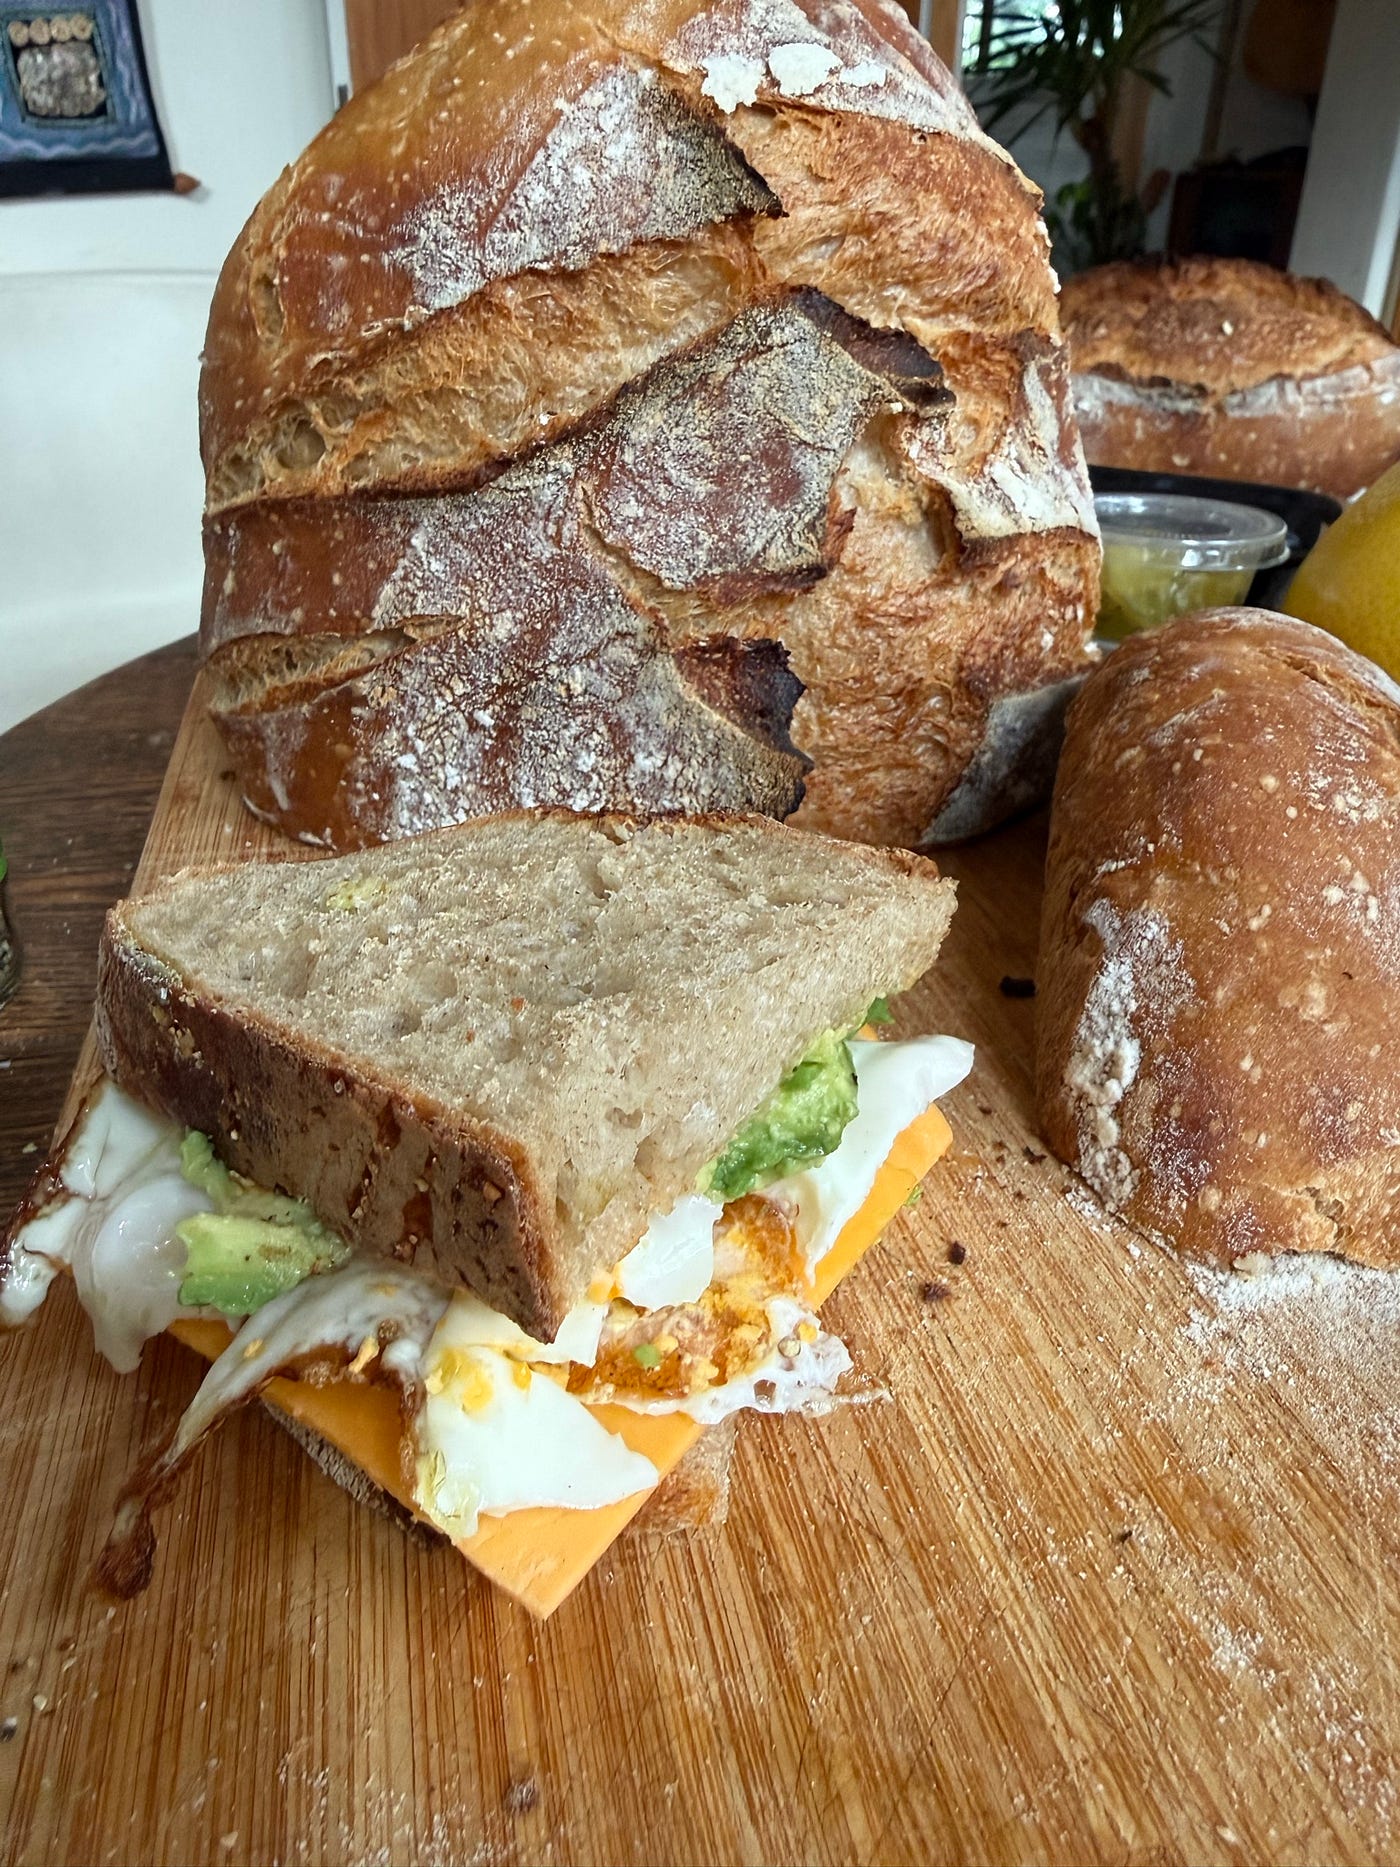
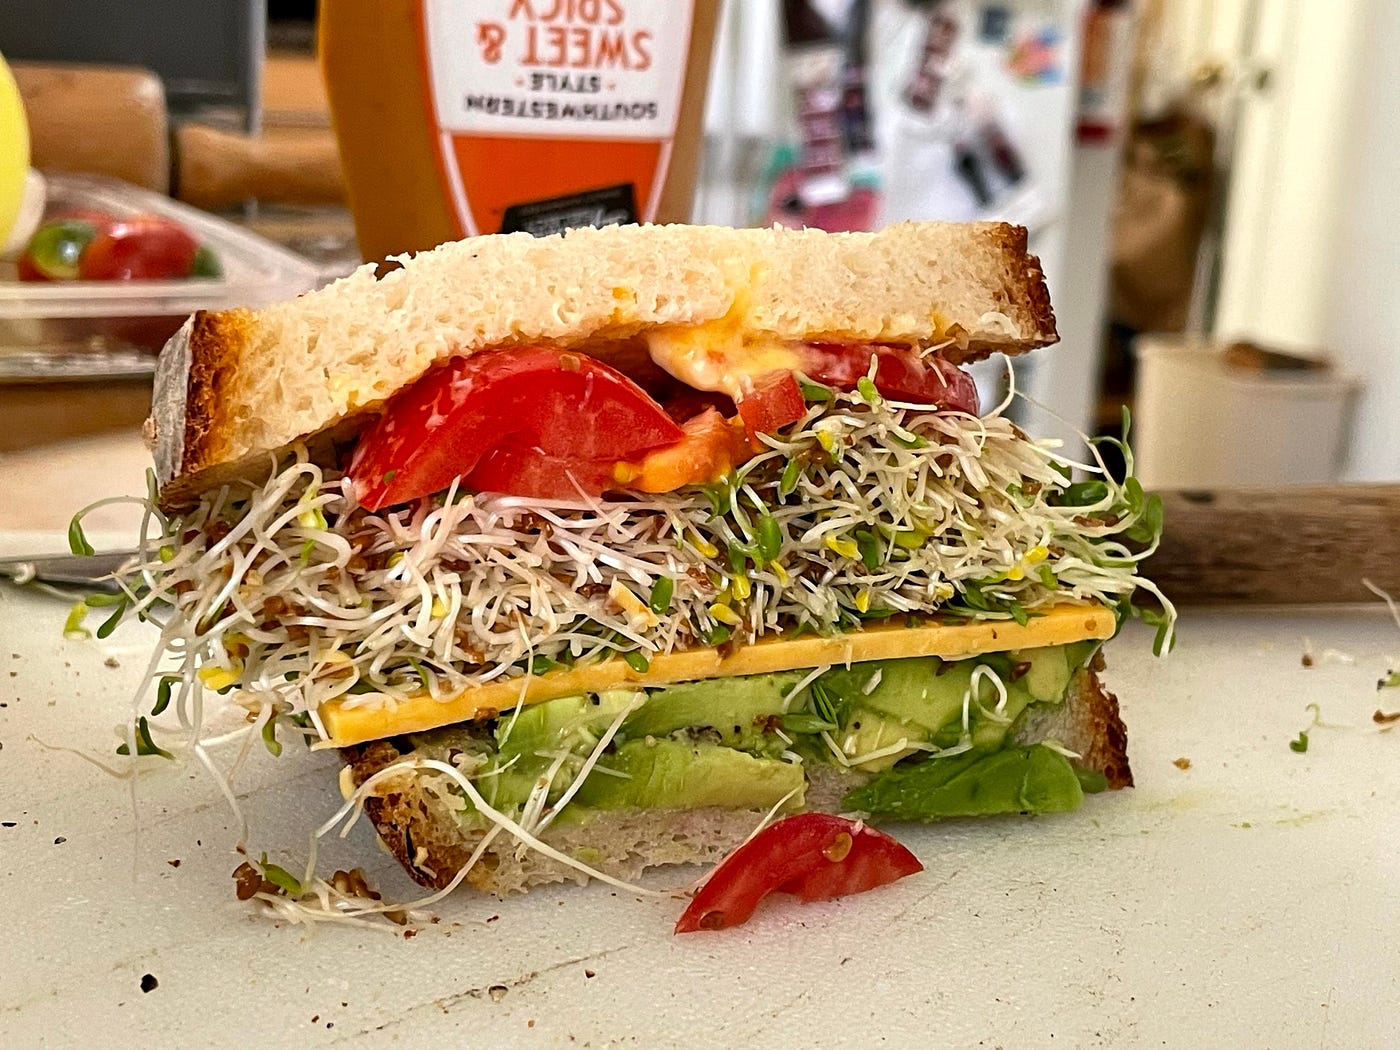
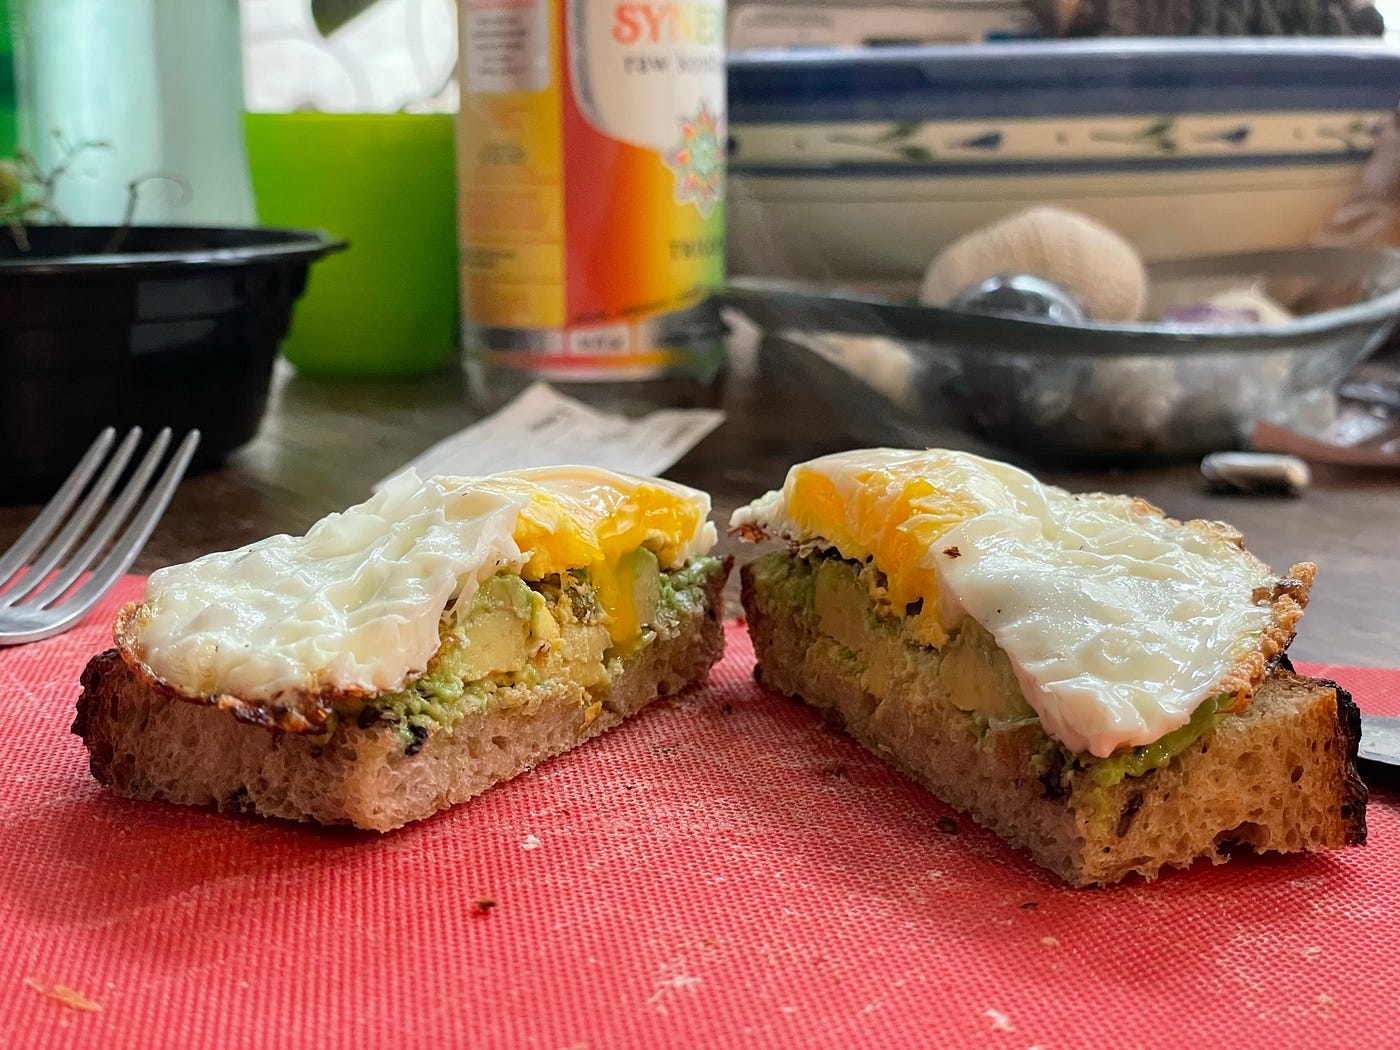
After enjoying a slice of bread and butter, I make more complex creations with the remainder of the loaf, including:
- egg sandwiches
- caprese sandwiches
- peanut-butter and banana open-face
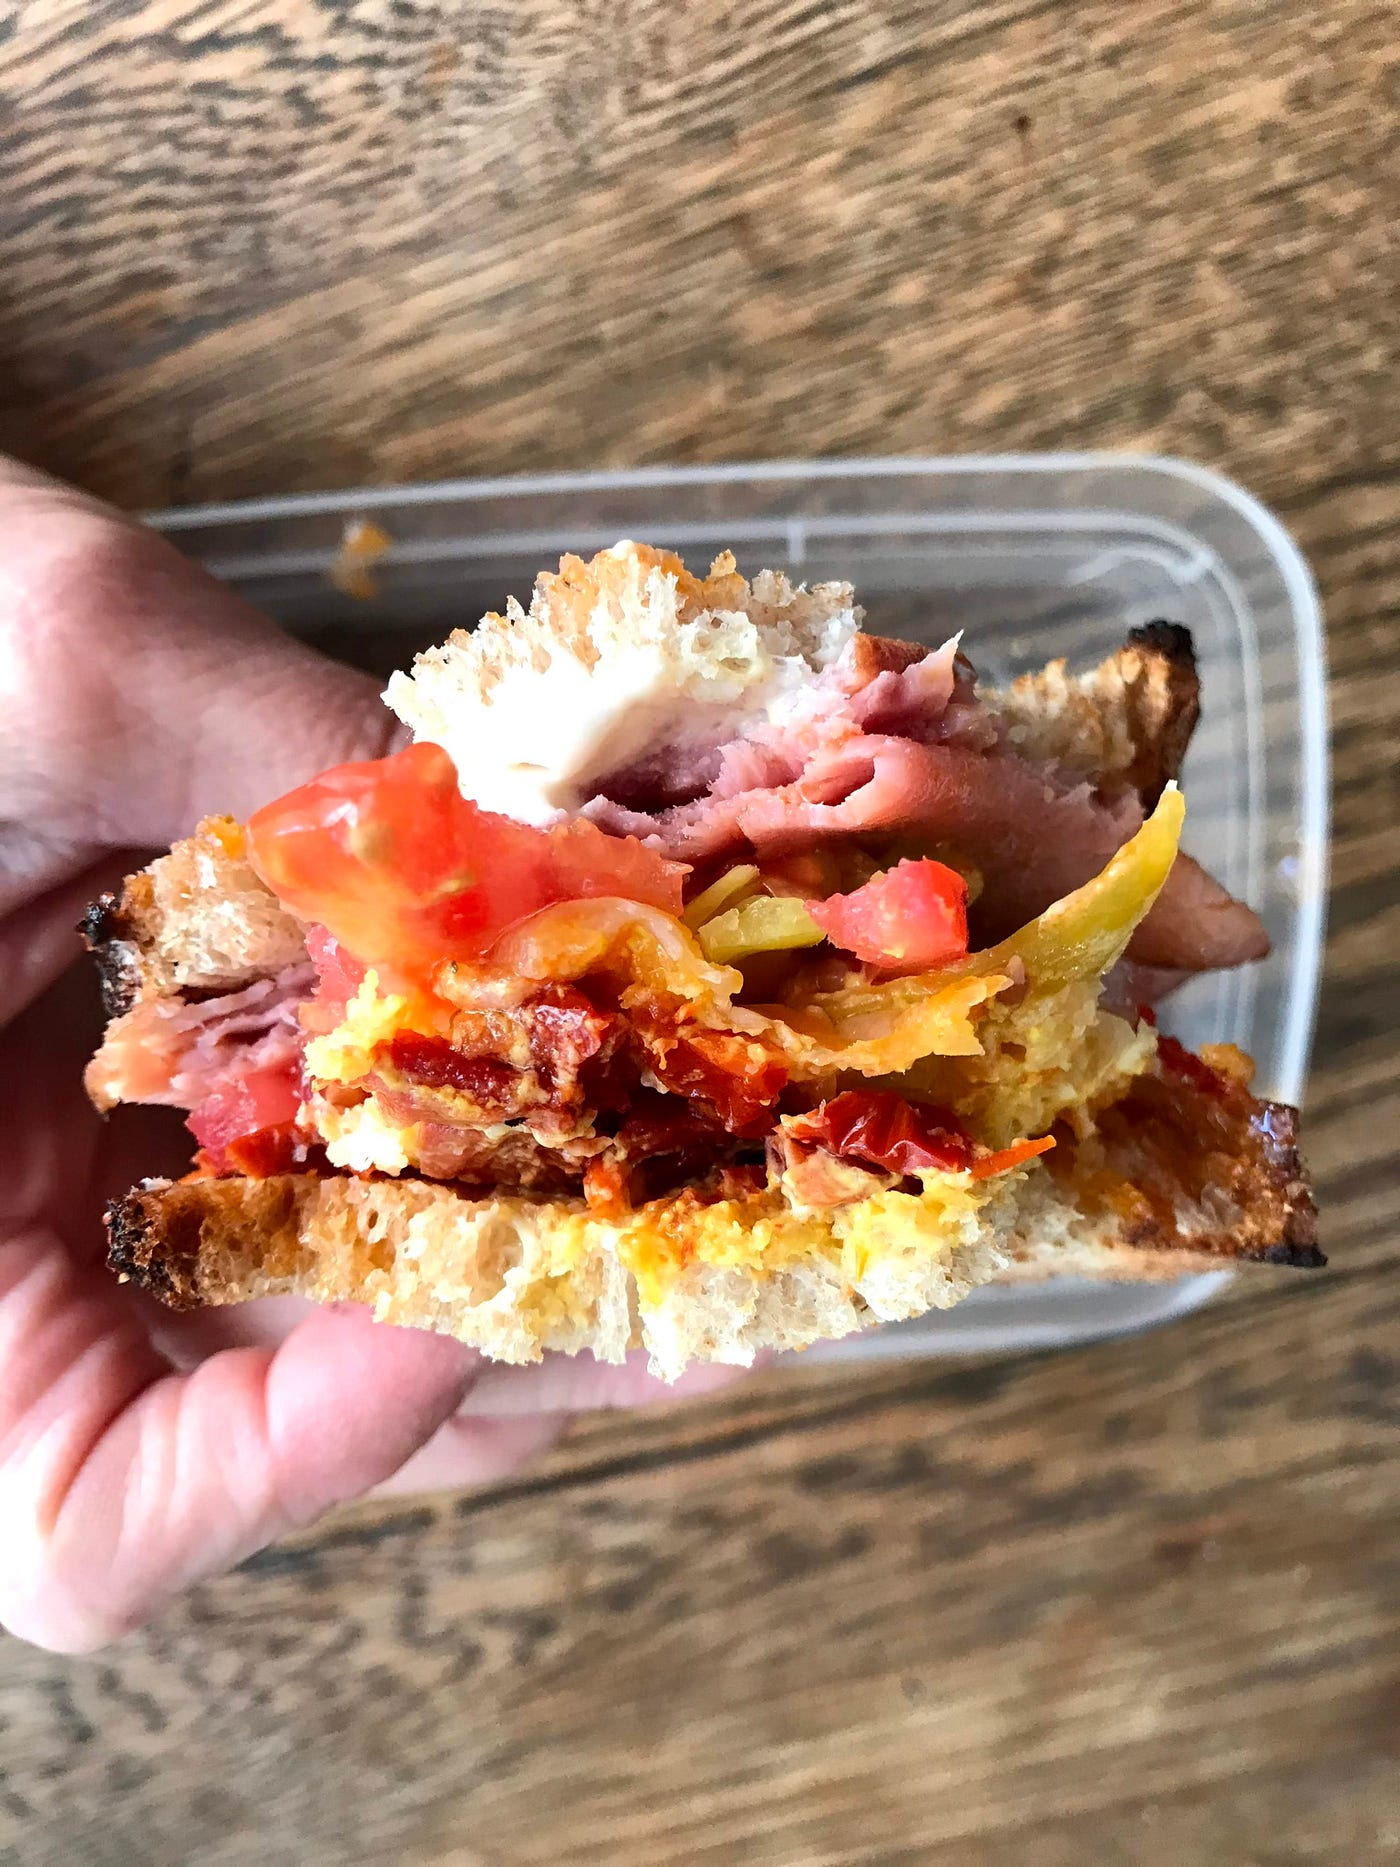
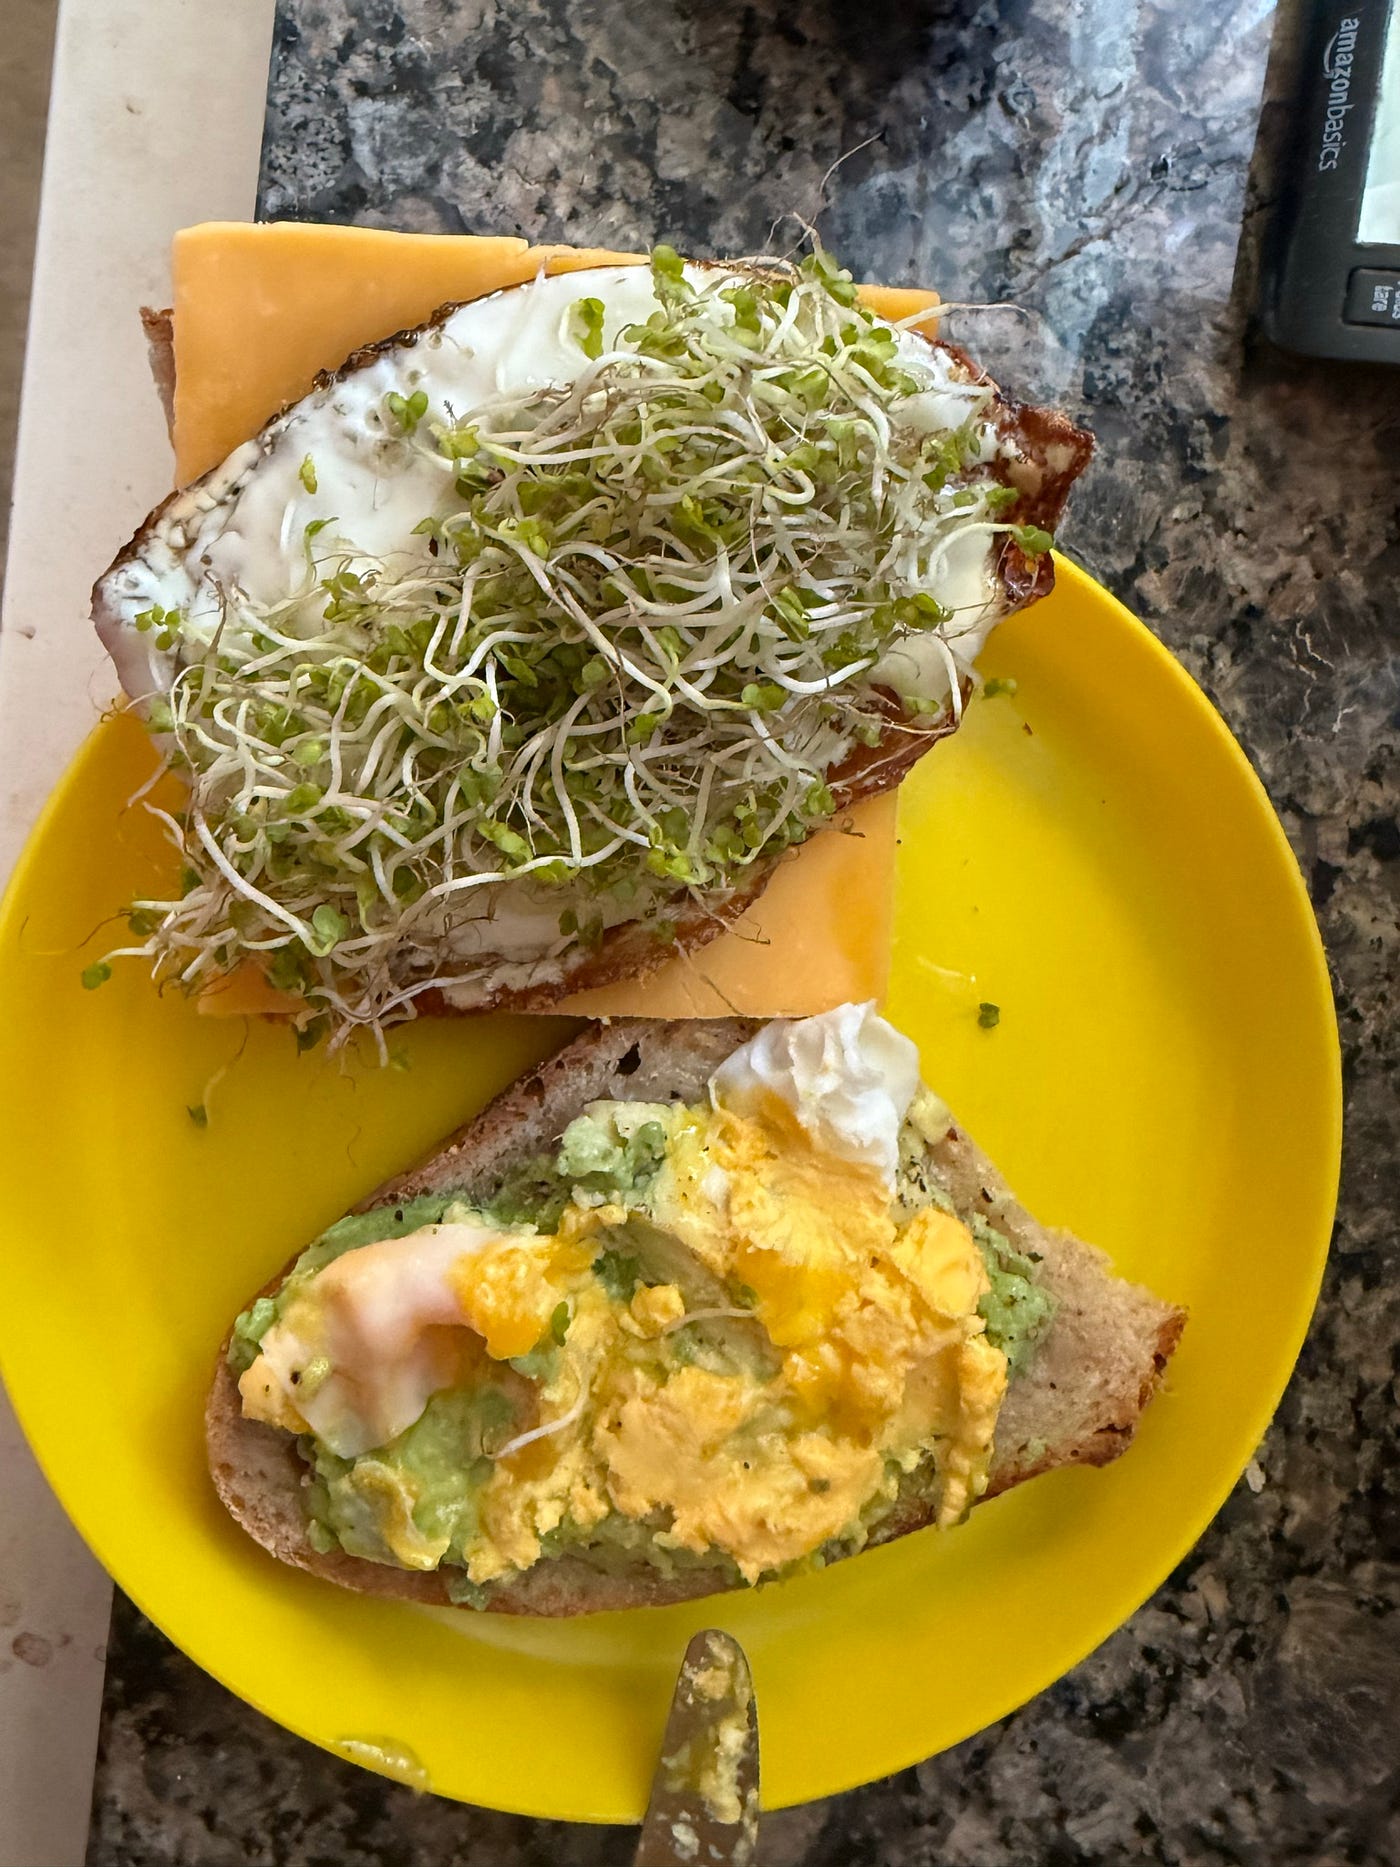
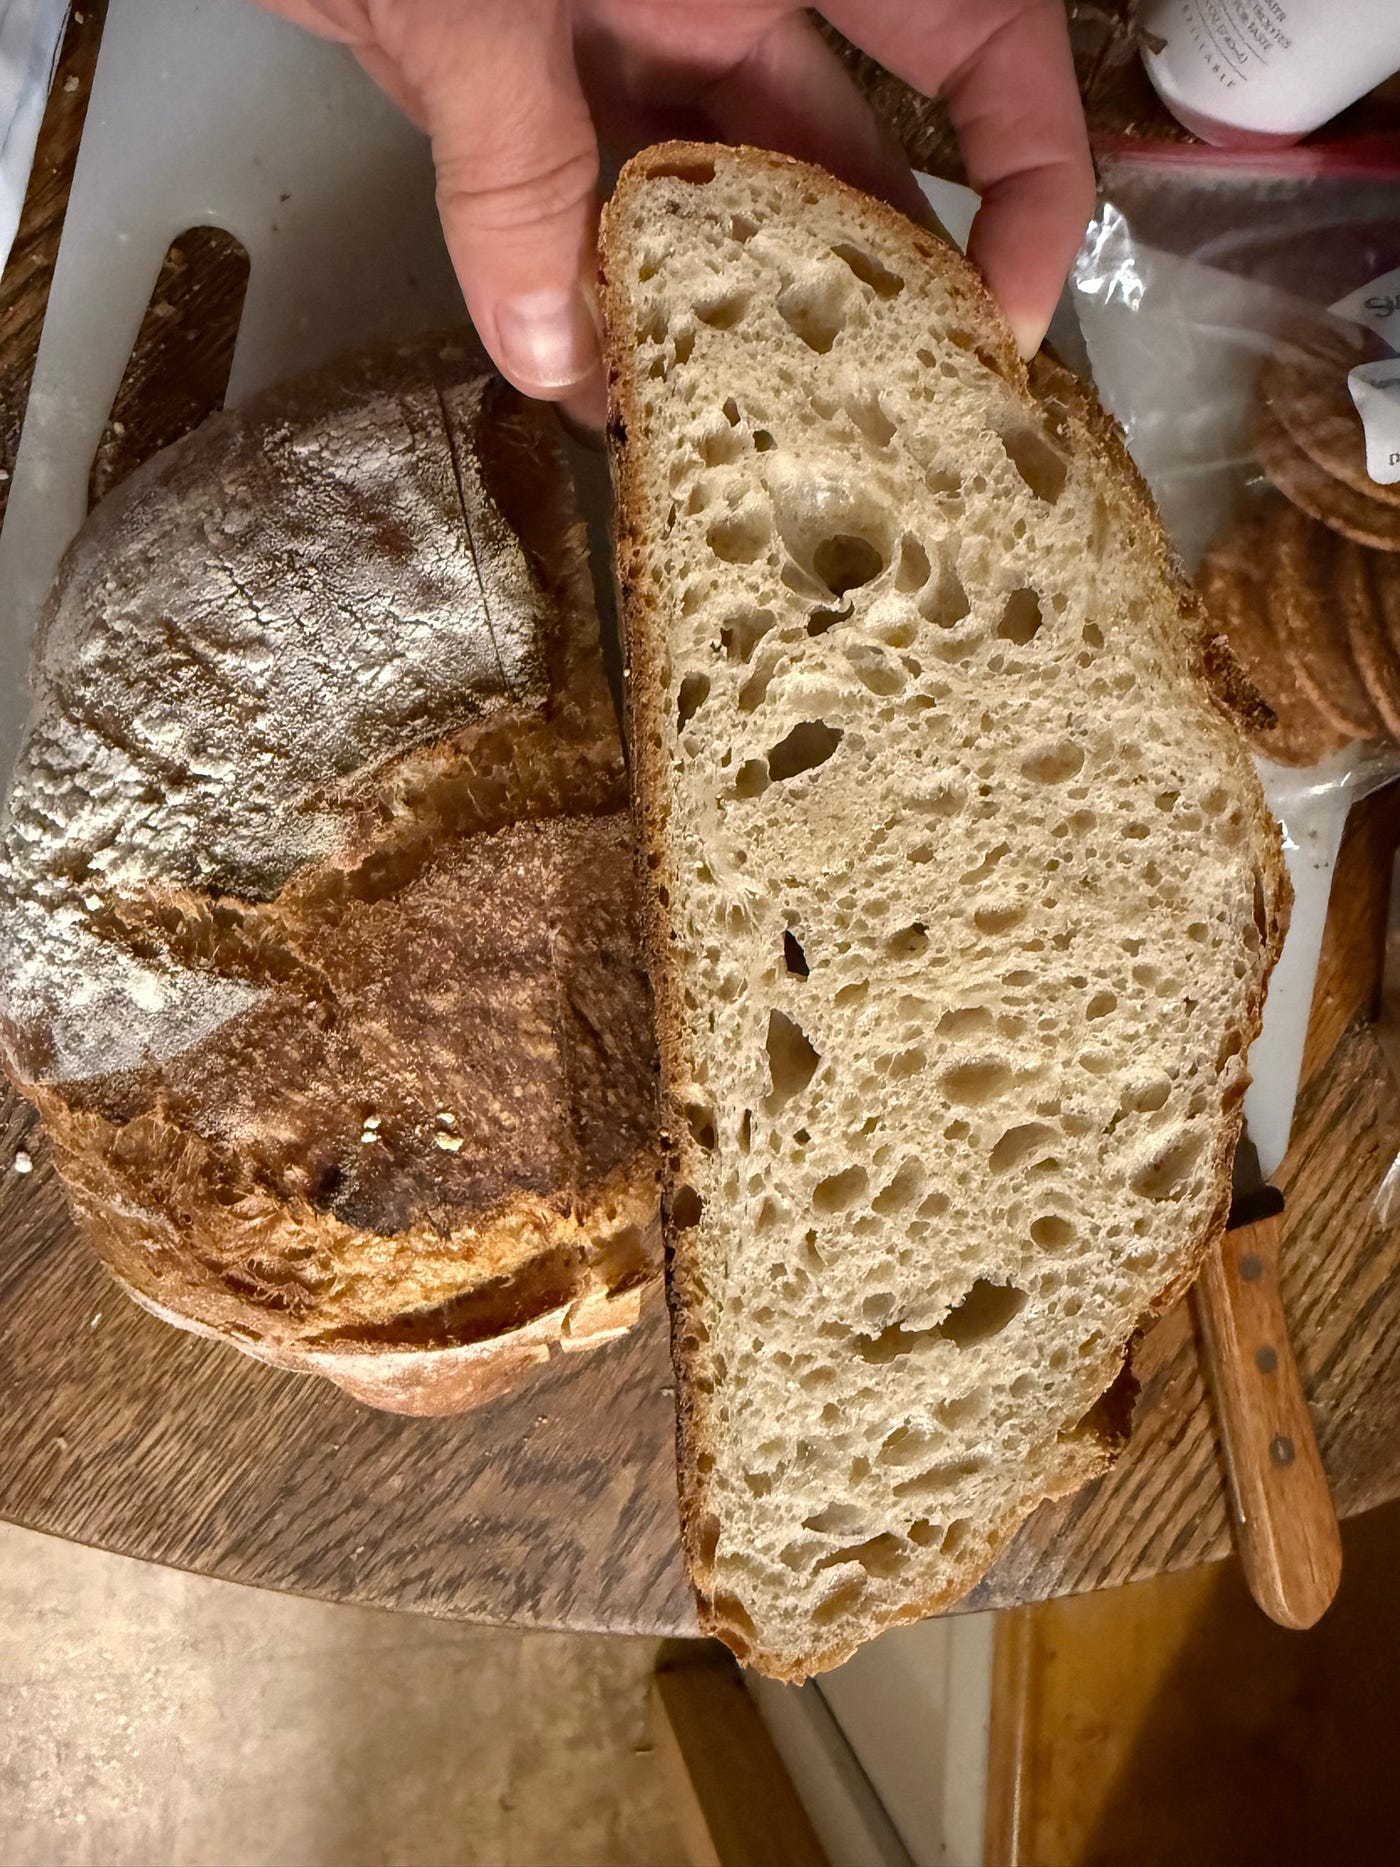
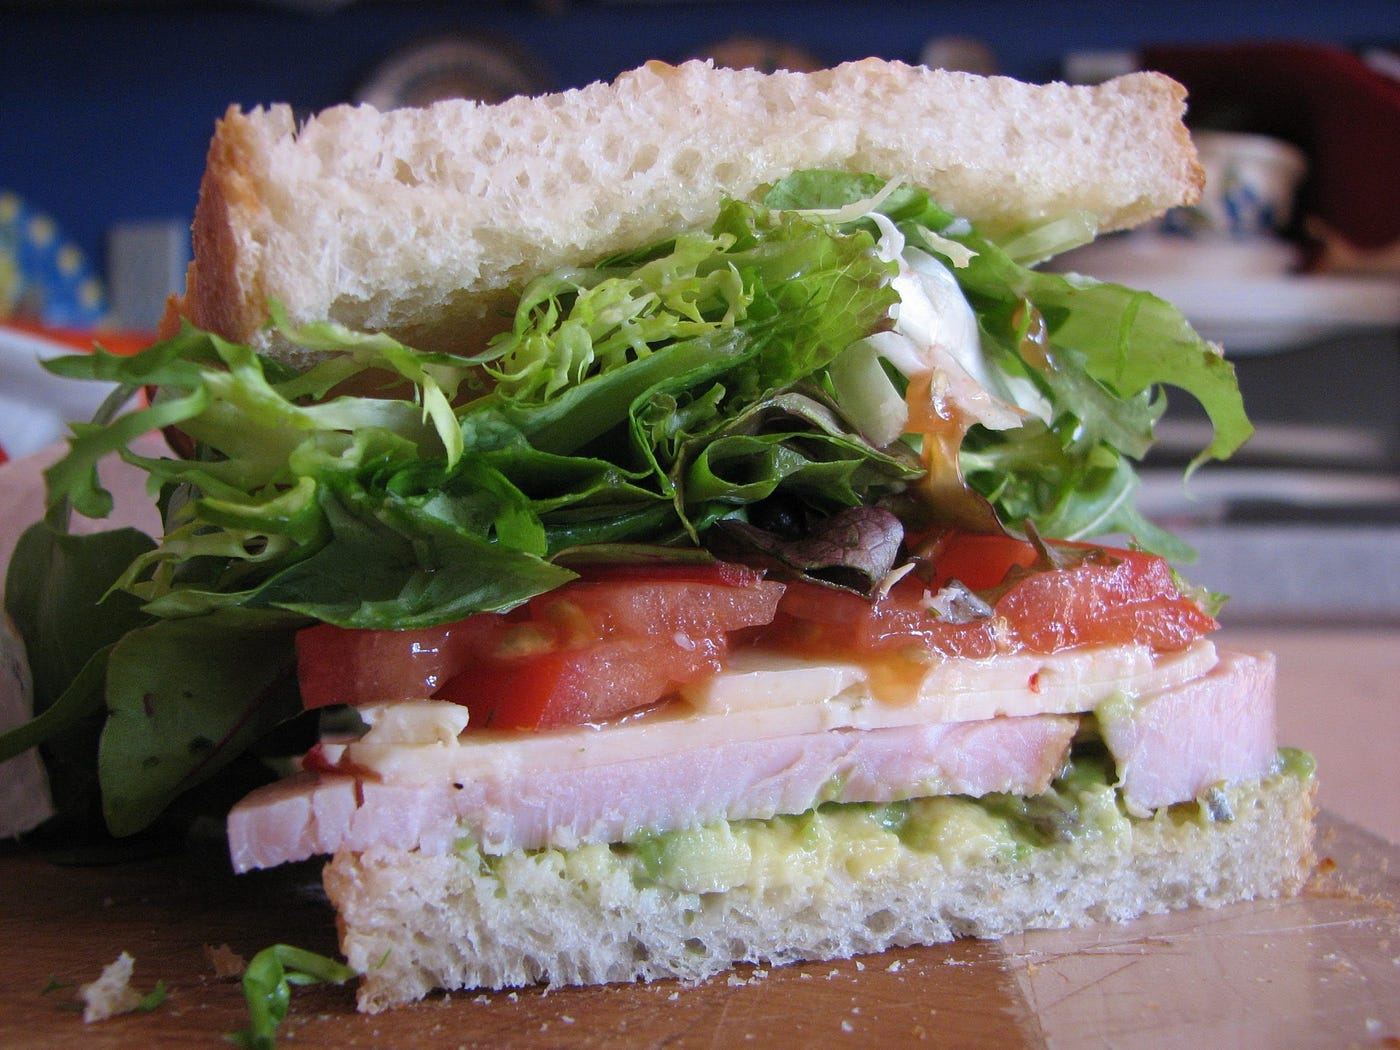
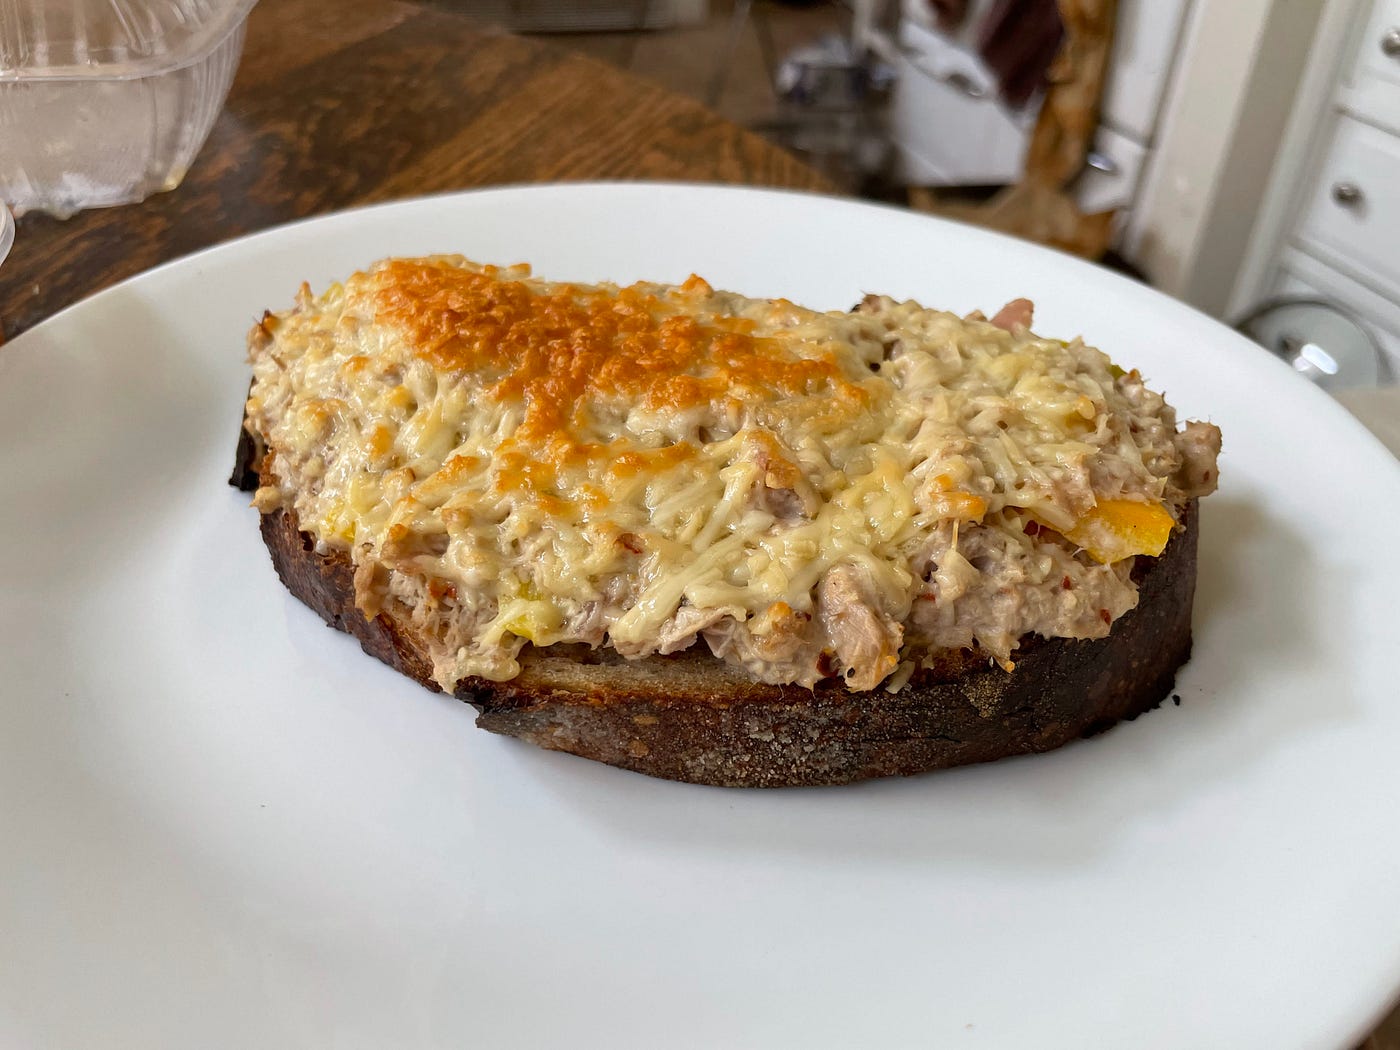
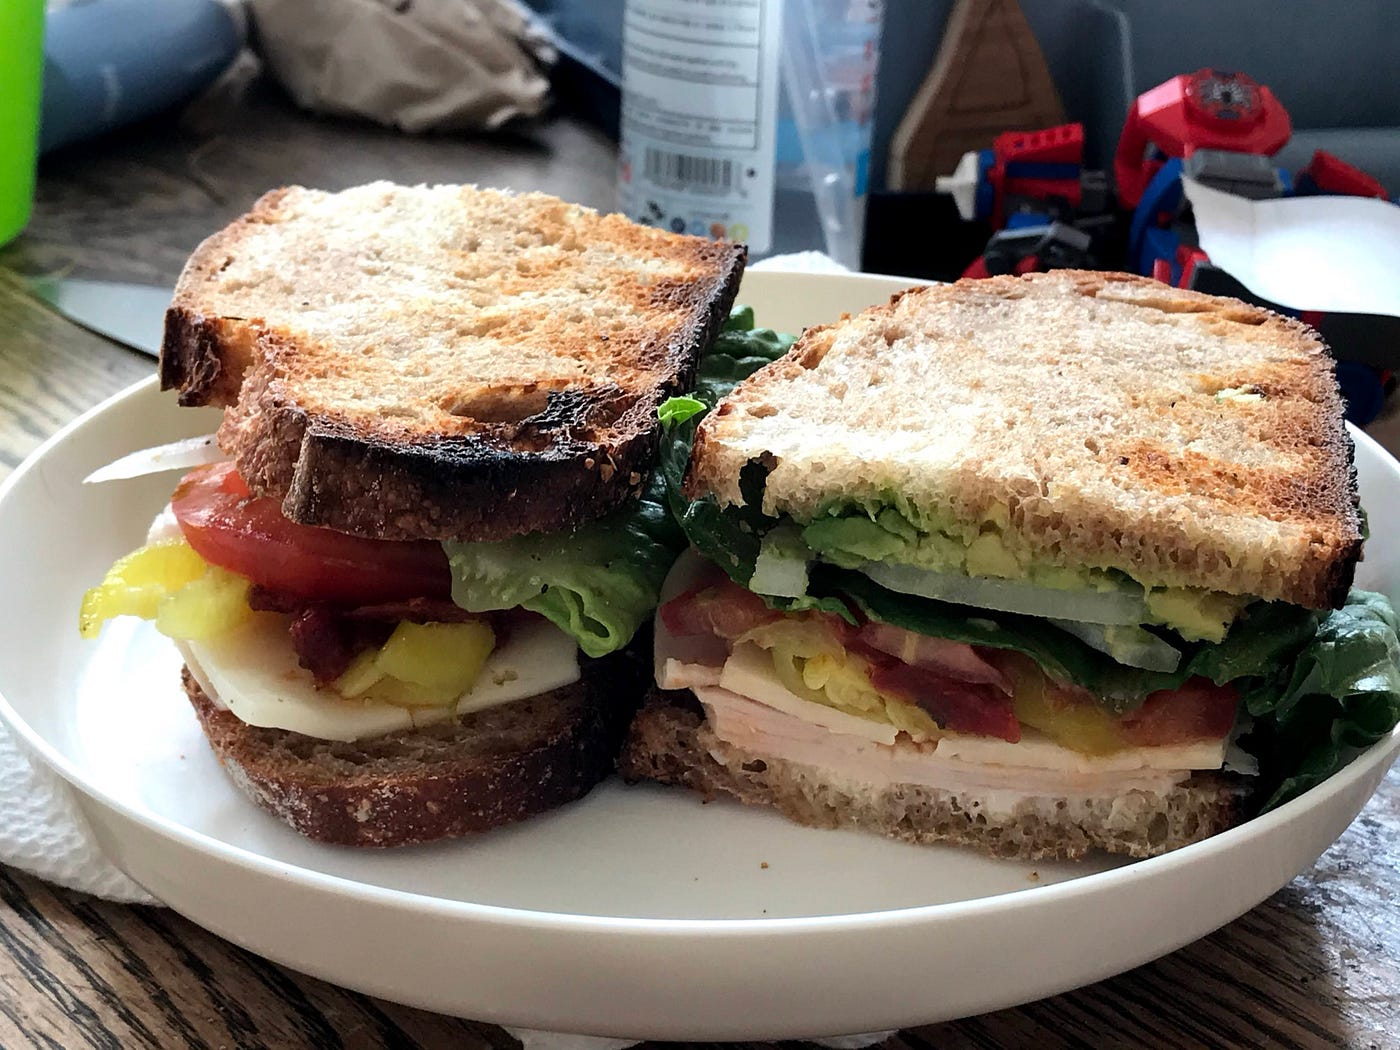
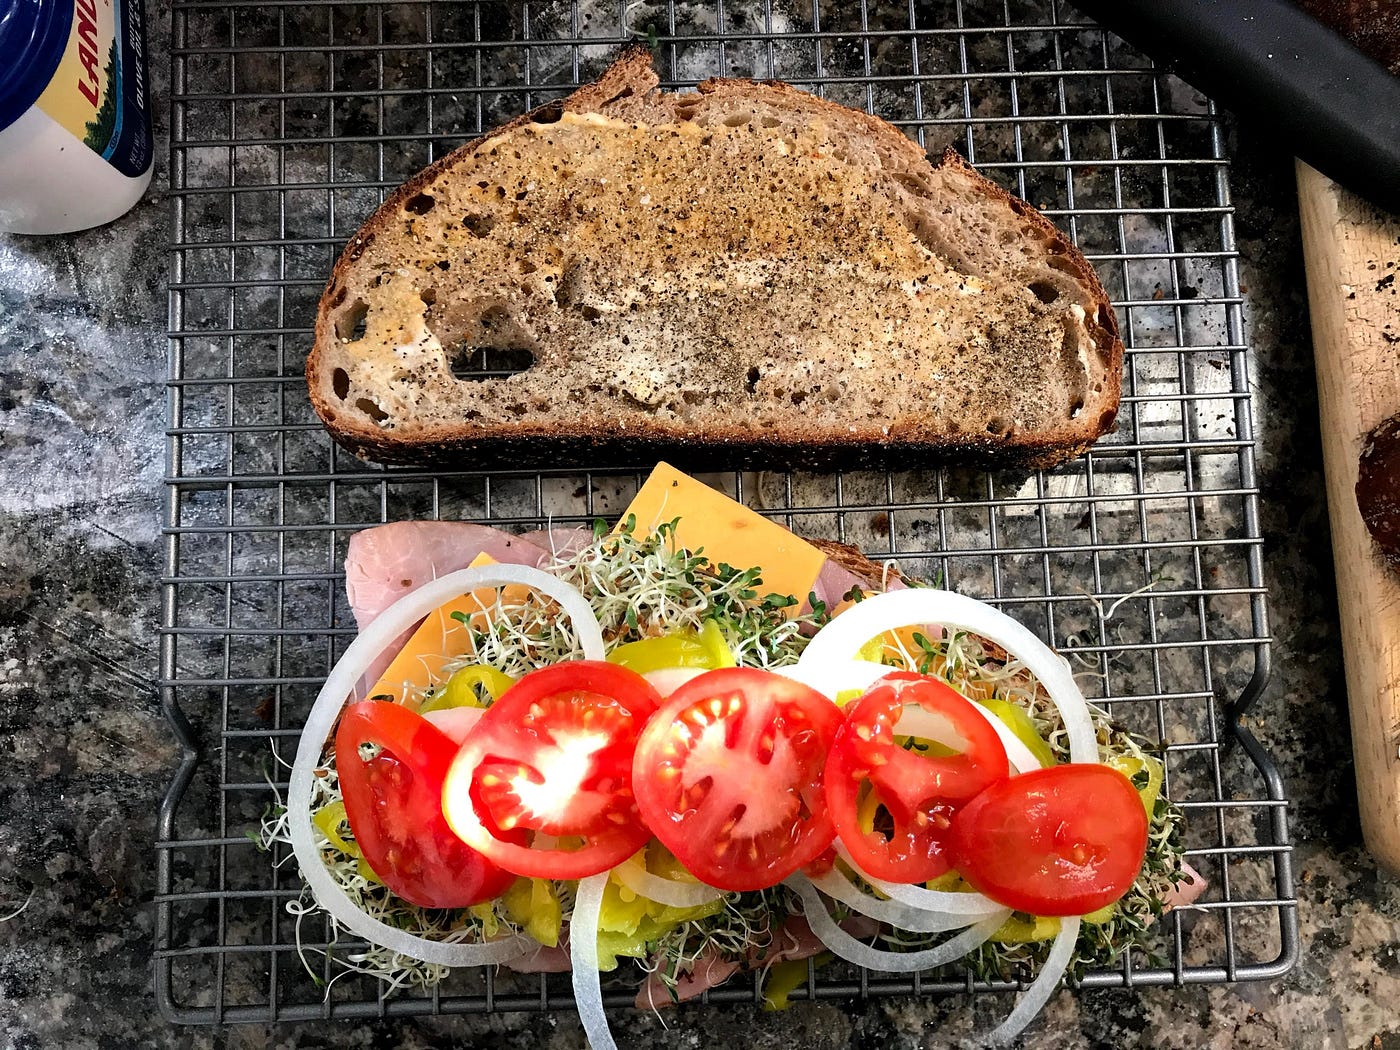
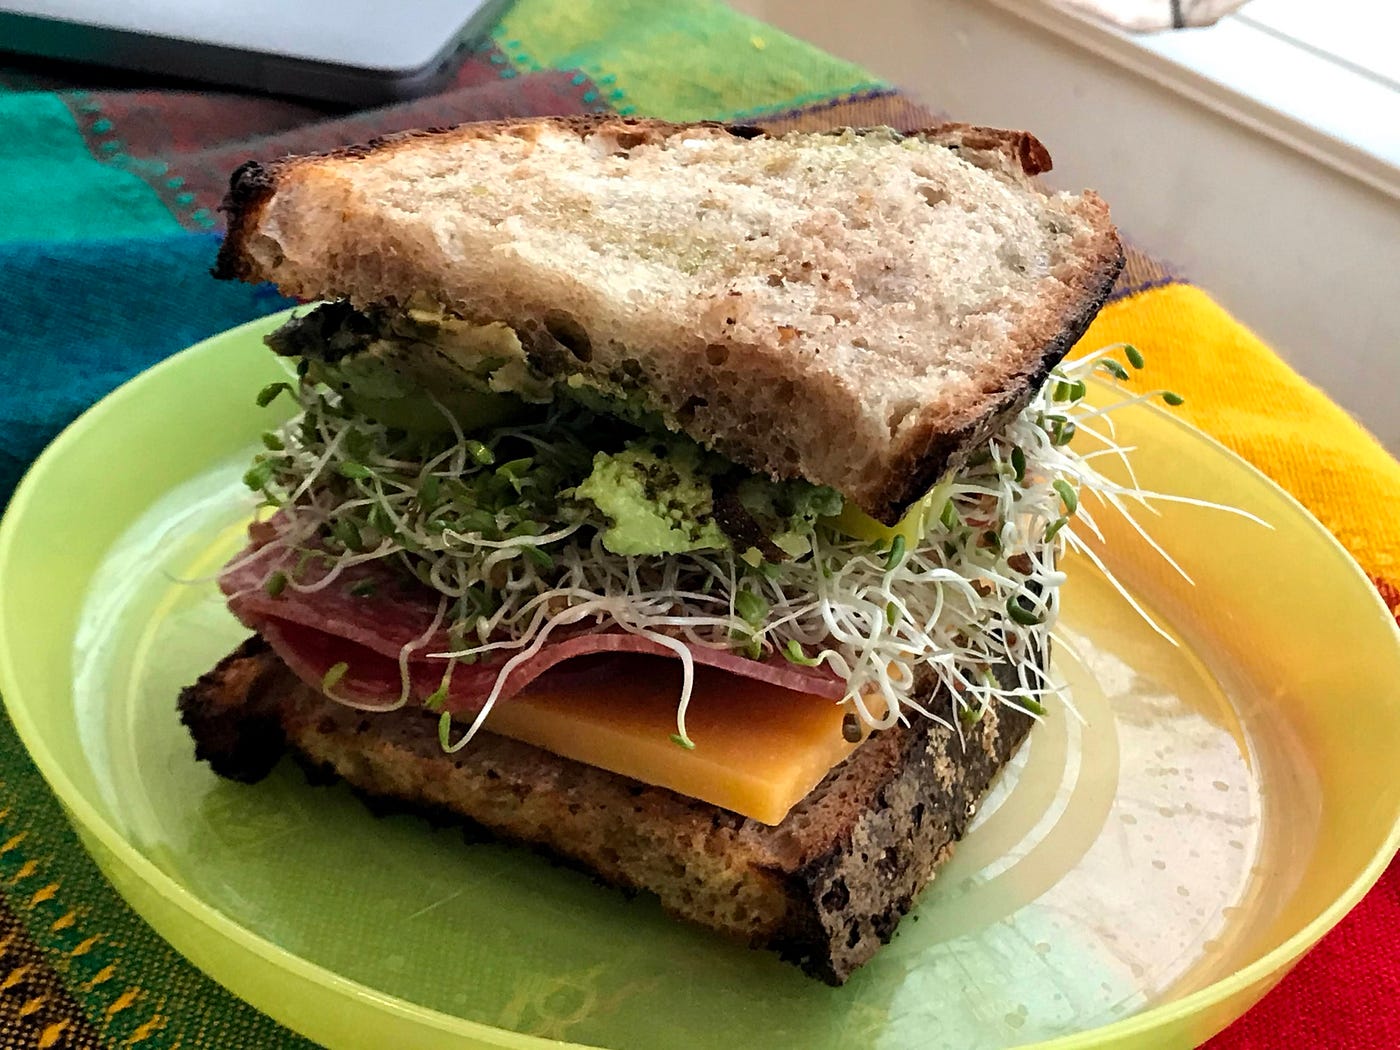
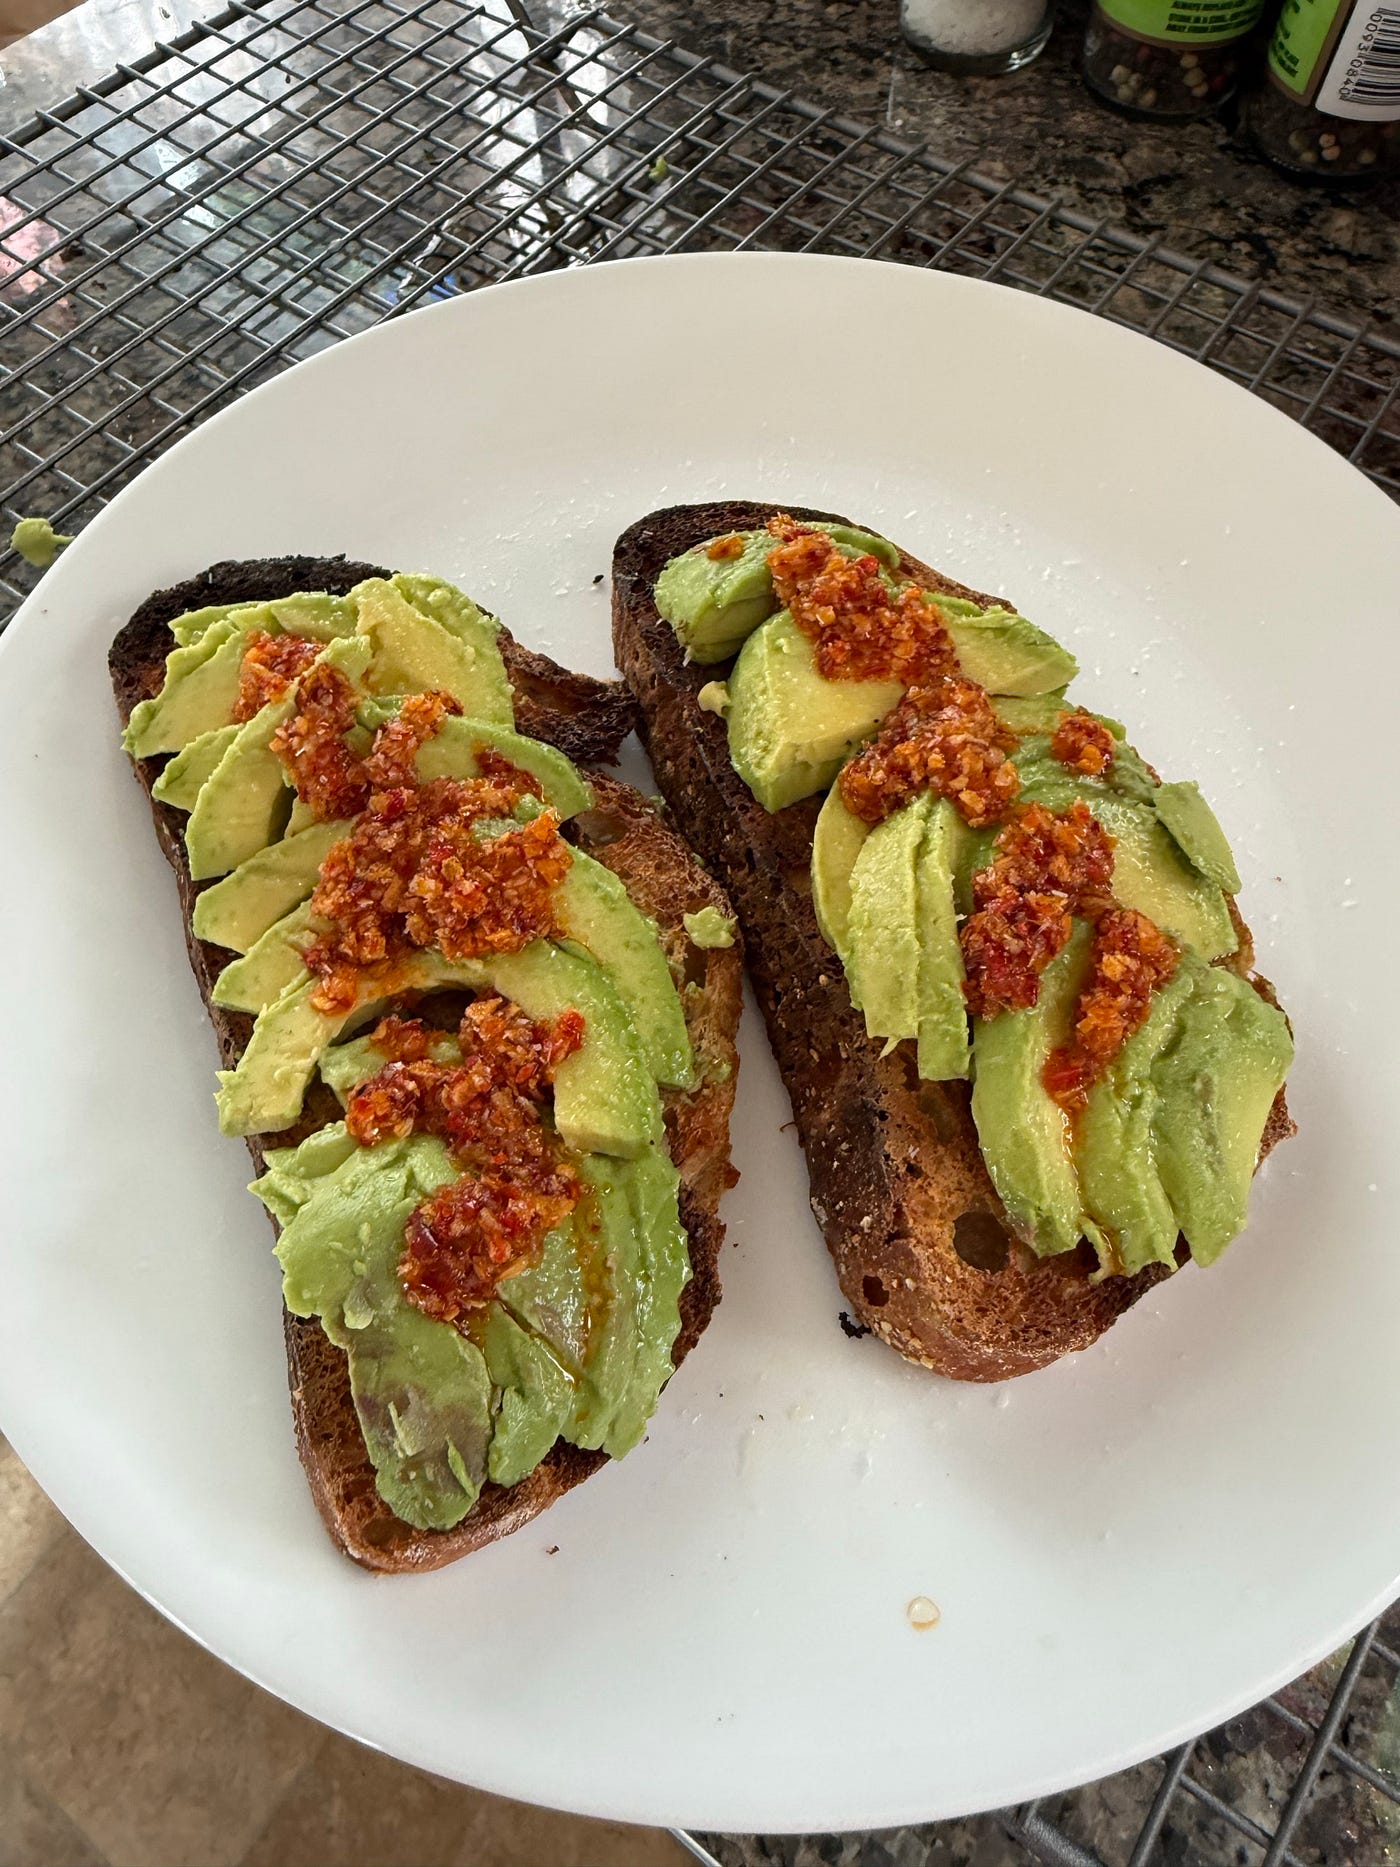
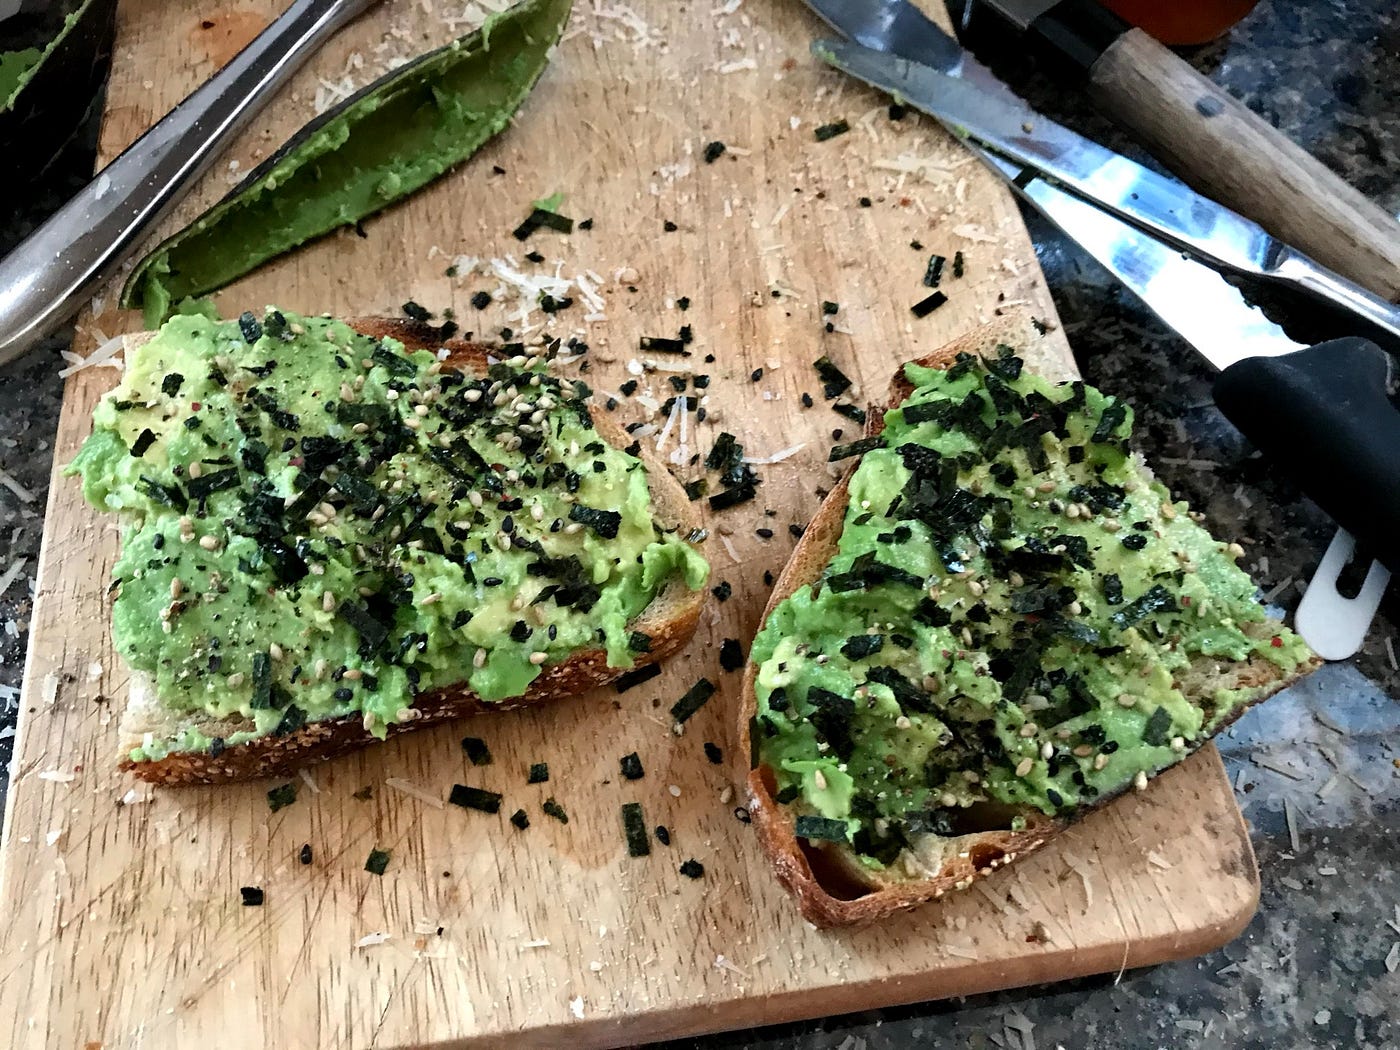
Here are some photos of meals I’ve made with home-baked sourdough, to give you some ideas and hopefully make you hungry to get started — enjoy!

메타데이터
- post_id
- fcd80ef85fae
- slug
- 7-years-of-sourdough-updating-the-santa-cruz-mountains-sourdough-fcd80ef85fae
- url
- https://medium.com/@merrill/7-years-of-sourdough-updating-the-santa-cruz-mountains-sourdough-fcd80ef85fae
- canonical_url
- https://medium.com/@merrill/7-years-of-sourdough-updating-the-santa-cruz-mountains-sourdough-fcd80ef85fae
- author_url
- https://medium.com/@merrill
- status
- ok
- fetched_at
- 2026-06-09 15:37:30