Continuous Integration with Azure Pipelines: A Developer’s Journey
Introduction
Continuous Integration with Azure Pipelines: A Developer’s Journey
Introduction
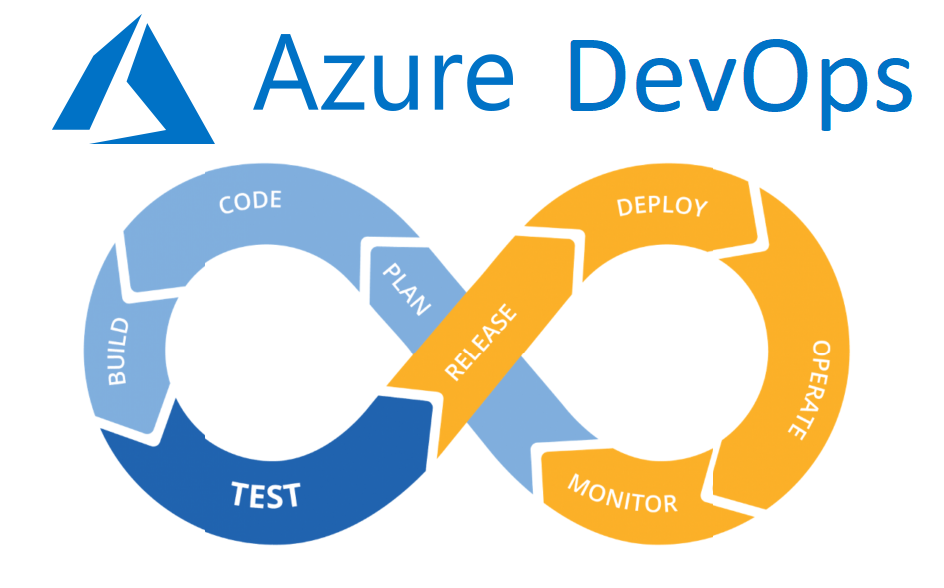
There’s something quietly thrilling about watching your code come to life not just in the IDE, but in a fully automated pipeline that builds, tests, and prepares it for deployment. This is the story of how I set up Continuous Integration (CI) using Azure Pipelines in Azure DevOps, starting from a local Git repository and ending with a pull request-triggered build. It’s not just a checklist of commands it’s a journey through the heart of modern DevOps.
Chapter 1: The First Push
It all began in a quiet development environment, where I opened a terminal and set the stage for Git to recognize me:
git config --global user.name "cloudacademy"
git config --global user.email "qa-student-3232-u8q05b@azure.labs.platform.qa.com"
With identity established, I navigated to the ca-repo directory and initialized it:
cd ca-repo
git init
The repo was empty, but the code was ready. I staged everything:
git add .
git status
Then came the first commit:
git commit -a -m "New remote repo"Now, it was time to connect to the remote Azure Repo:
git remote add origin http://ca-lab-vm-devopsnt7nuq5fnibhy.southcentralus.cloudapp.azure.com/DefaultCollection/CA-Project/_git/CA-ProjectAfter waiting for the Azure DevOps environment to finish building (a good 15 minutes), I signed in and cached my credentials:
git config --global credential.helper 'cache --timeout=7200'And finally, the push:
git push -u origin --all

Chapter 2: Building the Pipeline
Inside Azure DevOps, the project named CA-Project awaited.

Using the classic editor, I created a build pipeline. The source was selected, files copied, and build artifacts published.


Validation checks confirmed success: the pipeline was created.
Chapter 3: The First Run
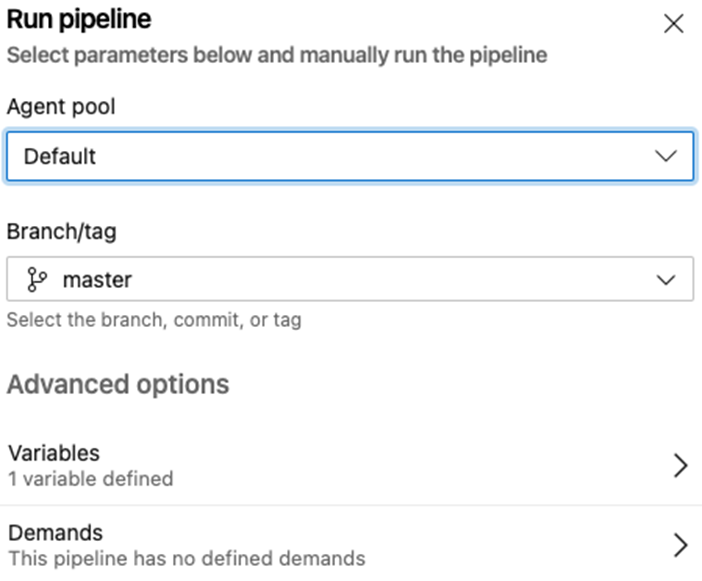
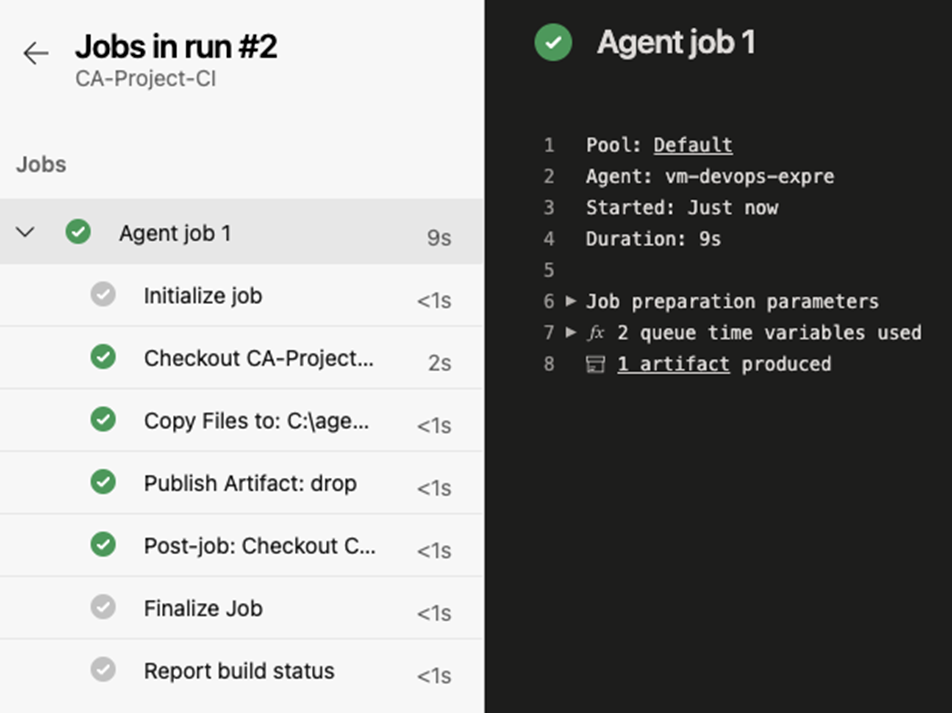
CI is about automation, but sometimes, manual runs are necessary. I navigated to the Pipelines blade and ran the pipeline against the master branch.
Agent pool: Default
Branch/tag: master
Verbose logs were enabled for diagnostics.
After a short wait, the job completed successfully.

Chapter 4: Feature Branches and Pull Requests
To simulate a real-world scenario, I created a new feature branch:
git checkout -b feature-branchI added a README.md file with a pipeline status badge, staged and committed the changes:
git add .
git commit -a -m "added readme w pipeline status"
git push origin feature-branch
Back in Azure DevOps, I set up a branch policy:
- Build pipeline: CA-Project-CI
- Trigger: Automatic
- Policy requirement: Required
- Build expiration: After 12 hours
- Display name: PR Trigger

Chapter 5: The Merge
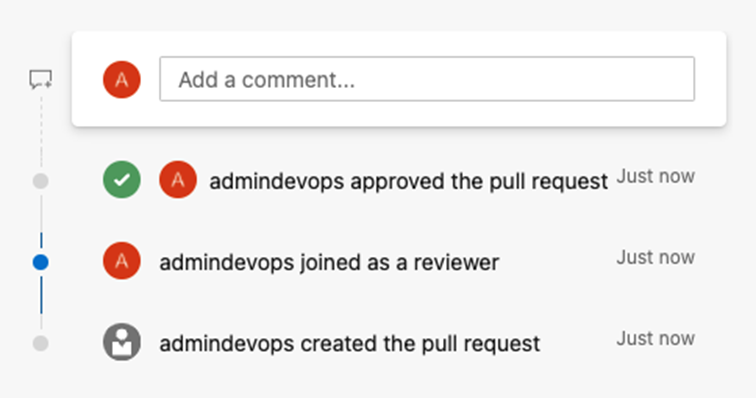
With the policy in place, I submitted a pull request to merge feature-branch into master.

Though I was the only admin, I approved the PR and completed the merge.
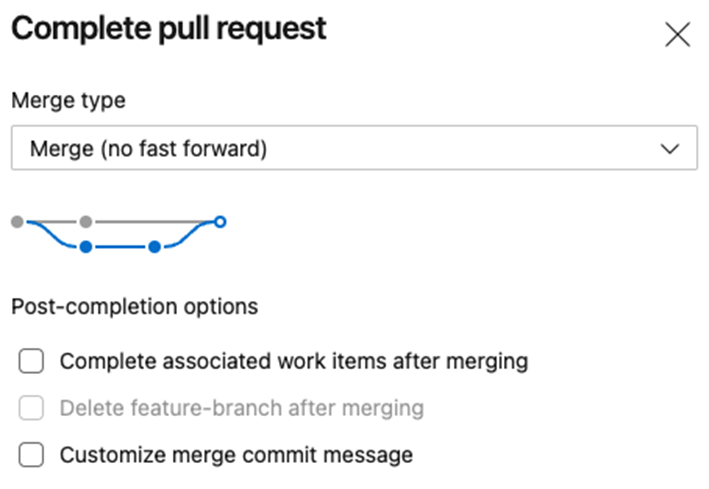
Immediately, the pipeline was triggered.

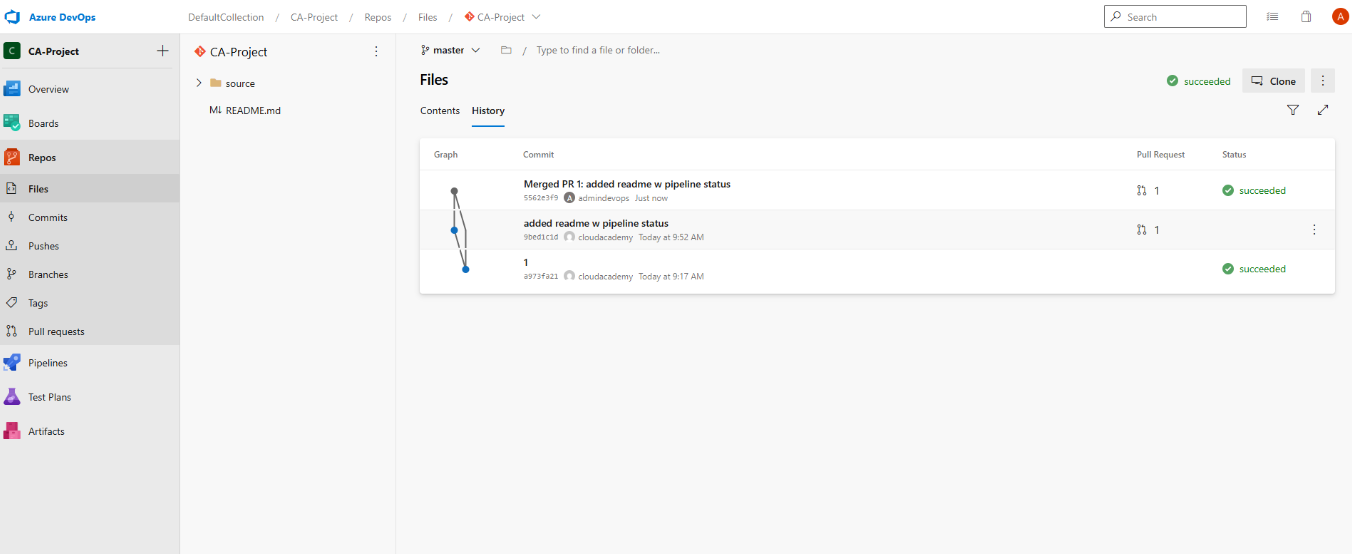
Back in Repos, the master branch reflected the changes, and the status badge showed a successful build.
Conclusion
This journey through Azure DevOps and CI pipelines wasn’t just about pushing code it was about building confidence in automation, understanding the flow of modern development, and seeing firsthand how small changes can ripple through a system with precision and reliability.
From initializing a local repo to watching a pull request trigger a build, every step reinforced the power of DevOps. And while the tools may evolve, the principles remain: automate, validate, and iterate
메타데이터
- post_id
- fcd999c92142
- slug
- continuous-integration-with-azure-pipelines-a-developers-journey-fcd999c92142
- url
- https://medium.com/@jukpozi/continuous-integration-with-azure-pipelines-a-developers-journey-fcd999c92142
- canonical_url
- https://medium.com/@jukpozi/continuous-integration-with-azure-pipelines-a-developers-journey-fcd999c92142
- author_url
- https://medium.com/@jukpozi
- status
- ok
- fetched_at
- 2026-06-20 20:29:01