One Mouse, One Keyboard, Multiple Computers: Connect Your Single KVM Input to Your Multiple…
If you work with multiple computers on your desk — like in my case, a primary MacBook Pro for development and a Windows laptop for specific…
One Mouse, One Keyboard, Multiple Computers: Connect Your Single KVM Input to Your Multiple Machines
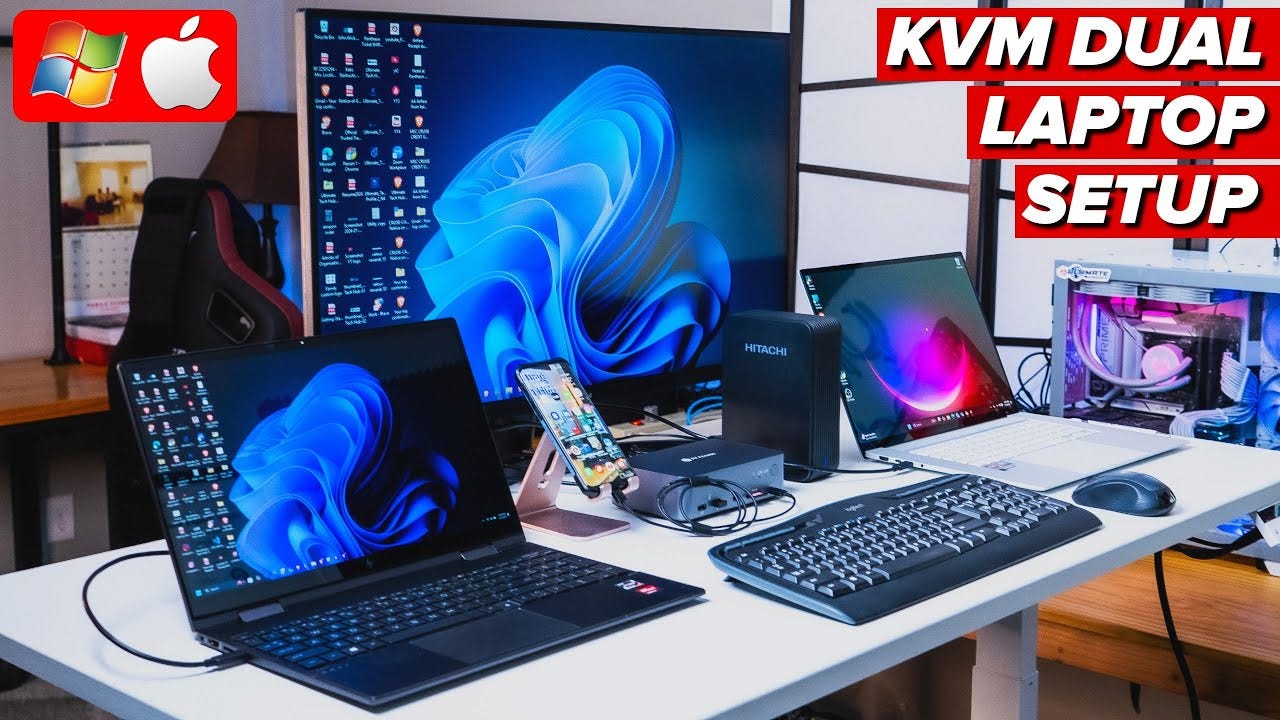
(Reference Image Source: https://i.ytimg.com/vi/mgNNLyIZF1M/maxresdefault.jpg)
If you work with multiple computers on your desk — like in my case, a primary MacBook Pro for development and a Windows laptop for specific corporate tools — you know the pain of clutter.
Many professionals jump to buying expensive hardware KVM switches to solve this. But physical switches introduce a major headache: cables. The more hardware and cables you add to your workspace, the further away you get from a clean desk setup. Before you know it, your desk becomes a messy, frustrating rat’s nest of power bricks, USB cords, and display lines.
Worse yet, hardware switches completely isolate your machines. When you click a physical button, you are literally jumping between completely separated devices. There is no fluid integration, and you certainly cannot copy a line of code on your Mac and paste it directly onto your Windows machine.
By using a software-based approach instead, you don’t need to spend money on extra hardware or sacrifice your clean aesthetic. You can integrate your inputs completely — allowing you to use just one keyboard and one mouse to control multiple machines, while seamlessly copying and pasting data across different operating systems.
Enter InputLeap, the premier open-source, cross-platform virtual KVM software. This guide covers a clean installation on macOS to host your peripherals, a critical workaround for a known macOS security permission loop, and how to securely link your Windows machine.
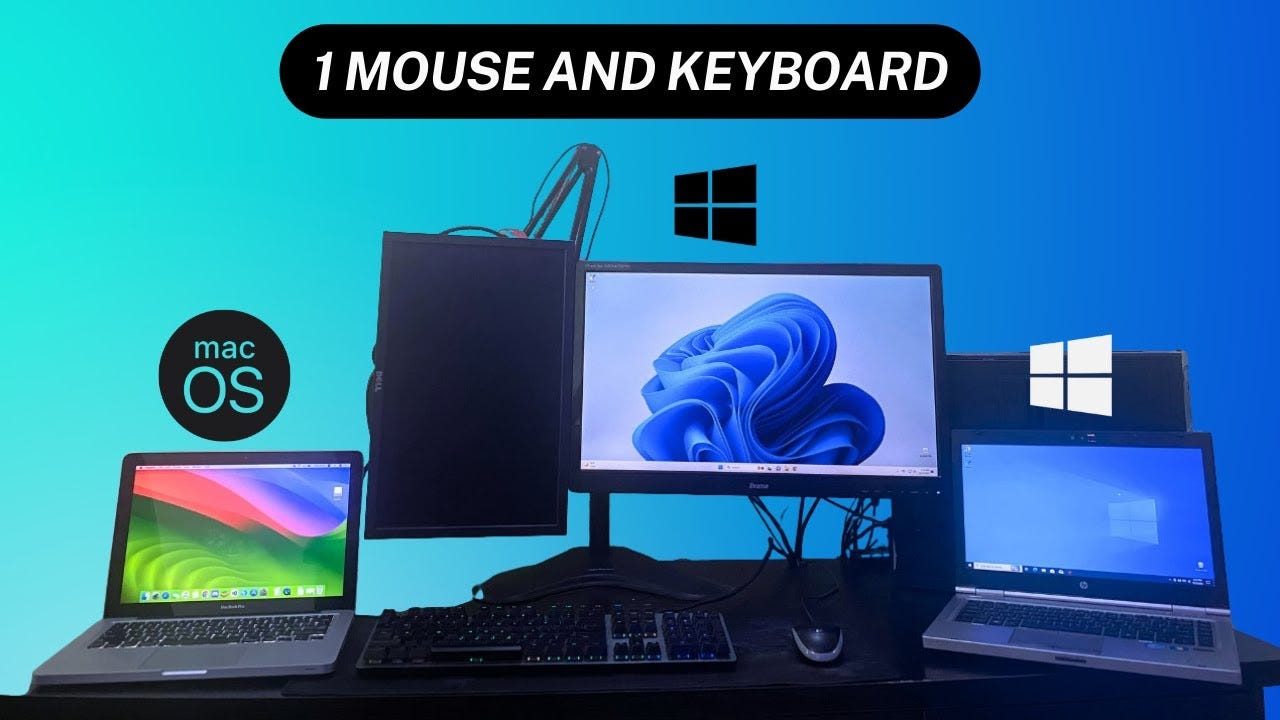
(Reference Image Source: https://i.ytimg.com/vi/nbaImwDORR8/maxresdefault.jpg)
💡 The Golden Rule of Software KVMs: Read Your Logs!
Before diving into configuration, remember the most important rule of debugging virtual KVM switches: Always look at your logs immediately whenever you face an error on your server or client. Unlike hardware switches that simply work or fail silently, software KVMs run real network services and encryption handshakes. Whether it’s a security block, a network timeout, or an unrecognized screen layout name, the underlying issue is always clearly printed in the application’s log window. If your cursor stops at the edge of the screen, don’t guess — check the log first.
The Architecture: Server vs. Client
Before installation, understand the roles:
- The Server (Host): The computer hosting the physical mouse and keyboard you want to share. In this guide, this is your Mac.
- The Client (Target): The secondary computer receiving the pointer, keystrokes, and shared clipboard data over the network. Here, your Windows 10/11 laptop.
Both machines must be connected to the same local network (Wi-Fi or LAN).
Step 1: Download and Install InputLeap
Make sure you grab the official distributions to avoid corrupted dependencies:
- On macOS: Download the latest release from the Official InputLeap GitHub Repository Releases. Mount the downloaded
.dmgand drag InputLeap.app into your Applications folder. - On Windows: Download the v3.0.2
.exeinstaller from the releases page.
⚠️ A Warning on the Windows Portable Version
Do not download the portable .zip or .7z archive version of the Windows client unless you want to spend hours debugging background architecture. If you use the portable version, you will likely be met with this frustrating error:
*input leap error ipc connection error connection refused*
This occurs because InputLeap relies on a background service framework to handle Inter-Process Communication (IPC) between the graphical interface and the core execution engine. The portable version does not automatically register or launch this underlying Windows service. The full .exe installer handles this system registration out of the box, completely avoiding the connection refusal.
Step 2: Bypassing the macOS Accessibility Loop
When hosting a software KVM on modern macOS versions, the operating system’s privacy engine throws a fatal loop. Even if you allow the master application window in your System Settings, the core background server daemon gets silently blocked from reading raw hardware inputs.
If you check your logs, you will see the server looping endlessly with this specific traceback:
[2026-06-16T17:22:10] INFO: starting server
[2026-06-16T17:22:10] INFO: config file: /private/var/folders/30/.../T/InputLeap.bXXFCF
[2026-06-16T17:22:10] INFO: log level: INFO
[2026-06-16T17:22:10] INFO: drag and drop enabled
[2026-06-16T17:22:10] FATAL: An error occurred: assistive devices does not trust this process, allow it in system settings.
[2026-06-16T17:22:10] ERROR: process exited with error code: 1
[2026-06-16T17:22:10] INFO: detected process not running, auto restarting
To resolve this issue permanently (tracked under InputLeap GitHub Issue #2075), you must explicitly authorize the raw binary compiled inside the application package:
- Open System Settings > Privacy & Security > Accessibility.
- If an old version of
InputLeapis visible in the list, select it and click the minus (-) button to clear its cache. - Open your Finder, head to your Applications folder, right-click InputLeap.app, and select Show Package Contents.
- Navigate through the internal folders:
Contents➔MacOS. - Locate the raw binary file named
input-leap. - Drag and drop that specific
input-leapbinary file directly out of the Finder window and into the list under System Settings > Privacy & Security > Accessibility. - Ensure the toggle switch next to input-leap is explicitly switched ON to grant it absolute control over device inputs.
Step 3: Configure the macOS Server Grid Layout
- Launch InputLeap on your Mac.
- Select the radio button for Server (share this computer’s mouse and keyboard).
- Click Configure Server… to open your screen arrangement matrix.
- From the top-right corner, drag the Screen Icon and place it onto the grid relative to your physical desk layout (e.g., if your Windows laptop sits to the right of your monitor, drop it directly to the right of the center square).
- Double-click that new grid icon. In the Screen name field, type the exact, case-sensitive Client Name displayed on your Windows InputLeap app main window.
- Click OK, then click Save / Apply.
Step 4: Secure Network Tuning & Connecting Options
To keep your connection completely secure, we will preserve InputLeap’s built-in TLS encryption while explicitly ensuring the handshake passes across operating systems.
1. Whitelist the Windows Firewall Port
Windows blocks unauthorized inbound connections on high ports by default. Open PowerShell as an Administrator on your Windows laptop and whitelist the communication port (24800):
PowerShell
New-NetFirewallRule -DisplayName "InputLeap KVM Port" -Direction Inbound -LocalPort 24800 -Protocol TCP -Action Allow(Ensure your Windows Wi-Fi network profile properties are set to Private to permit standard local device discoverability).
2. Choose Your Connection Method: Manual IP vs. Auto-Config
You have two ways to map your target client machine to your Mac server depending on your network preferences:
Option A: Manual Unicast IP (Most Reliable)
If you run advanced networking tools like virtual Docker interfaces, internal subnets, or corporate VPN endpoints, your machines will have multiple active network paths. Forcing a direct connection bypasses network discovery issues:
- On the Windows client app, uncheck Auto-config.
- Look at your Mac’s main screen, find its local IP address (e.g.,
192.168.1.X), and paste it into the Server IP box on Windows. - Run a quick connection test via Windows PowerShell to ensure your router isn’t blocking the line:
Test-NetConnection -ComputerName YOUR_SERVER_IP_HERE -Port 24800Option B: Clean Auto-Config using Bonjour
If you want a seamless, zero-configuration setup where the client automatically rediscovers the server even if your router reassigns your IP addresses, you can use Apple’s Bonjour protocol. While baked directly into macOS, Windows needs to be manually provisioned to understand it:
- Download and install the Bonjour Print Services for Windows client directly from Apple’s support pages or via an older iTunes deployment package.
- Once the Bonjour daemon is running on your Windows machine, check the Auto-config box inside the Windows InputLeap UI. It will automatically scan the local network stack, interpret the host mDNS broadcasts, and discover your Mac without manual IP matching.
3. Accept the Encryption Handshake
- On your Mac server, verify Enable TLS / Crypto is checked in your Settings. Note the unique secure Fingerprint displayed on the screen.
- Click Start on your Mac Server first, followed by Start on Windows.
- The Critical Step: Keep an eye on your Windows desktop. A pop-up dialog box will appear asking you to trust the incoming SSL certificate. Compare the cryptographic fingerprint string to the one shown on your Mac. If they align, click Yes / Accept.
Your connection state will change to connected. Your single KVM mouse and keyboard input are now dynamically mapped across independent operating systems, letting you work, copy, and paste seamlessly without the physical wire clutter!
메타데이터
- post_id
- fd2e3fba01e5
- slug
- one-mouse-one-keyboard-multiple-computers-connect-your-single-kvm-input-to-your-multiple-fd2e3fba01e5
- url
- https://medium.com/@fahryrozy/one-mouse-one-keyboard-multiple-computers-connect-your-single-kvm-input-to-your-multiple-fd2e3fba01e5
- canonical_url
- https://medium.com/@fahryrozy/one-mouse-one-keyboard-multiple-computers-connect-your-single-kvm-input-to-your-multiple-fd2e3fba01e5
- author_url
- https://medium.com/@fahryrozy
- status
- ok
- fetched_at
- 2026-06-22 17:31:34