Background Node Gradient in DaVinci Fusion
At first glance, the Background node in DaVinci Resolve’s Fusion page seems like a basic generator. However, once you switch its type to…
Background Node Gradient in DaVinci Fusion
At first glance, the Background node in DaVinci Resolve’s Fusion page seems like a basic generator. However, once you switch its type to Gradient, you unlock a powerful world of geometry, mathematics, and interpolation spaces that can drastically elevate your motion graphics and VFX work.
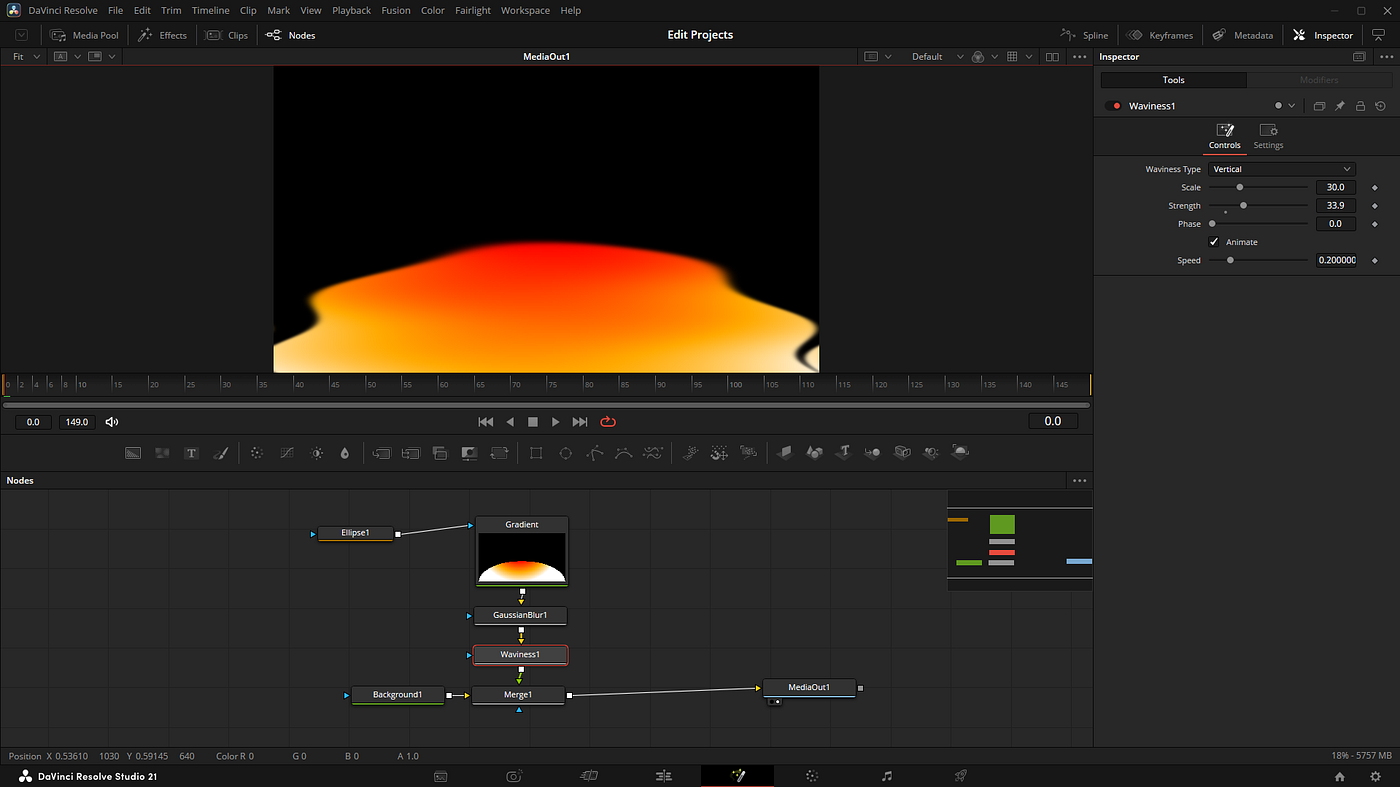
Figure1: Background node named gradient
Color Spacing and Edge Softness
The core concept of a gradient relies on “interpolation” — how the software calculates the pixels between your color stops (Start and End). The softness or hardness of the transition is entirely dictated by the distance between these coordinates:
- Smooth/Soft Gradients: The further apart your Start and End points are, the more room the colors have to blend, resulting in a seamless, soft transition.

Figure 2: Each Color Stop triangle represents a specific color in the gradient path
- Hard Edge Gradients: If you place two color stops (or the end of one color and the start of another) exactly on top of each other at the same coordinate, the interpolation space drops to zero. This creates a razor-sharp, crisp line — perfect for flat graphic designs without using any extra masks!

Figure 3: Sharp edges of any color in PAL Bars
Gradient Type
- Linear: Draws the gradient along a straight line from the starting color stop to the ending color stop.
- Reflect: Draws the gradient by mirroring the linear gradient on either side of the starting point.
- Square: Draws the gradient by using a square pattern when the starting point is at the center of the image.
- Cross: Draws the gradient using a cross pattern when the starting point is at the center of the image.
- Radial: Draws the gradient in a circular pattern when the starting point is at the center of the image.
- Angle: Draws the gradient in a counterclockwise sweep when the starting point is at the center of the image
Categorizing Gradient Types by Node Behavior
The actual coordinates (X and Y) don’t change geographically when you switch gradient types; instead, the software alters its mathematical interpretation of those points. We can classify them into 3 distinct groups:
1. The Directional & Vector Group (Linear & Reflect)
In this group, the distance and angle between the two points map out a straight path.
- Linear: Colors transition along a straight line directly from the starting stop to the ending stop.
- Reflect: The Start point acts as a “mirror axis,” replicating the linear gradient symmetrically on both sides.
2. The Central & Radial Expansion Group (Radial, Square, Cross)
This group shifts the calculation from vectors to a “center and radius” blueprint.
- Start Point (The Core Hub): In Radial, Square, and Cross modes, the Start point becomes the absolute center or origin of the shape (circle, square, or cross).
- End Point (Scale & Radius): The distance of the End point from the center dictates the scale. Bringing it closer shrinks the pattern, while moving it away expands it.
3. The Rotational & Sweeping Group (Angle)
This mode behaves uniquely, as the physical distance of the End point is completely ignored.
- The Start point is the central axis (like the pivot of a clock hand). The End point solely determines the angular direction where the 360-degree counterclockwise color sweep begins.
Color Interpolation Spaces
When you create a gradient, you are essentially telling Fusion: “Here are my two main color stops; you figure out how to fill the gap between them.” However, the real magic of how these colors blend in the middle depends entirely on the Interpolation Space. This setting dictates the mathematical color model Fusion uses to calculate those transitional pixels:

Figure 4: Color Interpolation Spaces
- RGB Mode (Default): This space interpolates Red, Green, and Blue channels in a straight mathematical line. For instance, blending blue and red will give you a perfect purple/pink right in the middle. However, in certain combinations (like blue and yellow), RGB can sometimes result in a muddy, desaturated gray transition in the dead center.
- HSV & HLS Modes: These spaces operate based on Hue, Saturation, and Value/Lightness. Instead of taking a shortcut through a straight line, the software travels along the circumference of the color wheel. The result? Incredibly vibrant, rich, and rainbow-like gradients that never lose their color saturation in the transition.
- LAB Mode (CIELAB): Designed to mimic how the human eye actually perceives changes in brightness and color. LAB interpolation delivers incredibly smooth, mathematically seamless, and cinematic transitions. It is the absolute best choice for organic, natural phenomena like a sunset sky, because the perceptual brightness remains perfectly uniform across the entire gradient.
메타데이터
- post_id
- fd37a23b99a7
- slug
- background-node-gradient-in-davinci-fusion-fd37a23b99a7
- url
- https://medium.com/@davinciforge/background-node-gradient-in-davinci-fusion-fd37a23b99a7
- canonical_url
- https://medium.com/@davinciforge/background-node-gradient-in-davinci-fusion-fd37a23b99a7
- author_url
- https://medium.com/@davinciforge
- status
- ok
- fetched_at
- 2026-07-30 20:10:18