Root Android Studio Virtual Device emulator using Magisk.
1. Introduction Rooting an Android Studio emulator grants deeper system access, beneficial for app development and testing. This guide…
Root Android Studio Virtual Device emulator using Magisk.

1. Introduction Rooting an Android Studio emulator grants deeper system access, beneficial for app development and testing. This guide explains how to root an emulator running API 36 (Android 13) using rootAVD.
2. Preparation
- Operating System: Windows
- Android Studio
- ADB
- Magisk
- Root Checker App
3. Steps 3.1. Configure Virtual Device in Android Studio
- Open Android Studio.
- Go to Tools > AVD Manager.
- Click Create Virtual Device.
- Select a device and click Next.
- Choose System Image with API 36.
- Click Next, name the AVD (e.g., “test”), then click Finish.
- Start the emulator by clicking the Play button next to the created AVD.

3.2 Install rootAVD Tool
- Download rootAVD from GitHub: https://github.com/newbit1/rootAVD
- Extract the downloaded file to a folder.
3.3 Install Magisk v29.0
- Download Magisk-v29.0.apk from GitHub: https://github.com/topjohnwu/Magisk/releases

- Rename the downloaded file to Magisk.zip.
- Copy Magisk.zip to the folder containing rootAVD.bat.


3.4 Root Device Using rootAVD
- Open Command Prompt or PowerShell.
- Navigate to the rootAVD folder.
- Run the command:
rootAVD.bat

- Then run the command:
rootAVD.bat system-images\android-36\google_apis_playstore\x86_64\ramdisk.img
- The script automatically pushes Magisk.zip and necessary files to the emulator, then patches ramdisk.img for rooting.
- Once the script completes, the emulator will be rooted with Magisk.
3.5 Install Modules
- Download modules from MTienNg/Module-Magisk: Module Magisk for root emulator
- Open the Magisk app on the emulator.
- Go to the Modules section.
- Tap Install from storage to add a module.
- Select the desired module.
- Install and reboot the emulator if required.


Turn Zygisk off and back on, then reboot
3.6 Hide Magisk
- Open the Magisk app.
- Go to Settings.
- Select “Hide Magisk App” to conceal the Magisk application.


- “Enable Enforce DenyList” to ensure apps or processes in the DenyList cannot detect Magisk’s presence.

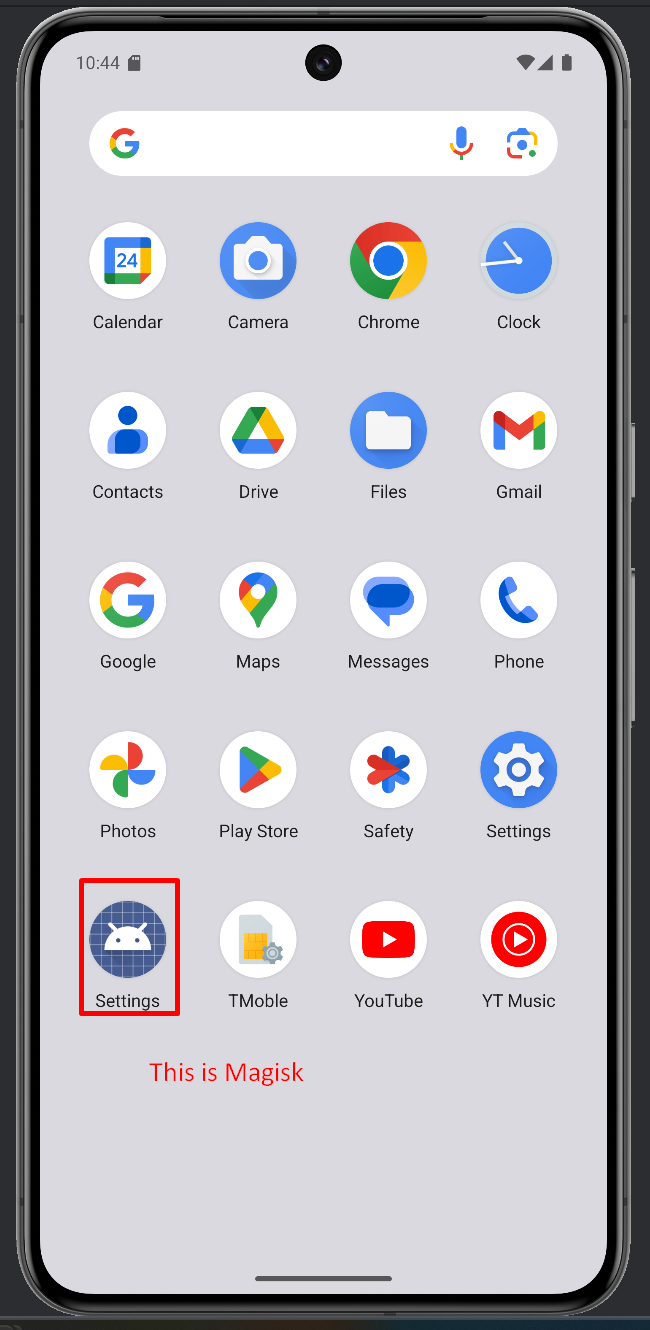
3.7 Install Root Checker App

3.8 Test “Damn Vulnerable Bank” app
- Install the “Damn Vulnerable Bank” app.
- Open the app.
- The app displays “Phone is rooted,” indicating successful rooting but Magisk is not yet hidden.

- In Magisk, go to “Configure DenyList” and select apps for which Magisk should hide root.


- Reopen the app. If Frida is detected as running, disable Frida.

- After disabling Frida, successfully access the app.


Conclusion
Hope you learned something new from my experience. Let me know your thoughts on this! If you like this write-up, Share!
Thank you!
Contact for work: cyberbl4cky@gmail.com
메타데이터
- post_id
- 0340f8ce3373
- slug
- root-android-studio-virtual-device-emulator-using-magisk-0340f8ce3373
- url
- https://medium.com/@Bl4cky/root-android-studio-virtual-device-emulator-using-magisk-0340f8ce3373
- canonical_url
- https://medium.com/@Bl4cky/root-android-studio-virtual-device-emulator-using-magisk-0340f8ce3373
- author_url
- https://medium.com/@Bl4cky
- status
- ok
- fetched_at
- 2026-08-01 21:05:13

