FSM in Unity to Create Smart AI
Objective:Learn how to use Finite State Machines (FSMs) in Unity to create smarter AI using NavMesh.
FSM in Unity to Create Smart AI
Objective:Learn how to use Finite State Machines (FSMs) in Unity to create smarter AI using NavMesh.
💡Note: This article assumes that you are familiar with Nav Mesh and have already set it up. Click here to learn how.
Table of Contents
· The Finite State Machine Diagram · Using Enums · Switching the Current State · Programming the States ∘ Walking ∘ Jumping ∘ Attacking ∘ Optional Attack Pattern Using Coroutine · The Result
The Finite State Machine Diagram
When working with Finite State Machines, it’s common to create a diagram (if one isn’t provided).

These diagrams help visualize:
- The states your AI can be in
- The transitions between those states
- The conditions that trigger each transition
In other words, they represent the full behavioral cycle of your AI.
So how do we translate this cycle into code? Let’s start with Enums.
Using Enums
Enums (short for enumerations) are user-defined data types that group related values together.
A simple way to think about them: They are like categorized lists, sometimes even cyclical ones, like the days of the week.
The real power of enums is that they let us represent complex concepts in a way that code can easily understand. Under the hood, enums map to integer values, making them efficient while remaining readable.
In this case, we’ll use enums to define the different AI behaviors (states).

🔎Code Breakdown
private enum AIState→ Declares a new enum- Each item is separated by a comma (except the last one)
- Each state corresponds to an underlying integer value, as shown by the comments (even if not explicitly shown)
Switching the Current State
Now that we have our enum, we need a way to switch between states.
Enums work naturally with switch statements, so that’s what we’ll use.
- Create a variable to store the AI’s current state:
- Make it a serialized field so it’s visible in the Inspector
- This helps with debugging and testing
Since it uses AIState, it can only take values defined in the enum.

This is how it should look in the Inspector:

- Set up a
switchstatement with one case per state:
Each case represents a behavior your AI can execute.

Programming the States
Now we implement the logic for each state. To stay focused, we won’t fully reimplement NavMesh movement here — we’ll focus on how states transition and execute.
Walking
The walking (or patrol) behavior usually starts in Start(). However, it must also exist inside the switch statement so the AI can return to it after other states.
In this state, you simply call your patrol function.

Jumping
According to our FSM diagram, jumping is triggered by pressing the E key.

- Step 1: Detect Input When the key is pressed:
- Change the current state to
Jumping - Stop the NavMesh Agent so the jump action takes priority

Step 2: Execute Logic Once the state changes:
- The switch statement automatically enters the
Jumpingcase - This is where your jump logic runs

Attacking
From the FSM diagram, the attack state triggers when the AI is within 0.5 units of its target.

- Step 1: Check Distance
- If the condition is met, change the state to
Attacking
In my case, I used the same logic in the PatrolCycle because distance is already measured here.

Step 2: Execute Attack
- Call your attack function inside the
Attackingcase
- Now you can execute your Attack function from the switch-case.
Optional Attack Pattern Using Coroutine
In this version, the AI attacks, waits, then resumes patrolling.
1. Track Attack State
Create a bool to track whether the AI is currently attacking.

- Create a coroutine for the Attack pattern

🔎 Code Breakdown
- Stop the agent to prioritize the attack behavior
- Wait for 3 seconds
- Resume movement
- Switch state back to
Walking- Reset the attacking flag to prevent overlap
- Use the Coroutine in the Switch
Inside the Attacking case:

🔎 Code Breakdown
- Check if
attacking == false
If true:
- Start the coroutine
- Set
attacking = true
- Prevent Infinite Execution
When returning to the walking state:
- Stop the coroutine to ensure it doesn’t keep running in the background

The Result
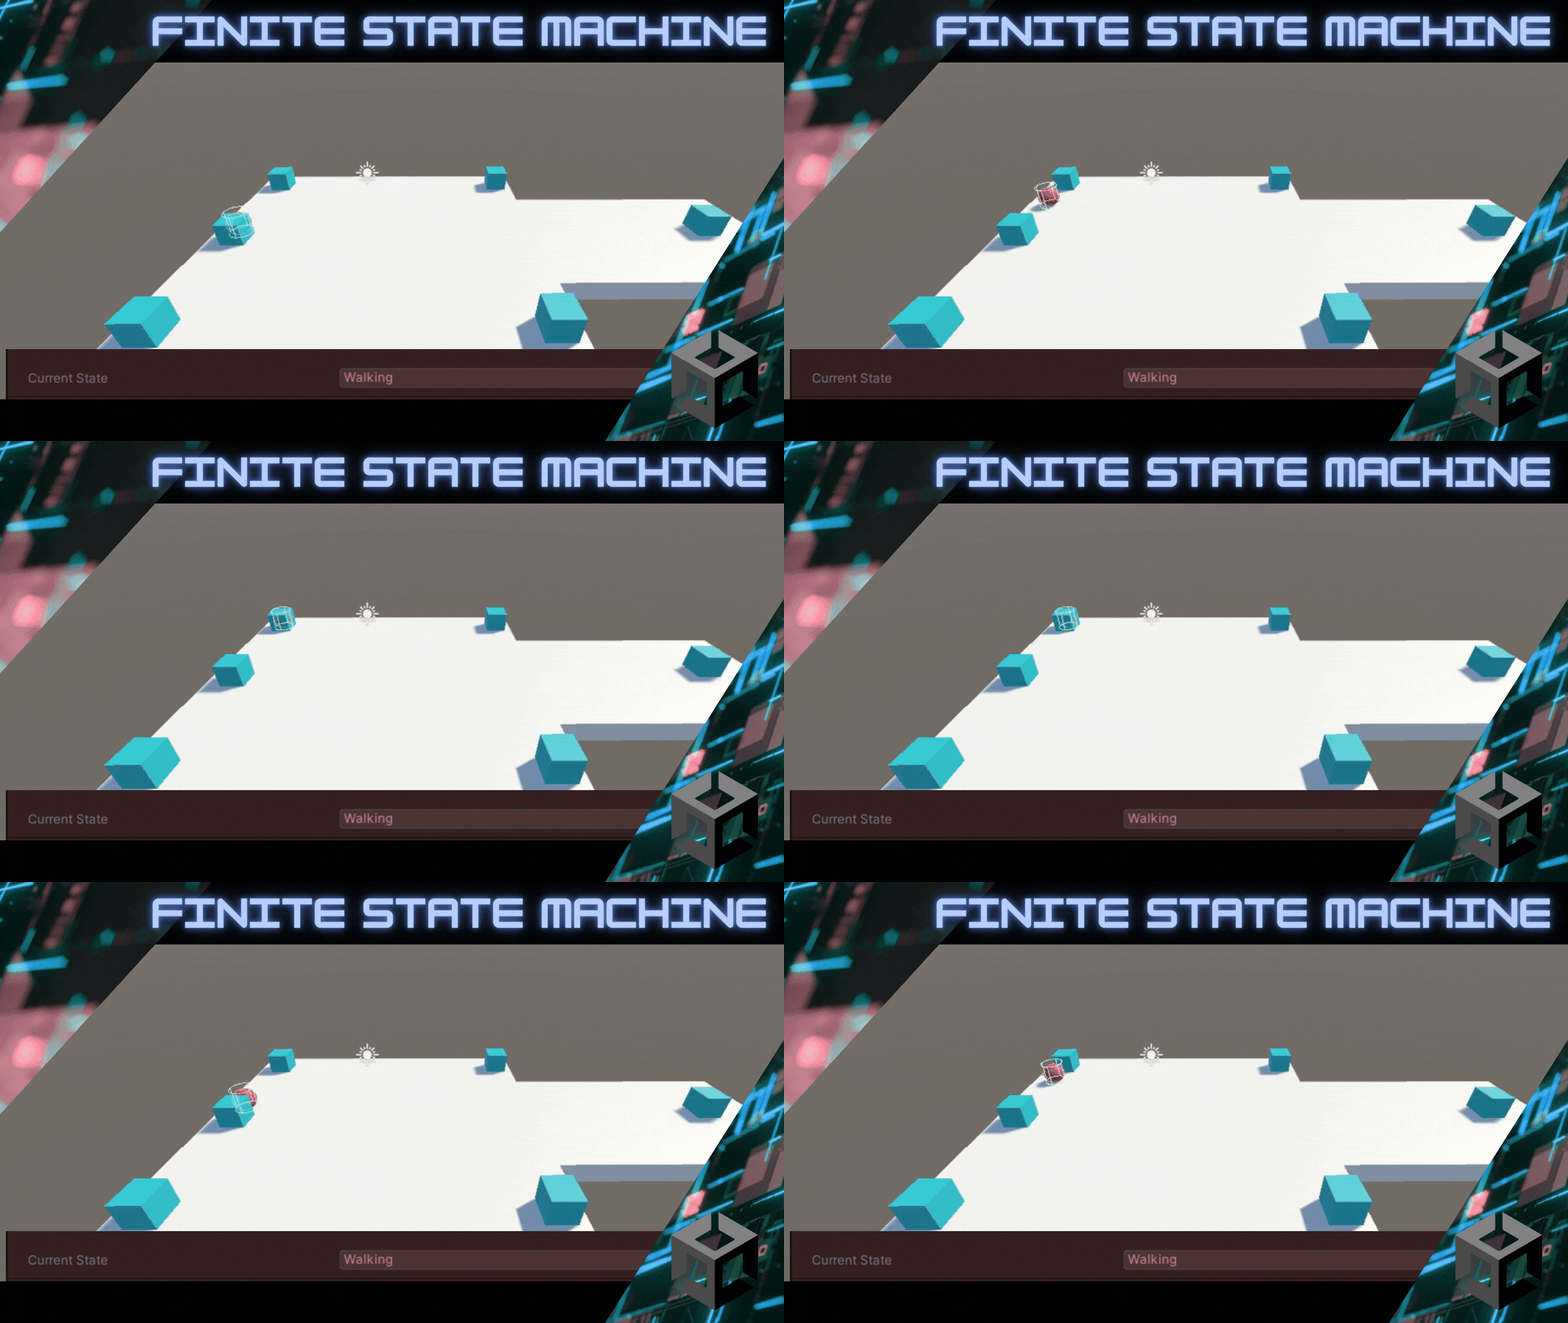
You should now see your AI smoothly transitioning between behaviors — even without animations.

In the next article, we’ll explore how to handle jumping across ledges from a logic perspective.
Thanks for reading!
If you found this guide helpful, feel free to check out my portfolio or follow me — I’m currently working on getting my own indie studio up and running while honing my skills!😊
메타데이터
- post_id
- 91d310f6c1a3
- slug
- fsm-in-unity-to-create-smart-ai-91d310f6c1a3
- url
- https://medium.com/@dennisse-pd/fsm-in-unity-to-create-smart-ai-91d310f6c1a3
- canonical_url
- https://medium.com/@dennisse-pd/fsm-in-unity-to-create-smart-ai-91d310f6c1a3
- author_url
- https://medium.com/@dennisse-pd
- status
- ok
- fetched_at
- 2026-06-09 21:21:26