Deploying to IONOS Managed Kubernetes: A Practical Walkthrough
Most cloud discussions tend to revolve around the large hyperscalers, but the cloud ecosystem is broader than Azure, AWS and Google Cloud…
Deploying to IONOS Managed Kubernetes: A Practical Walkthrough
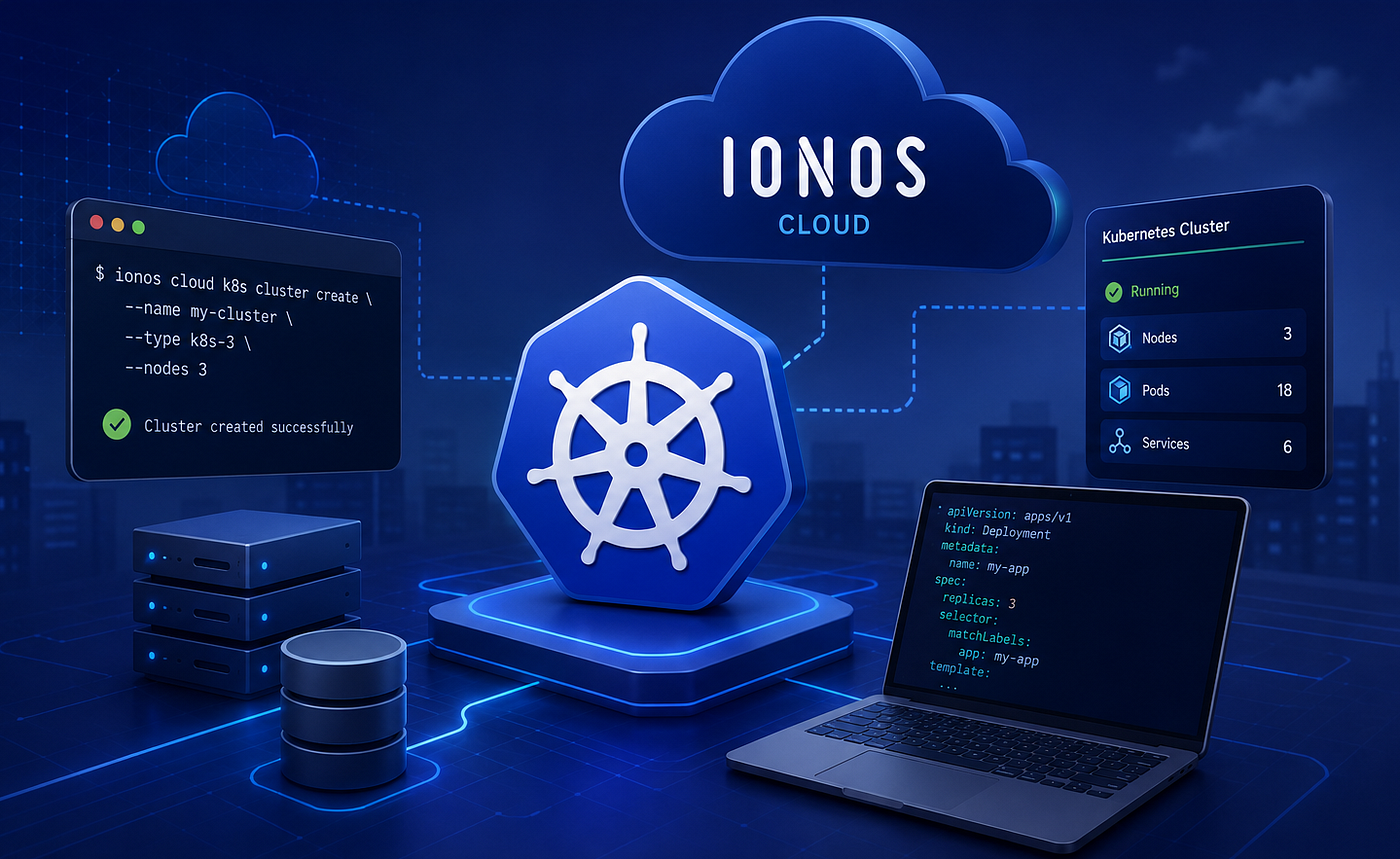
Most cloud discussions tend to revolve around the large hyperscalers, but the cloud ecosystem is broader than Azure, AWS and Google Cloud. I recently had to deploy a project on IONOS Cloud, a platform I had little previous experience with, although I am comfortable working with Azure. IONOS is an established European cloud provider, offering infrastructure services with a strong focus on the European market.
The main tools and core services across cloud providers are similar, much like the Kubernetes concepts, which are the same everywhere. Yet the surrounding ecosystem, the CLI, the provider model, and the storage and networking defaults are different on every cloud. IONOS is no exception, and its documentation is thin. Details are either missing or spread across various pages. It took me a while to get a cluster up and a service reachable from the outside. Sharing what I learned about the IONOS services and their configuration might help others as well.
Here I explain how to provision a Managed Kubernetes cluster on IONOS and deploy a real workload onto it, with the handful of IONOS-specific details that are easy to miss. I’ll show two ways to create the infrastructure, the manual CLI and Terraform, and then the parts of the workload you have to adapt to the platform.
IONOS Managed Kubernetes Cluster
On a managed offering you don’t run the control plane yourself. The cluster is only the managed control plane. IONOS hosts and operates it for you, and it does not live “inside” any datacenter of yours. (A datacenter is the environment where you run and manage your services, similar to a Resource Group in Azure.) The worker nodes live in a Virtual Data Center (VDC) that you own and pay for. This is IONOS’ unit of infrastructure, and it is where the node pool is placed.
That split explains a few things. You create the VDC (datacenter) before the cluster. When you create the cluster, there is no datacenter argument, because the control plane is not in your datacenter. The datacenter only enters the picture when you add a node pool. You will see the implications of this while reading the provisioning paths below.
Provision of Infrastructure
There are several ways to stand up the datacenter, cluster, and node pool. One is ionosctl, the IONOS CLI. Like the Azure CLI, it is a command-line tool for managing resources. Another is Terraform, an infrastructure-as-code tool that lets you declare the resources you want in files and reproduce them consistently. I explain these two in the following sections. There are also other tools, which you can look up in the documentation if you are interested.
Provisioning with ionosctl
First, install the CLI and authenticate. IONOS uses an API token, which you create in the DCD console under Management > Token Manager.
curl -sL https://github.com/ionos-cloud/ionosctl/releases/latest/download/ionosctl-$(uname -s)-amd64.tar.gz \
  | sudo tar -xz -C /usr/local/bin ionosctl
ionosctl version

export IONOS_TOKEN="<your-token>"
1. Create the datacenter (VDC). Pick a location first.
ionosctl location list          # e.g. de/txl, de/fra, gb/lhr, us/las
ionosctl datacenter create \
  --name my-dc \
  --location de/fra \
  --wait-for-state
Note the returned Datacenter ID. We’ll need it for the node pool.
2. Create the cluster (control plane). Notice there is no datacenter argument here, for the reason explained above.
ionosctl k8s version list        # pick a supported version
ionosctl k8s cluster create \
  --name my-cluster \
  --k8s-version <version> \
  --wait-for-state --timeout 600
We’ll need the Cluster ID later.
3. Add a node pool. This is where the datacenter id comes back. If you need to expose the system so it is reachable from outside, use a public pool (inhereted from the cluster; the default mode), as we’ll see in the networking section, LoadBalancer Services only work on public pools.
export DATACENTER_ID="XXXXXXXX"
export CLUSTER_ID="XXXXXXXX"

ionosctl k8s nodepool create \
  --cluster-id "$CLUSTER_ID" \
  --datacenter-id "$DATACENTER_ID" \
  --name my-pool \
  --node-count 1 \
  --cores 4 \
  --ram 8192 \
  --storage-type SSD \
  --storage-size 20 \
  --k8s-version <version> \
  --wait --timeout 900
--storage-size is the node's OS disk, not your application data. Persistent volumes get their own separate storage (more on that later).
4. Get the kubeconfig.
ionosctl k8s kubeconfig get --cluster-id "$CLUSTER_ID" > ionos-kubeconfig.yaml
export KUBECONFIG=$PWD/ionos-kubeconfig.yaml
kubectl get nodes
If kubectl get nodes lists your worker, the infrastructure is ready.
Provision with Terraform
Terraform is a popular Infrastructure as Code (IaC) tool that automates the provisioning, modification, and teardown of infrastructure. It is supported by nearly all major cloud providers, including IONOS. The same four objects map directly to the ionoscloud Terraform provider. The provider uses the same IONOS_TOKEN environment variable as the CLI for authentication.
As explained above, the cluster resource takes no datacenter id, while the node pool takes both the datacenter id and the cluster id.
resource "ionoscloud_datacenter" "main" {
  name     = "my-dc"
  location = "de/fra"
}

resource "ionoscloud_k8s_cluster" "main" {
  name        = "my-cluster"
  k8s_version = var.k8s_version   # leave null to take the IONOS default
  public      = true              # required for LoadBalancer Services
}
resource "ionoscloud_k8s_node_pool" "main" {
  datacenter_id  = ionoscloud_datacenter.main.id
  k8s_cluster_id = ionoscloud_k8s_cluster.main.id
  name           = "my-pool"
  k8s_version    = ionoscloud_k8s_cluster.main.k8s_version
  node_count   = 1
  cores_count  = 4
  ram_size     = 8192
  storage_type = "SSD"
  storage_size = 20
}
# Read the kubeconfig only after the node pool exists, so it is usable at once.
data "ionoscloud_k8s_cluster" "main" {
  id         = ionoscloud_k8s_cluster.main.id
  depends_on = [ionoscloud_k8s_node_pool.main]
}
output "kubeconfig" {
  value     = data.ionoscloud_k8s_cluster.main.kube_config
  sensitive = true
}
Then the usual workflow:
export IONOS_TOKEN="<your-token>"
terraform init
terraform plan      # review what will be created
terraform apply     # datacenter + cluster + node pool
Print kubeconfig and point KUBECONFIG at it:
terraform output -raw kubeconfig > ionos-kubeconfig.yaml
export KUBECONFIG=$PWD/ionos-kubeconfig.yaml
kubectl get nodes
The Terraform state contains the kubeconfig and cluster admin credentials in plaintext, so it must be kept out of version control.
Deploying the system
With a kubeconfig available, this is an ordinary Kubernetes cluster. kubectl apply and other standard Kubernetes workflows work as expected, and nothing about deploying workloads is IONOS-specific. For this example, I use Helm, a Kubernetes package manager that uses charts and values files to keep environment-specific configuration organized. If you're familiar with Helm, the following will make sense to you.
The nodes pull docker images from a registry. If that registry is private, create an image pull secret and reference it from your pods. First create the namespace, then store the registry credentials in it:
kubectl create namespace my-namespace

kubectl -n my-namespace create secret docker-registry my-registry \
  --docker-server=registry.example.com \
  --docker-username="$REGISTRY_USER" \
  --docker-password="$REGISTRY_PASSWORD"
Adapting the System to IONOS
Persistent Storage
If your system is stateless, you can skip this section entirely. It only matters for pods that need PersistentVolumeClaims, such as a database or a message broker.
IONOS provides a block-storage CSI driver with the provisioner cloud.ionos.com. Before assuming anything, check what's already on the cluster:
kubectl get storageclassIf there is a class that suits you, use it. If there isn’t, or you want to pin a specific disk type, define one. A minimal SSD class looks like this:
apiVersion: storage.k8s.io/v1
kind: StorageClass
metadata:
  name: ionos-ssd
provisioner: cloud.ionos.com
parameters:
  type: SSD
  fstype: ext4
  availabilityZone: AUTO
volumeBindingMode: WaitForFirstConsumer
allowVolumeExpansion: true
WaitForFirstConsumer delays creating the volume until a pod is scheduled, so the volume is provisioned in the same zone as the pod that will use it. Without it, on a multi-zone or multi-node pool you can end up with a volume in one zone and a pod in another, and the attach fails.
Save the class above to a file and apply it:
kubectl apply -f storageclass.yamlYou don’t use a StorageClass directly. A PersistentVolumeClaim names it, and the CSI driver then provisions a matching volume. So wherever your workload declares a PVC, set its storageClassName to the class you created:
apiVersion: v1
kind: PersistentVolumeClaim
metadata:
  name: my-data
spec:
  storageClassName: ionos-ssd
  accessModes: ["ReadWriteOnce"]
  resources:
    requests:
      storage: 10Gi
If you deploy with Helm, this is usually exposed as a chart value (for example storageClassName: ionos-ssd) rather than a raw manifest.
Networking: exposing a service
IONOS Managed Kubernetes does not ship an ingress controller, to the best of my knowledge. What I used instead was a **LoadBalancer** Service, the simplest way to get an external IP. On IONOS this does not create a separate load balancer appliance. It allocates a static IP and assigns it to one of your nodes, which then acts as the entry point. This is also why the node pool must be public. Private pools do not support LoadBalancer.
apiVersion: v1
kind: Service
metadata:
  name: my-api
spec:
  type: LoadBalancer
  externalTrafficPolicy: Local
  selector:
    app: my-api
  ports:
    - port: 8000
      targetPort: 8000
This is a plain Kubernetes Service manifest. You apply it the same way as any other manifest, either directly with kubectl apply -f or as part of your Helm chart. Once the external IP is assigned, the service is reachable on its own port (here 8000), because there is no ingress in front to map port 80.
Verifying it’s reachable
Wait for the external IP to be assigned, then hit the service:
kubectl -n my-namespace get svc my-api -w    # wait for EXTERNAL-IP

curl http://<EXTERNAL-IP>:8000/health
If your system has stateful components, confirm the volumes actually bound:
kubectl -n my-namespace get pods
kubectl -n my-namespace get pvc         # should be Bound, not Pending
Teardown
Cloud resources cost money for as long as they exist, and orphaned volumes are easy to leave behind, so the order matters. Remove the system first so the CSI driver releases the block volumes cleanly, then tear down the infrastructure:
# 1. Application (releases the PVCs' cloud volumes)
helm uninstall my-release -n my-namespace
kubectl -n my-namespace delete pvc --all

# 2a. Infrastructure, if you used ionosctl
ionosctl k8s cluster delete --cluster-id "$CLUSTER_ID"
ionosctl datacenter delete --datacenter-id "$DATACENTER_ID"

# 2b. Infrastructure, if you used Terraform
terraform destroy
This post was to outline and explain what I learned from working with IONOS, the provision of an infrastructure and deploying a system there. It may benefit someone who couldn’t find information on IONOS documents easily.
메타데이터
- post_id
- b2493c2f287c
- slug
- deploying-to-ionos-managed-kubernetes-a-practical-walkthrough-b2493c2f287c
- url
- https://medium.com/@mohsenim/deploying-to-ionos-managed-kubernetes-a-practical-walkthrough-b2493c2f287c
- canonical_url
- https://medium.com/@mohsenim/deploying-to-ionos-managed-kubernetes-a-practical-walkthrough-b2493c2f287c
- author_url
- https://medium.com/@mohsenim
- status
- ok
- fetched_at
- 2026-07-21 08:25:23

