A Step-by-Step Guide to Installing and Configuring Java 25 on Windows.
Whether you’re building enterprise level Spring Boot applications, migrating an older test automation suite, or just starting your…
A Step-by-Step Guide to Installing and Configuring Java 25 on Windows. Get your environment ready for the latest LTS Java release in under 10 minutes.
Whether you’re building enterprise level Spring Boot applications, migrating an older test automation suite, or just starting your programming journey, configuring your environment properly is the foundational first step. Released in September 2025, Java 25 is the current Long Term Support (LTS) release. It brings massive improvements, including finalized simplified void main() methods, import module; declarations and compact object headers that significantly reduce memory consumption.
In this guide, we’ll walk through the process of downloading, installing, and configuring the environment variables for Java 25 on a Windows machine so you can start coding without a hitch.
Java 25 vs. Java 21: What Changed?
If you are wondering why you should make the jump from the previous LTS version, here is a quick look at the major upgrades Java 25 brings to the table:
- Release Timeline: Java 25 took the LTS baton in September 2025, succeeding Java 21’s release from September 2023.
- Main Methods: Say goodbye to the required
public static void main(String[] args)boilerplate. Java 25 finalizes simple instance main methods, allowing you to just writevoid main(). - Imports: Instead of package by package imports, Java 25 finalizes module imports, allowing you to bring in entire modules using
import module java.base;. - Memory Overhead: Thanks to Compact Object Headers, Java 25 uses significantly less heap space compared to the standard object headers in Java 21.
- Startup Speed: Java 25 introduces simplified Ahead of Time (AOT) caching, allowing your applications to start up almost instantly.
Step 1: Download the Java 25 JDK
First, you’ll need the Java Development Kit (JDK), which contains the tools necessary to compile and run Java applications. For this guide, we’ll use the official Oracle JDK, but open-source distributions are equally valid.
- Head over to the **Oracle Java Downloads page**.
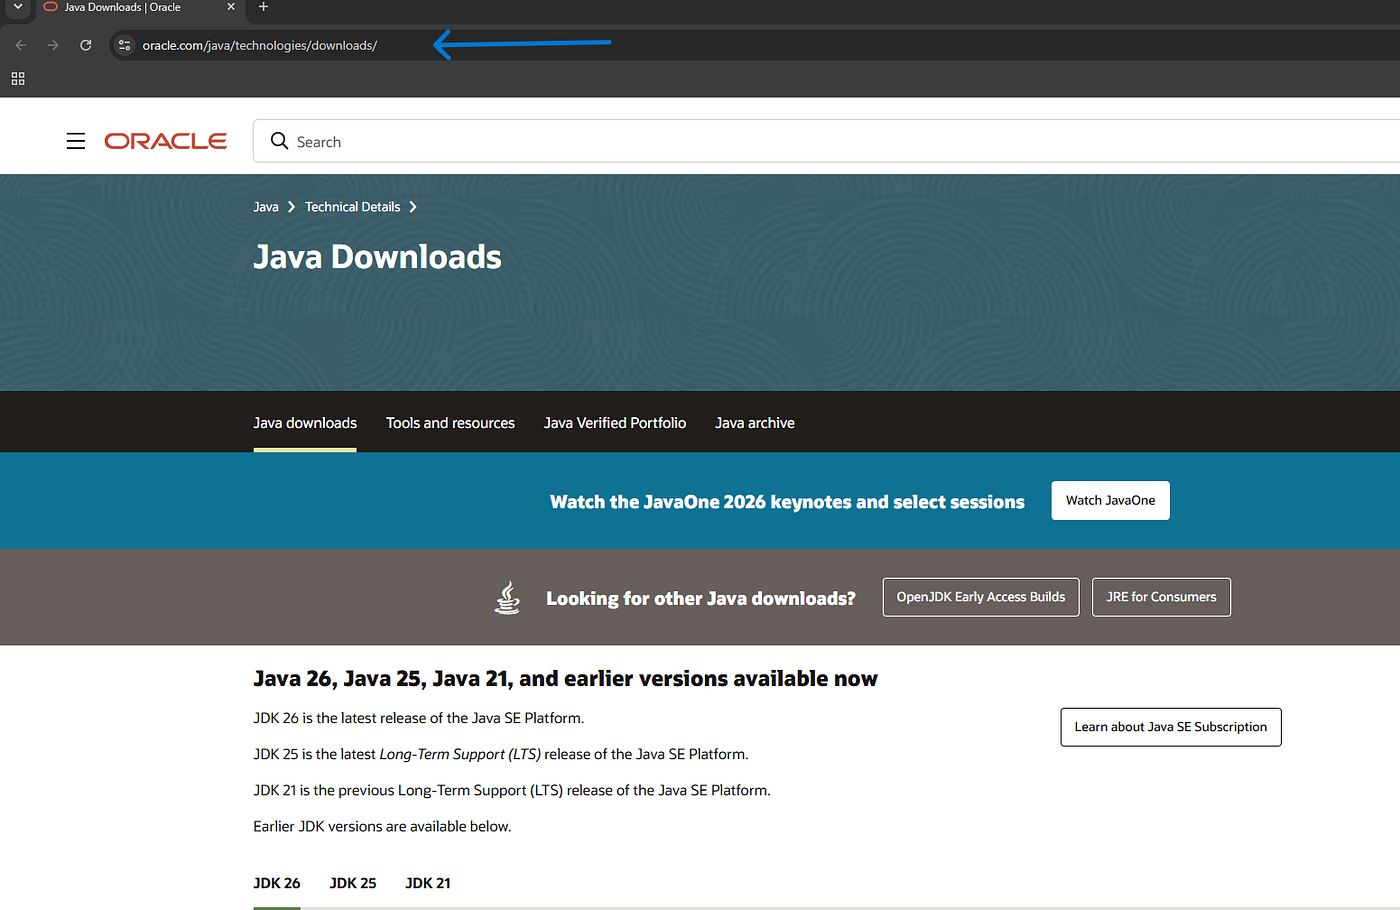
- Ensure you have selected the Java 25 tab.

- Select the Windows operating system.

- Download the x64 Installer (an
.exefile).

Note: Oracle provides JDK 25 under a free-use license for all users. However, if you prefer an open-source, vendor-neutral option, Eclipse Temurin 25 from the Adoptium project is an excellent alternative that installs exactly the same way.
Step 2: Run the Installer
Once the .exe file has finished downloading:
- Double-click the installer to launch the setup wizard.

- Click Next on the welcome screen.

-
Choose your installation directory. The default is usually
C:\Program Files\Java\jdk-25. Keep a note of this path , you will need it in the next step! -
Click Next to begin the installation.

- Once it finishes, click Close.

Your computer now has Java 25 installed, but Windows still needs to know exactly where to find it when you execute code from a terminal or build tool like Maven.
Step 3: Configure Environment Variables
This is the most crucial step. By setting up your environment variables, you allow your operating system to recognize modern Java commands across any command prompt, PowerShell window, or IDE.
Setting up JAVA_HOME
- Press the Windows Key, type “Environment Variables”, and hit Enter.

- Click on Edit the system environment variables.
- In the System Properties window, click the Environment Variables… button near the bottom.

- Under the System variables section (the bottom half), click New.

- Set the Variable name to
JAVA_HOME.

- Set the Variable value to the directory where you installed Java (e.g.,
C:\Program Files\Java\jdk-25).
- Click OK.
Updating the Path Variable
- Staying in the System variables section, scroll down until you find the variable named
Path.

- Select it and click Edit.
- Click New and add the following text:
%JAVA_HOME%\bin

- Move this new entry to the top of the list using the Move Up button. This ensures your system prioritizes Java 25 over any older versions (like Java 8 or 17) that might already be installed.

- Click OK on all open windows to save your changes.


Step 4: Verify the Installation
It’s time to confirm that everything is wired up correctly.
- Open a fresh Command Prompt or PowerShell window. (Close any previously opened terminals so the new variables can load).

- Type the following command and press Enter:

java -versionYou should see an output that looks something like this:
java version "25.0.1" 2025-10-21 LTS
Java(TM) SE Runtime Environment (build 25.0.1+14-LTS)
Java HotSpot(TM) 64-Bit Server VM (build 25.0.1+14-LTS, mixed mode, sharing)- Next, verify the compiler by typing:

javac -versionThis should return ;
javac 25.x.x.Congratulations! You’ve successfully installed and configured Java 25 on your Windows machine. Your system is now primed and ready for modern development. Whether you’re setting up a cutting-edge Spring Boot stack, spinning up Selenium 4 virtual threads, or just testing out the new import module; syntax, you have the full power of the latest LTS Java release at your fingertips.
메타데이터
- post_id
- e147a56071f6
- slug
- a-step-by-step-guide-to-installing-and-configuring-java-25-on-windows-e147a56071f6
- url
- https://medium.com/@emiryazici/a-step-by-step-guide-to-installing-and-configuring-java-25-on-windows-e147a56071f6
- canonical_url
- https://medium.com/@emiryazici/a-step-by-step-guide-to-installing-and-configuring-java-25-on-windows-e147a56071f6
- author_url
- https://medium.com/@emiryazici
- status
- ok
- fetched_at
- 2026-06-20 20:29:01