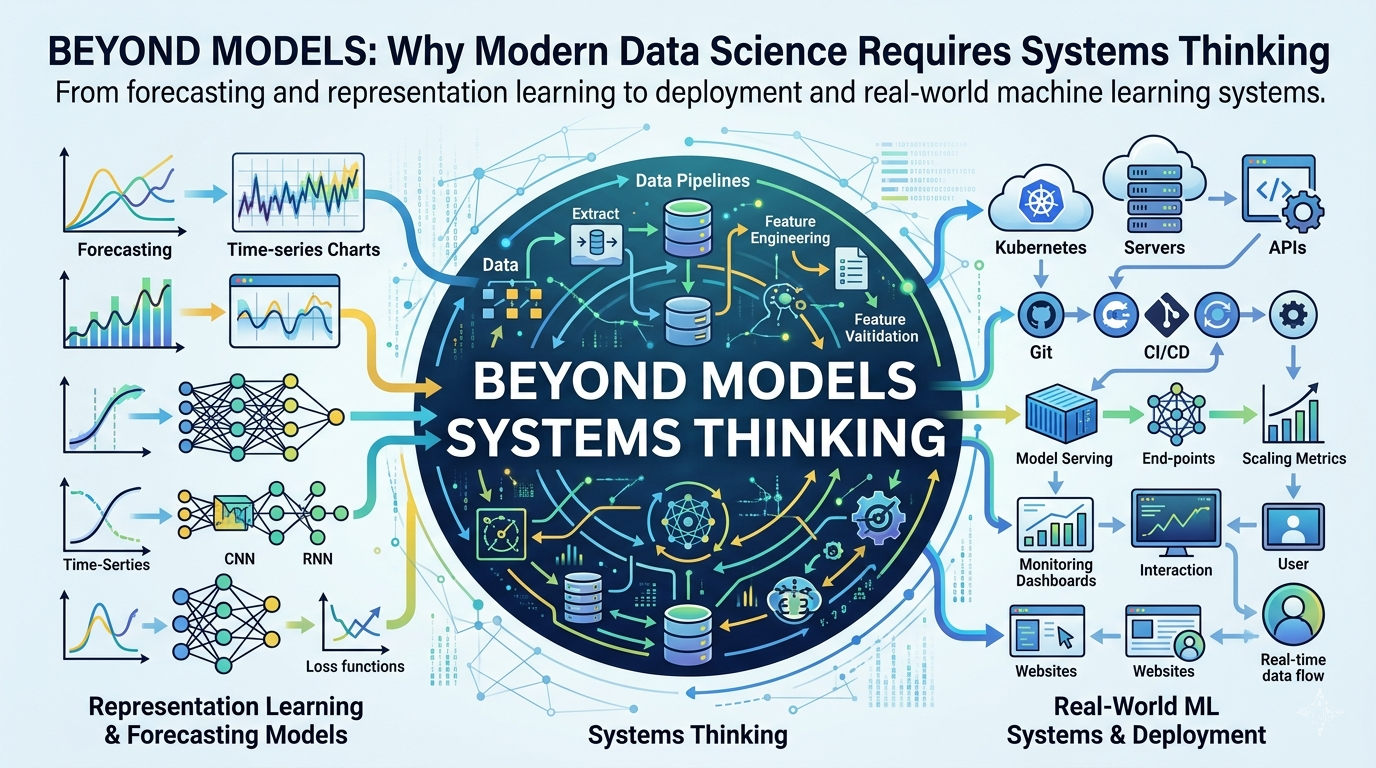
🤖 AI Speech-Based Agent Project: Automate Setup of uv, PyAudio, and SpeechRecognition
Automate Python Environment Setup for Real-Time Speech Recognition and TTS
🤖 AI Speech-Based Agent Project: Automate Setup of uv, PyAudio, and SpeechRecognition
Automate Python Environment Setup for Real-Time Speech Recognition and TTS

🤖 AI Speech-Based Agent Project: (I) Automate Setup of whisper.cpp
🤖 AI Speech-Based Agent Project: (II) Automate Setup of llama.cpp
🤖 AI Speech-Based Agent Project: Automate Setup of uv, PyAudio, and SpeechRecognition
🧩 Introduction
If you’re building an AI voice assistant, smart speaker, or chatbot that listens and talks, your Python project needs a reliable setup that includes:
- Microphone and speaker access (
PyAudio) - Speech-to-text capabilities (
SpeechRecognition) - Text-to-speech output (
edge-tts) - A fast and modern dependency manager (
uv)
Manually setting all this up every time is repetitive and error-prone. In this tutorial, we’ll automate the entire setup using a simple Bash script.
❓ Why These Packages?
Here’s why the key packages are used:

These tools give your AI agent the ability to hear, understand, and speak.
💡 Why an Automatic Bash Script?
Instead of manually running 6–10 shell commands every time:
Reproducibility and ease of onboarding are key for any AI project.
Instead of manually:
- Installing system packages
- Creating a virtual environment
- Installing Python dependencies
- Automate installation for consistency
- Avoid forgetting dependencies
- Ensure
uvand environment setup are done properly - Make it easy to onboard new team members or rebuild your environment later
You can automate it all with a single script that runs in seconds. This ensures:
- 🔁 Consistent environments
- 🧪 Fewer setup mistakes
- 👥 Faster onboarding for teammates
🛠️ Step-by-Step: Build the Bash Script
Let’s break the script into parts so you understand how it works.
✅ Step 1: Script Header
#!/bin/bash
set -e
This tells the system to run the script using Bash and stop if any command fails.
✅ Step 2: Configuration
PROJECT_DIR="voice_project"
PYTHON_VERSION="python3.10"
Customize your project folder and desired Python version.
✅ Step 3: Install System Dependencies
sudo apt update
sudo apt install -y portaudio19-dev
Install the required audio library (portaudio) to enable microphone access through PyAudio.
✅ Step 4: Ensure uv is Installed
if ! command -v uv &> /dev/null; then
    curl -Ls https://astral.sh/uv/install.sh | bash
    export PATH="$HOME/.cargo/bin:$PATH"
fi
If uv isn’t installed, download and install it. This will let you manage dependencies efficiently.
✅ Step 5: Create Project Directory
if [ ! -d "$PROJECT_DIR" ]; then
    mkdir "$PROJECT_DIR"
fi
cd "$PROJECT_DIR"
Create your project folder (if needed) and switch into it.
✅ Step 6: Set Up the Virtual Environment
uv .venv --python "$PYTHON_VERSION"
source .venv/bin/activate
Create and activate a virtual environment using uv.
✅ Step 7: Add Required Packages
uv add pyaudio SpeechRecognition edge-ttsInstall the core packages your AI agent needs to listen and speak.
✅ Step 8: Export a Reproducible Requirements File
uv export --without-hashes > requirements.txtCreate a requirements.txt so others (or CI/CD) can replicate the environment with pip.
📄 Full Script: install.sh
#!/bin/bash
set -e

PROJECT_DIR="voice_project"
PYTHON_VERSION="python3.10"
echo "📦 Installing system dependencies..."
sudo apt update
sudo apt install -y portaudio19-dev
echo "🧪 Checking if uv is installed..."
if ! command -v uv &> /dev/null; then
    echo "🔧 Installing uv..."
    curl -Ls https://astral.sh/uv/install.sh | bash
    export PATH="$HOME/.cargo/bin:$PATH"
fi
echo "📁 Creating project directory if not exists..."
if [ ! -d "$PROJECT_DIR" ]; then
    mkdir "$PROJECT_DIR"
fi
cd "$PROJECT_DIR"
echo "🌀 Creating virtual environment..."
uv .venv --python "$PYTHON_VERSION"
echo "🚀 Activating virtual environment..."
source .venv/bin/activate
echo "📦 Installing Python packages..."
uv add pyaudio SpeechRecognition edge-tts
echo "📄 Exporting requirements.txt..."
uv export --without-hashes > requirements.txt
echo "✅ Setup complete! You can now start coding."
🚀 How to Use
Follow these simple steps to automatically set up your AI speech-based project:
1. ✅ Save the Script
Create a new file named voice_recong_tts_install.sh and paste in the full script:
nano voice_recong_tts_install.sh
# Or use your preferred editor
Make the script executable:
chmod +x voice_recong_tts_install.sh2. 🏃♂️ Run the Script
Run the script from your terminal:
./voice_recong_tts_install.shThis will:
- Install system dependencies (
portaudio19-dev) - Install
uvif missing - Create a project folder (e.g.,
voice_project) - Set up a virtual environment using
uv - Install
pyaudio,SpeechRecognition,edge-tts - Export a
requirements.txtfile
3. 🔁 Activate the Environment (Later Sessions)
Each time you return to your project, activate the environment manually:
cd voice_project
source .venv/bin/activate
4. 🧪 Test the Setup
🎤 STT Test: stt_test.py
You can now create a stt_test.py to test your microphone and speech-to-text:
import speech_recognition as sr

# Initialize recognizer
recognizer = sr.Recognizer()

# Use the default microphone as the audio source
with sr.Microphone() as source:
    print("🎙️ Say something...")
    recognizer.adjust_for_ambient_noise(source)  # Optional: better accuracy
    audio = recognizer.listen(source)

print("🔊 Recognizing...")

# Try to recognize speech using Google Web Speech API
try:
    text = recognizer.recognize_google(audio)
    print("✅ You said:", text)
except sr.UnknownValueError:
    print("❌ Could not understand audio.")
except sr.RequestError as e:
    print(f"⚠️ Could not request results; {e}")
▶️ How to Run
Make sure your virtual environment is activated:
source .venv/bin/activateThen run:
python stt_test.pySpeak clearly into your microphone when prompted.
🔊 TTS Test: tts_test.py
import asyncio
from edge_tts import Communicate

async def main():
    text = "Hello! I am your AI speech agent. This is a text-to-speech test."
    voice = "en-US-AriaNeural"  # You can change this to any available Microsoft voice
    communicate = Communicate(text, voice)
    await communicate.save("tts_output.mp3")
    print("✅ Speech saved to tts_output.mp3")
asyncio.run(main())
▶️ How to Run
python tts_test.pyThen play the generated file:
# Use your system's audio player
ffplay tts_output.mp3       # If you have ffmpeg
# or
mpg123 tts_output.mp3       # On some Linux systems
# or just double-click it in your file explorer
✅ Summary
With this one-click voice_recong_tts_install.shscript, you now have:
- A full project directory with a virtual environment
- Leverage
uvfor a fast and modern Python development workflow - All dependencies installed (
pyaudio,speechrecognition,edge-tts) - Set up a clean Python project with audio and speech capabilities
- A reproducible
requirements.txt - A clean start for building your AI speech-based assistant
- Avoid manual setup errors
This script is perfect for projects like voice assistants, speech-to-text apps, or conversational bots.
메타데이터
- post_id
- dfae2ccc2106
- slug
- ai-speech-based-agent-project-automate-setup-of-uv-pyaudio-and-speechrecognition-dfae2ccc2106
- url
- https://medium.com/@shouke.wei/ai-speech-based-agent-project-automate-setup-of-uv-pyaudio-and-speechrecognition-dfae2ccc2106
- canonical_url
- https://medium.com/@shouke.wei/ai-speech-based-agent-project-automate-setup-of-uv-pyaudio-and-speechrecognition-dfae2ccc2106
- author_url
- https://medium.com/@shouke.wei
- status
- ok
- fetched_at
- 2026-08-26 15:49:19