Diffusion Models Explained (How AI Generates An Image)
I am sure you created the Ghibli style image using image generating AI models.
Diffusion Models Explained (How AI Generates An Image)
I am sure you created the Ghibli style image using image generating AI models.
You type something, you get an image. Feels like magic.
It’s not magic. And it’s weirder than you’d ever expect.
Here’s what’s actually happening:
What are diffusion models?
In simple words, we destroy a real image by adding Gaussian noise to it, step by step. And then we teach the neural network how to undo the destruction.
That’s it. That’s the whole idea.
Biggest misconception
Most people think AI generates an image like a human painter would. Starting from a blank canvas, adding details, step by step, building it up.
WRONG.
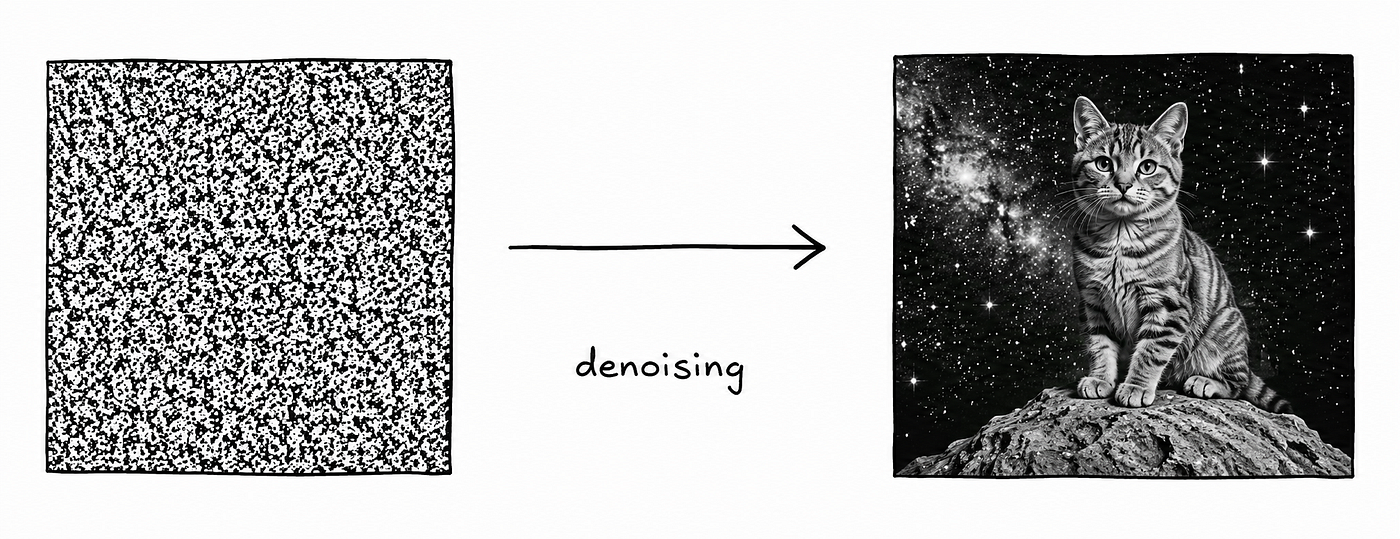
AI starts with pure random noise — like TV static (as shown in the image below) — and slowly removes the chaos until a new real image is generated.
Forward process and backward process
We purposely spoil an image by adding Gaussian noise to it for training data. This process is called Forward Process.
And when the diffusion model converts a random noisy image to a real image, it is known as the Backward Process.
Basic Diffusion vs Stable Diffusion
In basic diffusion, the diffusion model randomly generates a new real image from a pure noisy image.
But in Stable Diffusion, a separate neural network called CLIP enters the picture — trained on billions of image-text pairs, it guides the diffusion model toward your prompt.
What are diffusion models trained on?
We give the neural network two things: the noisy image, and the timestep (t).
In one line, we tell the neural network “this is what the noisy image looks like at timestep t = 999 or t = 998, etc”.
We do this for every image at every timestep. Just imagine how much data it is for a neural network to learn.
Then we ask it one question:
“What noise was added to every single pixel here?”
It predicts a noise vector, for every pixel, the noise vector tells us how much noise was added to every pixel at that particular timestep (t).
For a 256x256 pixels image, it will be around 200k predictions or we can say 200k noise vectors. One for each pixel.
Then we subtract the predicted noise from every pixel until timestep (t) = 0.
Finally, we get a real image.
Step by step — how stable diffusion actually works
Step 0: You type your prompt
Step 1: Your text gets converted into numbers
The model doesn’t know English or any other language. It just deals with vectors and numbers. The prompt you enter gets converted/encoded into vectors — a mathematical representation of meaning. “A cat in space” becomes a set of numbers that captures both “cat” and “space” and the relationship between them.
Step 2: Pure noise is generated
A random noisy TV-static like image is generated.
Step 3: The denoising loop (the real magic)
As I explained above, the model then starts denoising the random noisy image.
It asks, “what noise can I remove from every pixel here to make this look more like what was asked in the prompt?”.
It keeps steering the image towards your prompt until timestep (t) = 0.
That’s also why being specific in your prompt matters. More detail = more steering at every step.
Predict a noise vector for each pixel → Subtract it from the respective pixel → Repeat until timestep (t) = 0.
That’s it. That’s how we get a real image from random TV static like noisy image.
Step 4: The final image is decoded
The output gets converted from the model’s internal compressed format back into actual pixels you can see and save.
That’s it. That’s the whole process and idea of generating an image from a random noisy image.
Summary:
Add noise to images millions of times. Train a model to reverse it. That’s the entire idea.
Simple to describe. Absolutely brutal to train.
The math behind each denoising step, the U-Net architecture, the billions of parameters — I went down that rabbit hole and was confused for days.
But the core idea? You just understood it in 5 minutes.
The models doing all of this — Stable Diffusion, FLUX, SDXL — are open source.
You can run them on your machine (only if you have the required hardware for it). No API. No subscription. No data sent anywhere.
That Ghibli image you made? You could generate 1000s of them locally, for free, understanding exactly what’s happening under the hood now.
That’s what makes this worth learning.
I am Aaryan. 19, self-taught ML guy, building in the AI space and writing about what actually works from the perspective of a builder. You can find me at @aaryan_kakad.
메타데이터
- post_id
- e2208fcf3e3a
- slug
- diffusion-models-explained-how-ai-generates-an-image-e2208fcf3e3a
- url
- https://medium.com/@kakadaaryan10/diffusion-models-explained-how-ai-generates-an-image-e2208fcf3e3a
- canonical_url
- https://medium.com/@kakadaaryan10/diffusion-models-explained-how-ai-generates-an-image-e2208fcf3e3a
- author_url
- https://medium.com/@kakadaaryan10
- status
- ok
- fetched_at
- 2026-06-09 15:37:30






